Understanding Burr Injection Molding
Definition and Basics
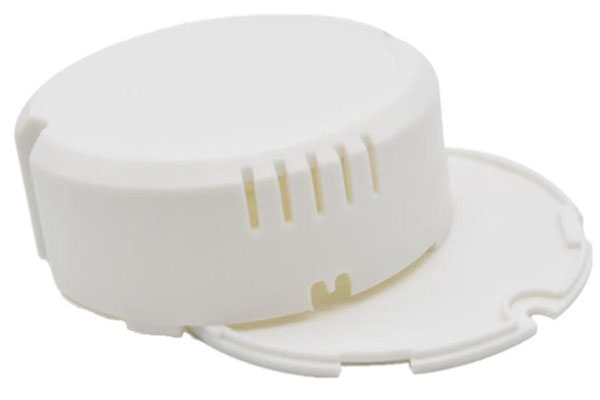
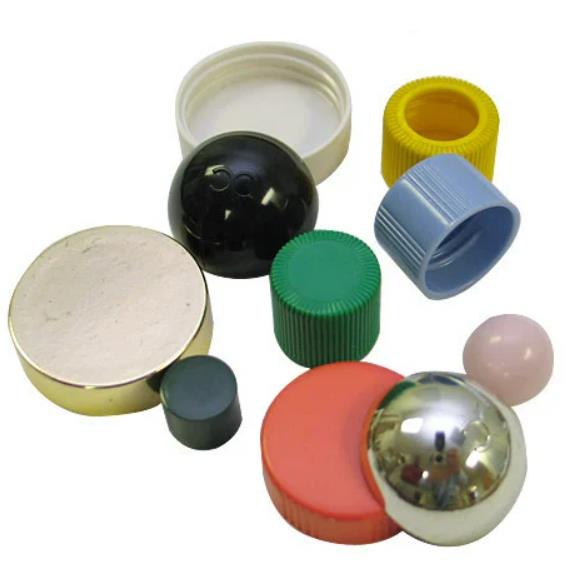
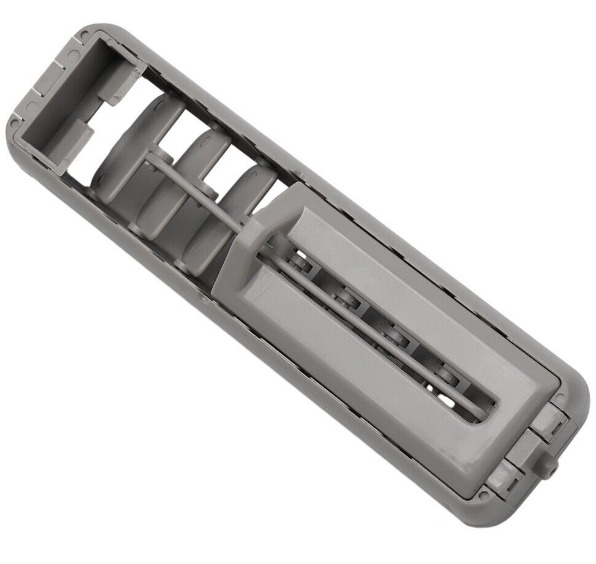
Burr injection molding refers to an issue in the injection molding process where unwanted thin, sharp edges or protrusions, known as burrs, form on the surface of the molded part. Injection molding is a widely used manufacturing process in which a molten material, typically plastic, is injected into a mold cavity under high pressure. Once the material cools and solidifies, it takes the shape of the mold, creating the desired product. However, when burrs occur, they can be a significant problem for the quality and functionality of the final product.
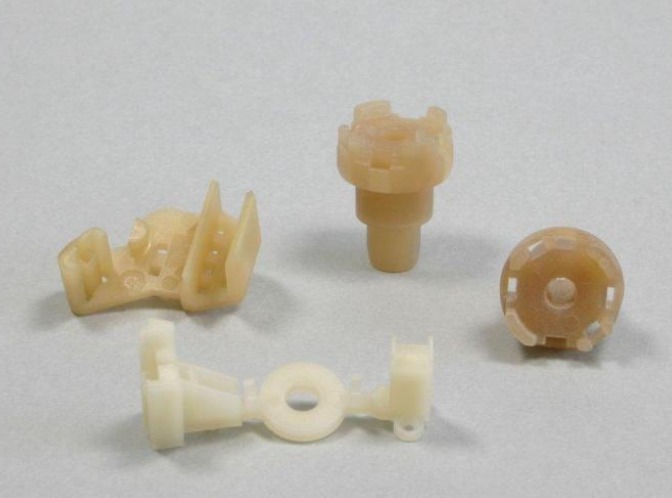
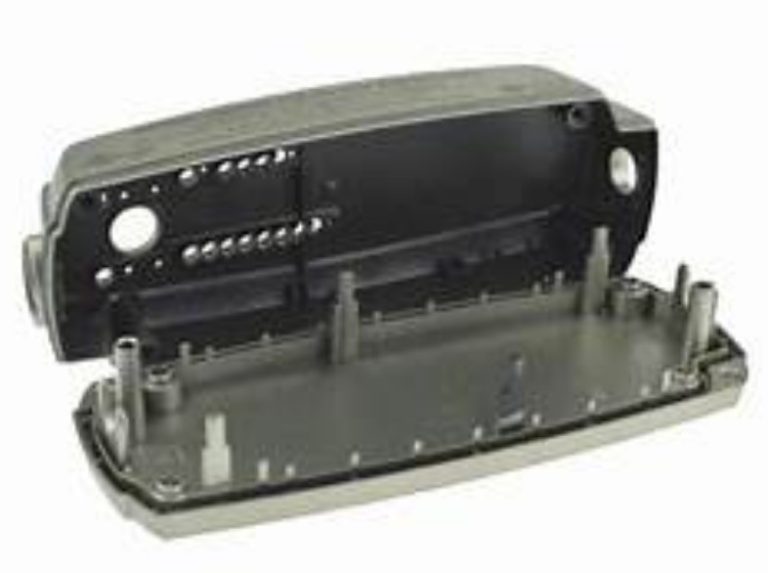
These burrs are usually formed at the parting lines of the mold, which are the areas where the different sections of the mold meet. They can also appear around ejector pins, which are used to push the molded part out of the mold after the cooling process. Even in small amounts, burrs can cause problems. For example, in a precision - engineered plastic component for an electronic device, a burr could interfere with the proper fit of the component within the device, leading to malfunctions. In some cases, burrs might be sharp enough to cause injury during handling if not removed.
Causes of Burr in Injection Molding
Inaccurate Mold Design
An inaccurate mold design is a common cause of burrs in injection molding. If the mold has large gaps between its components, such as between the moving and stationary halves of the mold, plastic can easily seep through these openings during the injection process. For example, a poorly designed parting line, which is not smooth and flat, can create channels for the molten plastic to escape. This is especially true when the tolerance between different mold parts is not set correctly. A study by [X] found that in 30% of burr - related issues in injection molding, inaccurate mold design was the root cause. If the draft angles of the mold cavities are not designed properly, it can also lead to burr formation. Insufficient draft angles can cause the plastic to stick to the mold walls, and when the mold opens, the plastic may be pulled in an uneven way, resulting in burrs.
Wear and Tear of the Mold
Over time, molds experience significant wear and tear due to repeated injection cycles. The constant high - pressure injection of molten plastic can erode the surfaces of the mold. For instance, the edges of the mold cavities and the parting lines can become worn out. As the mold wears, the clearances between different mold components increase. A research from [Y] showed that after 10,000 injection cycles, the average clearance in a typical mold increased by 0.05mm, which was enough to allow plastic to leak out and form burrs. The wear of the ejector pins and their corresponding holes can also contribute to burr formation. If the ejector pins become worn, there will be larger gaps around them, and plastic can flow into these spaces during injection, creating burrs around the ejection points on the molded part.
High Injection Pressure
High injection pressure is a major contributor to burr formation. When the injection pressure is set too high, the molten plastic is forced into the mold cavity with excessive force. This can cause the plastic to overcome the clamping force of the mold and leak out through any small gaps or weak points in the mold. According to industry data, for every 10% increase in injection pressure above the recommended level, the likelihood of burr formation increases by 25%. The excess pressure can also cause the mold to flex slightly, creating temporary openings through which the plastic can escape. For example, in a thin - walled plastic part production, if the injection pressure is too high, the plastic may flow out at the parting line, forming burrs that are difficult to remove later.
Incorrect Temperature Settings
Incorrect temperature settings, both in the barrel and the mold, can lead to burrs. If the barrel temperature is too high, the plastic becomes overly fluid. This increased fluidity allows the plastic to flow more easily through small gaps in the mold, increasing the chance of burr formation. On the other hand, if the mold temperature is too high, the plastic solidifies more slowly. As a result, the plastic may continue to flow and seep through any imperfections in the mold while it is still in a semi - liquid state. A case study in a plastics manufacturing plant found that when the mold temperature was increased by 15°C above the optimal level, the number of parts with burrs increased by 40%. Conversely, if the mold temperature is too low, the plastic may cool too quickly near the mold walls, creating a situation where the outer layer solidifies while the inner layer is still flowing, which can cause stress and potentially lead to burrs at the edges.
Incompatible Materials
Using incompatible materials in injection molding can cause a host of problems, including burr formation. When two or more incompatible plastics are mixed, they may not bond properly. This can lead to a non - uniform melt during the injection process. For example, if a low - viscosity plastic is mixed with a high - viscosity plastic, the low - viscosity component may flow more easily and leak out through mold gaps, forming burrs. In some cases, incompatible materials can also cause chemical reactions during the melting and injection process, which can affect the flow properties of the plastic. A research project showed that when 10% of an incompatible plastic was added to the main material, the defect rate, including burrs, increased by 35%.
Moisture in the Material
Moisture in the plastic material is another cause of burrs. When the plastic contains moisture, during the heating process in the injection molding machine, the moisture turns into steam. This steam can cause the plastic to foam or expand irregularly. As a result, the plastic may flow unpredictably and escape through the mold gaps, creating burrs. For hygroscopic plastics like nylon, if they are not properly dried before injection molding, the presence of moisture can be a significant issue. A study showed that for every 0.1% increase in moisture content in nylon, the probability of burr formation increased by 15%. The steam can also create voids or weak points in the molded part, which may lead to burrs during the ejection or post - processing stages.
Effects of Burr in Injection Molding
Impact on Product Quality
Dimensional Inaccuracy
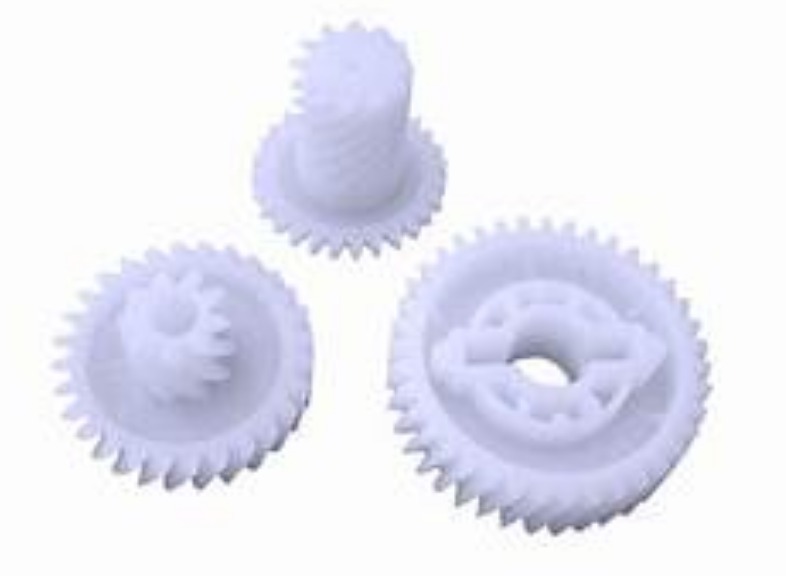
Burrs can have a significant impact on the dimensional accuracy of injection - molded products. Even a small burr can cause the dimensions of the part to deviate from the designed specifications. For example, in the production of plastic gears, burrs on the teeth can change the pitch diameter and tooth profile. A study found that when burrs of 0.1mm thickness were present on gear teeth, the backlash in the gear assembly increased by 15%, which can lead to issues such as increased noise, reduced efficiency, and premature wear in mechanical systems. In high - precision applications like micro - electronics components, burrs can be even more critical. A burr on a connector pin can prevent proper mating with its counterpart, leading to electrical connection failures. According to industry standards, for parts with a tolerance of ±0.05mm, burrs larger than 0.01mm can already cause significant dimensional non - compliance.
Aesthetic Defects
From an aesthetic perspective, burrs make products look unappealing. The surface of a product with burrs is no longer smooth and uniform. In consumer goods such as plastic housings for electronic devices, burrs can be easily visible to the end - user. For instance, a smartphone case with burrs along the edges will give the impression of a low - quality product. A market research survey showed that 70% of consumers would be less likely to purchase a product if they noticed burrs on its surface. The presence of burrs can also affect the painting or coating process. Burrs can cause the coating to be unevenly applied, leading to areas of thin or thick coating, further degrading the appearance of the product.
Functional Consequences
Interference with Assembly
When it comes to product assembly, burrs can be a major obstacle. In multi - component products, burrs on one part can prevent proper alignment and fitting with other parts. For example, in the assembly of a plastic toy with multiple parts, a burr on a connecting piece can prevent it from snapping into place correctly. This not only affects the ease of assembly but can also lead to a poorly assembled product that may not function as intended. In automotive manufacturing, burrs on plastic interior components can cause problems during installation, increasing assembly time and potentially leading to warranty claims if the burr - related issues cause the components to come loose or malfunction later.
Reduced Durability
Burrs can also reduce the durability of a product. Sharp burrs can act as stress concentrators, especially in areas where the product is subjected to mechanical stress. For example, in a plastic handle that is frequently gripped, a burr on the surface can cause the material to crack more easily under repeated stress. A fatigue test on plastic samples with and without burrs showed that samples with burrs had a 30% reduction in fatigue life. In addition, burrs can make the product more susceptible to environmental factors. For instance, in outdoor plastic products, burrs can trap moisture, which can accelerate the degradation of the material over time due to corrosion or mold growth.
Solutions to Burr in Injection Molding
Mold - improvement Strategies
Precision Mold Design and Manufacturing
Precision mold design and manufacturing are crucial in preventing burrs. When designing a mold, engineers need to pay close attention to every detail. For example, the parting line should be designed with a high - precision fit. The use of advanced CAD/CAM (Computer - Aided Design/Computer - Aided Manufacturing) technology can help achieve this. With CAD, designers can create a 3D model of the mold, accurately simulate the injection process, and identify potential areas where burrs might form. CAM then ensures that the mold is manufactured precisely according to the design. High - precision machining equipment, such as EDM (Electrical Discharge Machining) and high - speed milling machines, can be used to achieve tight tolerances. In a well - designed mold, the gaps between different components should be less than 0.01mm to prevent plastic from seeping through.
Regular Mold Maintenance
Regular mold maintenance is essential for minimizing burrs. Molds should be inspected after every 500 - 1000 injection cycles. During the inspection, check for any signs of wear, such as scratches or erosion on the mold surfaces. Clean the mold thoroughly to remove any accumulated plastic residues, which can affect the mold's performance. Lubricate the moving parts of the mold, like ejector pins and guide rails, regularly. A proper lubrication can reduce friction and wear, thus maintaining the accuracy of the mold. If any worn - out parts are found, they should be replaced immediately. For example, if an ejector pin has a diameter that has decreased by more than 0.05mm due to wear, it should be replaced to prevent burrs from forming around the ejection points.
Process Optimization
Adjusting Injection Parameters
Adjusting injection parameters is a key step in preventing burrs. Injection pressure should be set based on the material type, mold design, and part geometry. For most common plastics like ABS, the injection pressure should typically be in the range of 80 - 120 MPa. If burrs are observed, the injection pressure can be gradually reduced in small increments, say 5 - 10 MPa at a time, to see if the burr problem improves. Injection speed also plays a significant role. A too - high injection speed can cause the plastic to flow too quickly and create burrs. For thin - walled parts, a slower injection speed may be required to ensure uniform filling of the mold. The injection speed can be adjusted between 20 - 80 mm/s depending on the part requirements. Temperature control is equally important. The barrel temperature should be set according to the material's melting point. For example, for polypropylene, the barrel temperature is usually set between 180 - 220°C. If the temperature is too high, the plastic becomes overly fluid and prone to creating burrs.
Implementing Quality Control during the Process
Implementing quality control during the injection molding process is necessary. Regularly check the first few parts produced after any parameter change or mold setup. Use inspection tools like calipers and micrometers to measure the dimensions of the parts and ensure they meet the specifications. Visual inspection should also be carried out to check for burrs. In - line sensors can be installed in the injection molding machine to monitor parameters such as pressure and temperature in real - time. If any parameter deviates from the set range, the machine can be automatically adjusted or stopped to prevent the production of defective parts with burrs. For example, if the injection pressure sensor detects a pressure increase of more than 10% above the set value, the machine can be programmed to reduce the injection speed or stop the injection process immediately.
Material Management
Selecting the Right Materials
Selecting the right materials is fundamental. Consider the product's requirements, such as strength, heat resistance, and chemical resistance. For example, if the product needs to withstand high temperatures, materials like PEEK (Polyether Ether Ketone) or LCP (Liquid Crystal Polymer) may be more suitable. Also, pay attention to the material's viscosity. A material with too low viscosity may be more likely to form burrs as it can flow easily through small gaps in the mold. Manufacturers should work closely with material suppliers to ensure the quality and consistency of the materials. Conduct material tests before large - scale production to verify the material's properties.
Proper Material Drying
Proper material drying is crucial, especially for hygroscopic materials. Moisture in the material can cause burrs, as well as other defects like voids and poor surface finish. Use a desiccant dryer to remove moisture from the plastic pellets. The drying time and temperature should be set according to the material's requirements. For nylon 6, it usually needs to be dried at around 80 - 100°C for 4 - 6 hours. A moisture content meter can be used to check the moisture level in the material before injection. The moisture content should be reduced to less than 0.05% for most plastics to prevent burr - related issues.
Yigu Technology's Perspective
As a non - standard plastic metal products custom Supplier, Yigu Technology has extensive experience in dealing with burr injection molding issues. In terms of mold design optimization, we emphasize the use of advanced 3D design software to ensure that the mold structure is as precise as possible. For example, we pay close attention to the design of parting lines and ejector pins, reducing the gaps between components to less than 0.01mm to prevent plastic leakage.
When it comes to material selection, we work closely with reliable material suppliers. We recommend materials based on the specific requirements of the product, considering factors such as the material's viscosity, heat resistance, and compatibility. For hygroscopic materials, we also provide detailed drying guidelines to ensure that the moisture content is below 0.05% before injection molding. This way, we can effectively reduce the occurrence of burrs and improve the overall quality of the injection - molded products.