Anyone who’s tried 3D printing ABS knows the struggle: a print that looks perfect mid-way suddenly warps at the corners, layers peel apart like a bad sticker, or the final part shatters when you apply even moderate force. Maybe you’ve dialed in the nozzle temperature a dozen times, but the layer adhesion still feels weak. Or perhaps your post-processing efforts—like sanding or painting—leave the surface looking uneven or streaky. These issues aren’t just annoying; they make ABS, a otherwise versatile material, feel more trouble than it’s worth.
The truth is, ABS’s challenges stem from its unique material properties and finicky printing requirements. But with the right knowledge of its composition, optimized printing techniques, and proper post-processing, you can unlock its full potential. In this guide, we’ll dive deep into 3D printing ABS, turning frustration into consistent, high-quality results.
Material Properties & Composition: What Makes ABS Unique?
ABS is a terpolymer composed of three monomers: acrylonitrile, butadiene, and styrene. Each contributes distinct properties, and their acrylonitrile butadiene styrene ratio (typically 20-30% acrylonitrile, 15-30% butadiene, 40-60% styrene) dictates the final material’s behavior. Let’s break down its key characteristics:
- Chemical structure: The acrylonitrile component adds tensile strength and chemical resistance, butadiene provides impact resistance (think flexibility to withstand drops), and styrene offers rigidity and a smooth surface finish. This balance makes ABS both strong and tough—rare in 3D printing materials.
- Thermal properties: ABS has a glass-transition temperature (Tg) of 105°C, meaning it softens above this point but doesn’t melt until around 200-250°C (depending on the grade). Its Vicat softening point (the temperature at which it deforms under light load) is around 90-100°C, making it suitable for applications that need to handle moderate heat, like electronic enclosures. However, its thermal stability is limited—prolonged exposure to temperatures above 60°C can cause gradual warping.
- Mechanical strength: With a tensile strength of 20-40 MPa and Young’s modulus (stiffness) of 1.4-2.8 GPa, ABS strikes a balance between rigidity and flexibility. Its impact resistance (notched Izod) ranges from 20-40 kJ/m², far outperforming PLA (2-5 kJ/m²)—a reason it’s favored for drone frames and RC car parts that take hits.
- Other properties: ABS has a density of 1.04-1.06 g/cm³, making it lightweight but sturdy. Its melt flow index (MFI) (3-10 g/10min at 220°C/10kg) affects printability—higher MFI means easier extrusion but may reduce strength. One downside: poor UV resistance (parts fade or become brittle in sunlight) and moderate moisture absorption (0.2-0.3% over 24 hours), which can cause popping during printing if not dried. Unlike some thermoplastics, ABS is amorphous, meaning it doesn’t have a crystalline structure, contributing to its consistent mechanical behavior.
Printing Techniques & Settings: Taming ABS’s Temperament
ABS is notoriously tricky to print, but the right printing techniques and settings turn it into a reliable workhorse. Here’s how to optimize your process:
Temperature & Enclosure: The Foundation of Success
- Optimal nozzle temperature: 230-250°C. Lower temps (220-230°C) may cause under-extrusion and weak layers; higher temps (250-260°C) can lead to stringing or material degradation.
- Heated bed temperature: 90-110°C. A hot bed ensures the first layer adheres firmly, reducing warping. Use a PEI sheet or hairspray on glass for better grip.
- Enclosure requirement: Non-negotiable. ABS shrinks as it cools, and drafts cause uneven cooling (the main culprit behind warping). An enclosed printer maintains a ambient temperature of 40-60°C, slowing cooling and improving layer adhesion.
Adhesion & Warping Prevention: Tips for Flat, Strong Prints
- Raft vs brim vs skirt: A raft (a lattice under the part) works best for large, flat parts, distributing stress and preventing warping. A brim (a single-layer edge around the part) is better for smaller parts, adding adhesion without extra material. A skirt (a loop around the part) just primes the nozzle—use it for calibration, not adhesion.
- First-layer squish: Calibrate your first layer to be slightly thicker (120-150% of your layer thickness) to ensure it “squishes” into the bed, creating a strong bond.
- Warping prevention: Beyond enclosure and bed temp, use a raft or brim, reduce print speed for the first layer (30-50% of normal), and avoid large, flat surfaces (split them into smaller sections with gaps for heat dissipation).
Speed, Retraction, and Infill: Fine-Tuning for Quality
- Print speed for ABS: 40-60 mm/s for general printing. Faster speeds (70-80 mm/s) may reduce layer adhesion; slower speeds (30-40 mm/s) improve detail but increase print time.
- Retraction distance: 2-5 mm with a speed of 25-40 mm/s. Too little retraction causes stringing; too much can lead to under-extrusion.
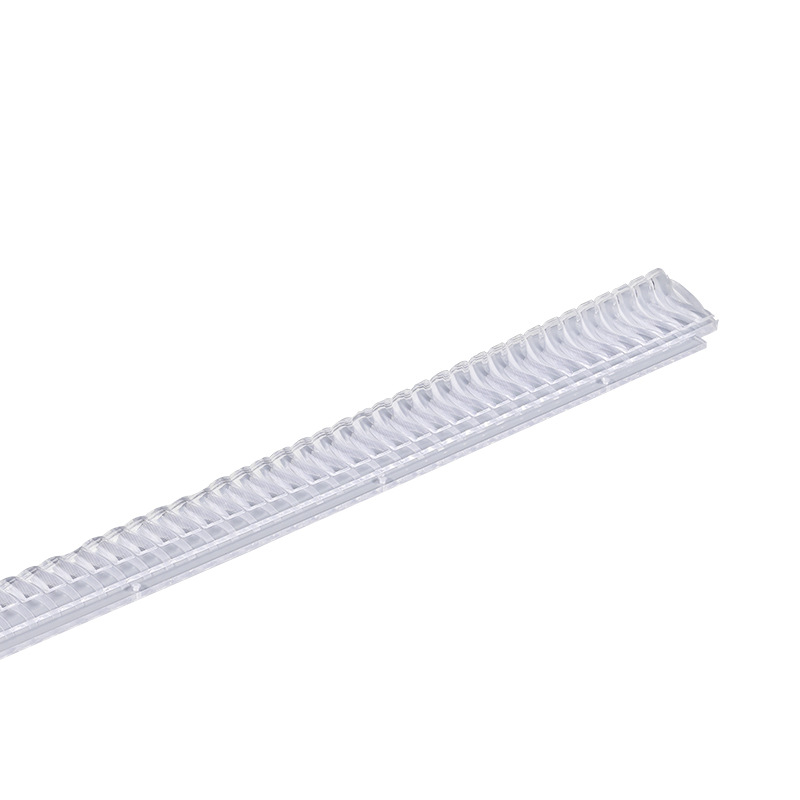
- Infill pattern: Honeycomb or grid patterns offer the best strength-to-weight ratio. For functional parts like pipe fittings, use 50-100% infill; for decorative parts, 10-30% suffices.
- Cooling fan settings: Keep the fan off or at 10-20% for the first 3-5 layers to let them bond. Increase to 30-50% for upper layers to prevent overheating, but avoid full fan—rapid cooling causes warping.
Post-Processing & Finishing: Elevating ABS Prints
ABS’s versatility shines in post-processing—it responds well to techniques that transform rough prints into professional-looking parts:
- ABS vapor smoothing: The gold standard for finishing. Expose prints to acetone vapor (in a sealed container) for 10-30 minutes. Acetone dissolves the surface layer, melting small layer lines into a glossy, seamless finish. Avoid acetone bath (submerging) unless you want to soften or deform the part.
- Sanding ABS prints: Start with 120-200 grit sandpaper to remove layer lines, then move to 400-600 grit for smoothness. Wet-sanding prevents dust and clogs. Follow with primer adhesion (use a plastic-specific primer) to fill tiny scratches before painting.
- Spray painting ABS: Use enamel or acrylic paints designed for plastics. Light, even coats work better than thick layers to avoid drips. For a durable finish, add a UV curing clear coat to boost scratch resistance (though it won’t fix ABS’s inherent UV weakness).
- Mechanical finishing: Mechanical polishing with a buffing wheel and plastic polish (like Novus) adds a mirror shine. For assembly, tapping threads (use a lubricant to prevent cracking) or ultrasonic welding creates strong, seamless joints. Chemical bonding with ABS cement (a mix of acetone and ABS pellets) fuses parts better than superglue. For extra strength, annealing (heating to 80-90°C for 1-2 hours, then cooling slowly) reduces internal stress. You can even dyeing ABS filament before printing (using alcohol-based dyes) for custom colors.
Applications & Use Cases: Where ABS Excels
ABS’s unique blend of strength, flexibility, and printability makes it indispensable in these applications:
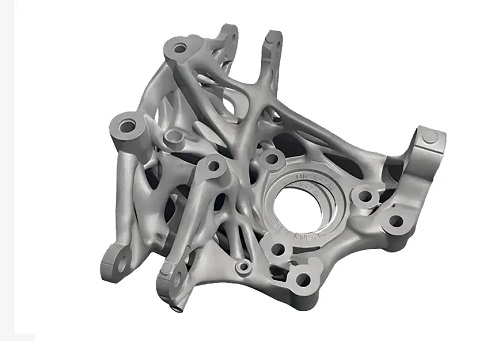
- Automotive prototyping: Engineers use ABS to print durable, heat-resistant prototypes of electronic enclosures, dashboard components, and trim parts. Its impact resistance withstands the rough handling of testing.
- Drone frames and RC car parts: These need to be lightweight (ABS’s density fits the bill) yet tough enough to survive crashes—ABS’s butadiene component absorbs impacts that would shatter PLA.
- LEGO bricks: The iconic toy uses ABS for its snap-fit strength, color retention, and ability to be molded (and 3D printed) into precise shapes.
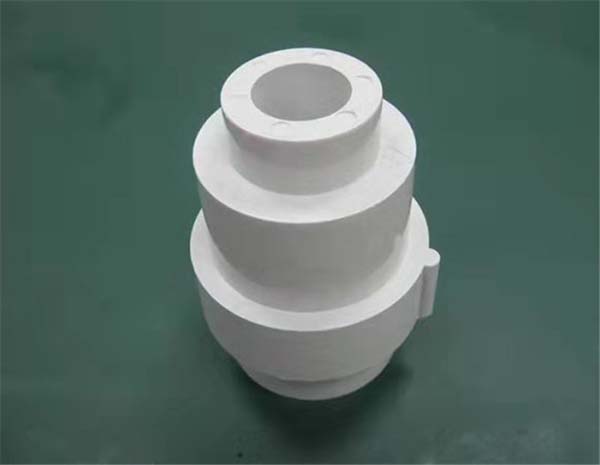
- Pipe fittings and industrial parts: ABS’s chemical resistance (from acrylonitrile) makes it suitable for low-pressure pipe fittings and jigs & fixtures in factories.
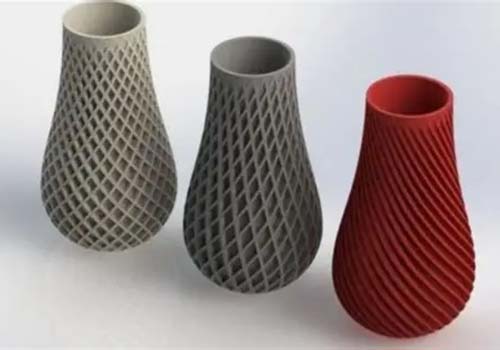
- Cosplay armor: 3D printed ABS armor is rigid enough to hold shape but flexible enough to move with the wearer. Post-processing (vapor smoothing and painting) gives it a professional, prop-like finish.
- Educational STEM projects: Its ease of printing (with the right setup) and affordability make it ideal for teaching 3D design—students can print functional parts like gears or hinges that actually work.
Yigu Technology’s Take: Expertise in ABS 3D Printing
At Yigu Technology, we’ve mastered 3D printing ABS for clients across industries. We know its quirks—how moisture absorption ruins prints, or how a 5°C nozzle temp change affects layer bond. Whether you need drone frames with unbeatable impact resistance or automotive prototyping parts with tight tolerances, we optimize every step: drying filament, tuning enclosure temps, and using vapor smoothing for a flawless finish. ABS isn’t just a material for us—it’s a tool to turn your designs into durable, functional reality.
Frequently Asked Questions (FAQ)
- Why does my ABS print warp even with a heated bed?
Warping is often due to uneven cooling. Ensure your printer is enclosed, use a brim or raft, and check that your heated bed temperature is consistent (90-110°C). Also, avoid printing large, flat parts without breaks—add vents or split designs to reduce stress.
- Can I print ABS without an enclosure?
It’s possible but risky. Use a draft shield (cardboard or acrylic around the printer), keep the room temp stable (25-30°C), and print small parts. Larger prints will likely warp. An enclosure is worth the investment for reliability.
- How do I fix stringing in ABS prints?
Increase retraction distance (3-5 mm) and speed (30-40 mm/s), lower nozzle temp by 5-10°C, or add a small z-hop (0.4-0.6 mm) when retracting. Also, ensure your filament is dry—moisture causes popping, which mimics stringing.