You’ve invested in a resin 3D printer for its promise of stunning detail—parts with smooth surfaces, crisp edges, and precision that FDM printers can’t match. But when you hit print, the results are disappointing: the part sticks to the resin tank instead of the build plate, layers cure unevenly leaving visible lines, or the final model is brittle and shatters when handled. Maybe your “high-detail” print has a rough surface, or the supports are so thick they ruin the part when removed.
Photopolymer resins offer unmatched resolution, but their unique material composition and 3D printing processes demand a different approach than filament-based printing. Success requires understanding how resin cures, nailing the exposure settings, and mastering post-processing techniques to unlock their full potential. In this guide, we’ll demystify 3D printing photopolymers, helping you avoid common pitfalls and create parts that showcase their incredible detail and versatility.
Material Composition: The Science of Resins
Photopolymer resins are liquid materials that cure (harden) when exposed to UV light, but not all resins are created equal. Their material composition varies widely, making them suited for specific applications:
- Base formulations: Most resins fall into categories like acrylic resins (affordable, general-purpose), epoxy resins (high strength, chemical resistance), or polyester resins (flexible, impact-resistant). Each starts with monomers (small molecules) and oligomers (larger chains), which form the resin’s backbone. When exposed to UV light, photoinitiators in the resin trigger a chemical reaction, linking monomers and oligomers into solid polymers—a process called cross-linking, aided by cross-linking agents.
- Additives and properties: Resins include additives to tweak performance: flexibilizers for bendable parts, fillers for strength, or pigments for color. Their viscosity (thickness) affects printability—low-viscosity resins (50-100 cP) flow easily, ensuring even layers, while high-viscosity resins (200-500 cP) hold shape better for tall prints. The curing mechanism is key: some resins cure fully with a single UV exposure, while others need post-curing to reach full strength.
3D Printing Processes: Curing for Precision
Resin 3D printing relies on UV light to transform liquid resin into solid parts, with several 3D printing processes offering different balances of speed, detail, and cost:
- Stereolithography (SLA): The oldest resin printing method, SLA uses a laser to trace each layer, curing resin in a tank. It offers exceptional resolution (layer thickness as low as 0.025 mm) and smooth surfaces, making it ideal for dental applications or jewelry molds. Print parameters like laser power and speed must be calibrated—too much exposure causes over-curing; too little leads to weak layers.
- Digital Light Processing (DLP): DLP uses a projector to cure entire layers at once, printing faster than SLA. It’s great for batch printing small parts like medical models or game pieces. Critical settings include UV wavelength (typically 385-405 nm) and exposure time (5-20 seconds per layer)—adjust based on resin type (thicker resins need longer exposure).
- Continuous Liquid Interface Production (CLIP): A cutting-edge process that cures resin continuously, not layer-by-layer, using a oxygen-permeable membrane to prevent the part from sticking to the tank. It produces smooth, strong parts up to 100x faster than SLA, ideal for industrial parts or large prototypes.
- Practical considerations: All processes use a resin tank to hold liquid and a build platform that lifts the part as layers cure. Support structures are essential—thin, tree-like supports prevent parts from sagging, but their design (density, thickness) affects surface finish. Slicing software (like Chitubox or PrusaSlicer) optimizes layer patterns and support placement, ensuring successful prints.
Applications: Where Resins Shine
Photopolymers’ high resolution and diverse properties make them indispensable in these applications:
- Dental and medical fields: Dental applications like crown models, aligner prototypes, or surgical guides rely on resin’s precision—layers as thin as 0.025 mm capture fine details like tooth textures. Medical models (anatomical replicas) use biocompatible resins, helping surgeons plan complex procedures. The smooth surface finish is critical here—no rough edges to damage tissue or obscure details.
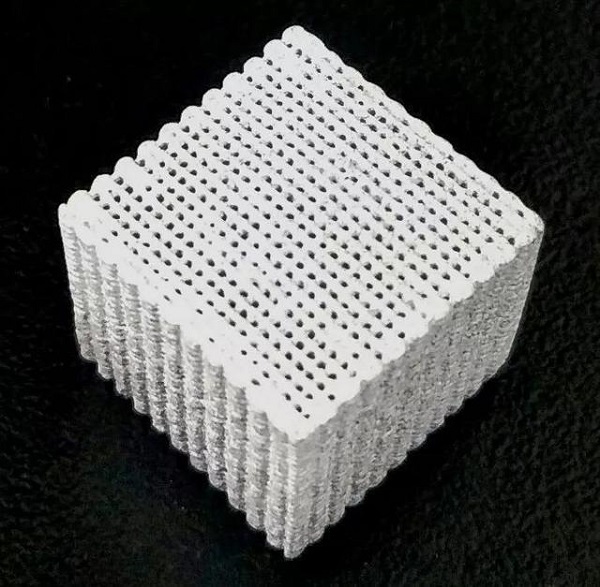
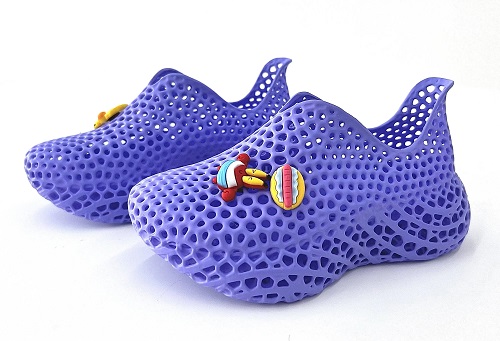
- Jewelry and prototyping: Jewelry making uses resin for detailed wax patterns, which are then cast in metal. Resin prototypes of consumer products (phone cases, toys) showcase design details better than FDM prints, making them ideal for client presentations. Art and design projects benefit from resin’s ability to hold intricate shapes, from sculptural details to delicate lattice structures.
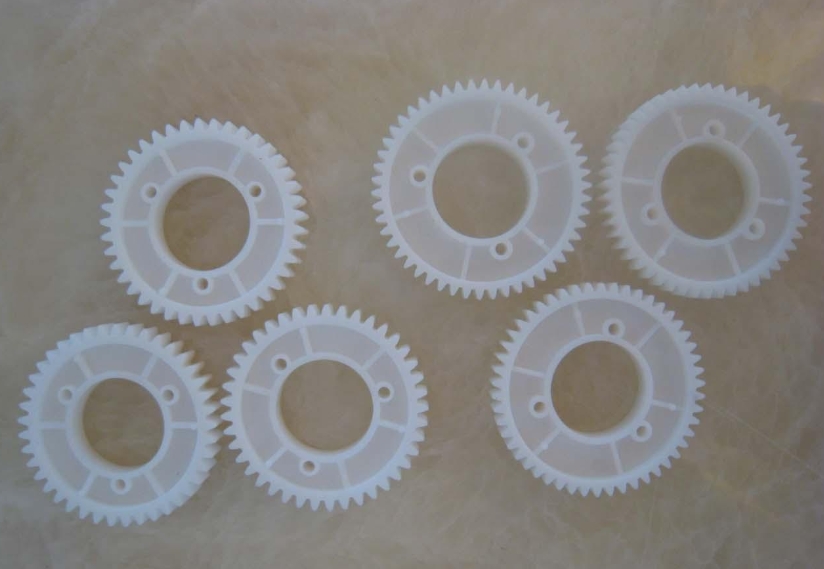
- Industrial and functional parts: While not as strong as FDM plastics, some resins (like engineering epoxies) create durable industrial parts—jigs, fixtures, or small gears. Flexible resins make customized products like grippers or seals, while high-temperature resins withstand brief exposure to heat (e.g., in mold making).
Performance and Properties: Matching Resin to Need
A resin’s performance and properties depend on its composition, so choosing the right one is key:
- Mechanical traits: General-purpose resins have moderate tensile strength (30-50 MPa) and impact resistance, while engineering resins reach 60-80 MPa—strong enough for light loads. Flexible resins offer elasticity (stretch and return to shape) with elongation at break of 50-200%, unlike brittle standard resins.
- Accuracy and finish: Resins excel in dimensional accuracy (±0.1 mm for small parts) and resolution (down to 25 microns), capturing details like text or textures that FDM printers miss. Their surface finish is naturally smooth, often requiring no sanding for visual parts—though some resins cure to a matte or glossy finish based on formulation.
- Limitations: Most resins have poor thermal stability (soften above 50-60°C) and chemical resistance (damage from alcohols or solvents). They can shrink 1-5% during curing, causing warping if not calibrated. While some are biocompatible (for skin contact), few are safe for long-term implantation.
Post-Processing Techniques: Perfecting Resin Prints
Resin prints need more post-processing than FDM parts, but the steps are straightforward with the right post-processing techniques:
- Support removal and cleaning: After printing, remove support structures carefully—use flush cutters for small supports, then sand the nubs smooth. Resin removal is critical: rinse parts in isopropyl alcohol (IPA) for 5-10 minutes to dissolve uncured resin. For large parts, use an ultrasonic cleaner to reach hidden crevices. Always wear gloves—uncured resin irritates skin.
- UV post-curing: Most resins need additional UV exposure to reach full strength. Use a post-curing station (385-405 nm wavelength) for 5-30 minutes—check the resin’s specs (flexible resins often need less time than rigid ones). Post-curing reduces shrinkage and boosts mechanical strength by 20-50%.
- Smoothing and finishing: Sanding with 400-1000 grit sandpaper removes any remaining layer lines, though many resins need little sanding. Polishing with a microfiber cloth adds a glossy finish. For durability, apply a clear coating (like UV-curable varnish). Painting works well too—clean the surface first with IPA to ensure adhesion.
Yigu Technology’s Perspective: Precision in Resin Printing
At Yigu Technology, we leverage photopolymer resins for projects where detail is non-negotiable. We match resin type to application—acrylics for prototypes, epoxies for strength, or flexible resins for gaskets—and optimize print parameters (exposure time, layer thickness) for each. Our post-processing ensures parts are clean, cured, and finished to spec, whether for dental applications requiring micron-level accuracy or industrial parts needing durability. Resins aren’t a replacement for FDM, but when detail matters, they’re unmatched—and we deliver prints that prove it.
Frequently Asked Questions (FAQ)
- Why is my resin print sticking to the tank instead of the build plate?
This usually happens if the first layer exposure time is too short or the build plate is too far from the tank. Increase first layer exposure by 50-100%, ensure the plate is level, and clean the tank’s bottom (UV light can’t 穿透 scratches or resin residue).
- How do I prevent my resin print from being brittle?
Brittle prints are often under-cured. Increase layer exposure time by 10-20% or extend post-curing by 5-10 minutes. Avoid using old resin (it degrades over time) and ensure the UV light source is working at full strength (replace bulbs annually).
- Can resin prints be used outdoors?
Most resins degrade in sunlight (UV rays break down polymers), causing fading or brittleness. Use UV-resistant resins or apply a UV-protective coating for outdoor use—they’ll last 6-12 months, compared to 1-2 months with standard resins.
