You’ve switched to tough resin hoping to get the best of both worlds: resin’s high detail with ABS’s durability. But your prints aren’t living up to the hype—parts snap when dropped, lack the flexibility you expected, or have visible layer lines that ruin their appearance. Maybe your “load-bearing” prototype cracks under light stress, or the resin cures unevenly, leaving weak spots that fail during testing.
Tough resin, with its ABS-like properties, is designed to bridge the gap between high-resolution resin printing and the strength of engineering plastics. But its unique balance of material properties demands more precise printing than standard resin. Success requires understanding how its formulation delivers toughness, nailing the 3D printing process settings to avoid brittleness, and knowing how to test its performance and durability. In this guide, we’ll unlock the potential of 3D printing tough resin, helping you create parts that are both detailed and genuinely rugged.
Material Properties: The Science of Toughness
Tough resin stands apart from standard resin thanks to its specialized material properties, which mimic ABS’s resilience while retaining resin’s detail:
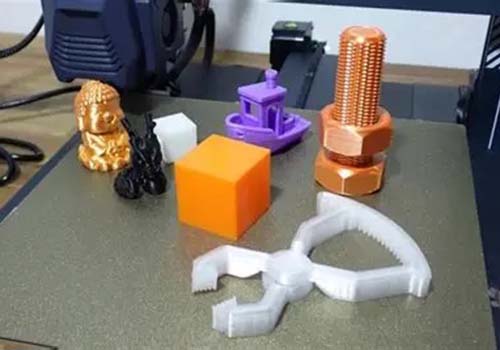
- Strength and flexibility: At its core, tough resin delivers impact resistance far exceeding standard resin—some grades can withstand drops from 1 meter without breaking, comparable to ABS. Its tensile strength ranges from 50-70 MPa, with an elongation at break of 20-50% (meaning it stretches before snapping, unlike brittle standard resin). This combination of mechanical strength and flexibility makes it ideal for parts that need to absorb shocks, like tool handles or robotics components.
- Durability traits: Tough resin offers better thermal stability than standard resin, with a continuous use temperature of 60-80°C (surviving brief exposure to 100°C). Its chemical resistance is improved too—resisting oils, alcohols, and mild solvents that would degrade standard resin. Abrasion resistance is another plus, ensuring parts stand up to friction, a key advantage for industrial parts or automotive components.
- Formulation details: Tough resin’s material composition includes rubber-like additives or modified oligomers that absorb impact energy. Its viscosity (800-2000 cP) is slightly higher than standard resin, requiring careful handling, but its curing characteristics are similar—curing under 385-405 nm UV light, though with longer exposure times to ensure full polymerization of its tougher molecules.
3D Printing Process: Tuning for Toughness
Tough resin works with SLA and DLP printers, but the 3D printing process requires adjustments to maximize its strength:
- Printer settings: Start with a layer thickness of 0.05-0.1 mm—thicker layers (0.15 mm) can reduce detail but improve interlayer bonding, boosting toughness. Exposure time is critical: 15-25 seconds per layer (longer than standard resin) ensures the tough molecules fully cure. UV wavelength should match the resin’s specs (typically 405 nm) to activate its photoinitiators effectively.
- Platform and support: The build platform must be spotless and level—poor first-layer adhesion weakens the entire part. Use a heated platform (40-60°C if available) to reduce internal stress, which can cause warping or brittleness. Support structures need to be stronger than those for standard resin—wider bases (0.5-1 mm) prevent supports from snapping during printing, but keep tips small (0.2 mm) to avoid damaging the part during removal.
- Slicing and orientation: Slicing software compatibility is broad (Chitubox, PrusaSlicer work well), but enable “tough resin” profiles if available—these adjust retraction and layer curing. Print orientation matters: align the part’s weakest axis with the layer lines (e.g., print brackets vertically) to maximize load-bearing capacity. Infill density isn’t an issue (it prints solid), but surface finish optimization may require enabling anti-aliasing to preserve detail without sacrificing strength.
Applications: Where Tough Resin Excels
Tough resin’s unique blend of strength and detail makes it indispensable in these applications:
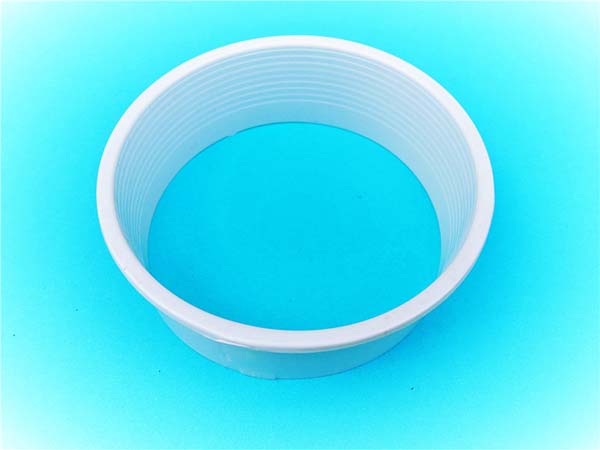
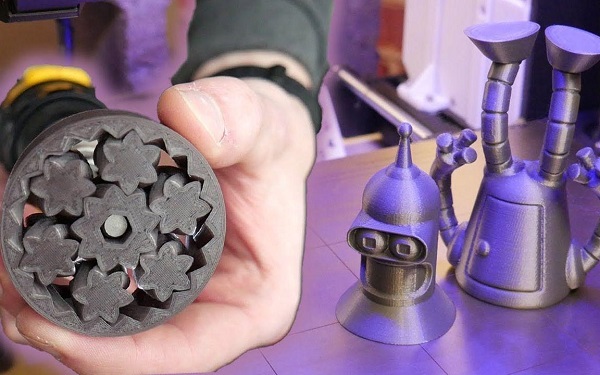
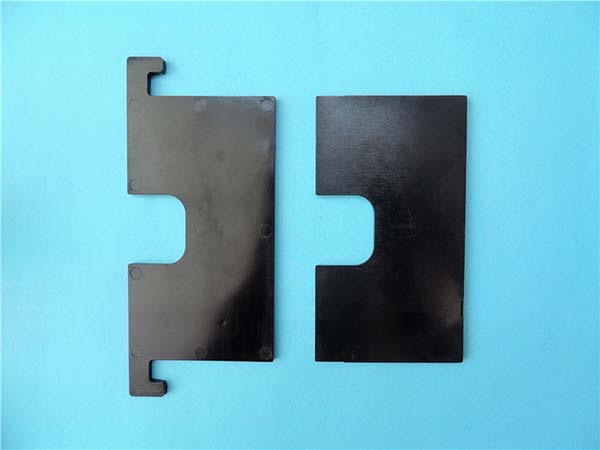
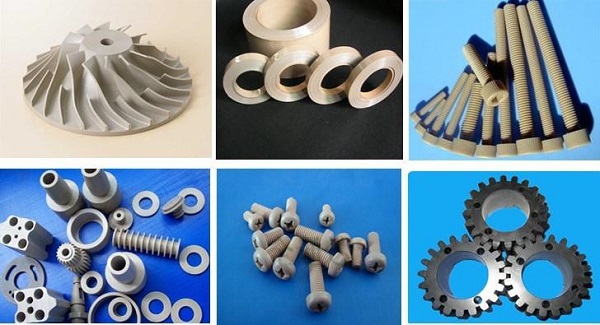
- Functional prototyping and industrial use: Functional prototyping is where tough resin shines—engineers use it to test parts like gearboxes, latches, or enclosures that need to work like final production parts. Industrial parts such as jigs, fixtures, or conveyor components benefit from its abrasion resistance and impact strength. Unlike standard resin prototypes, these can withstand real-world testing, from assembly line use to customer handling.
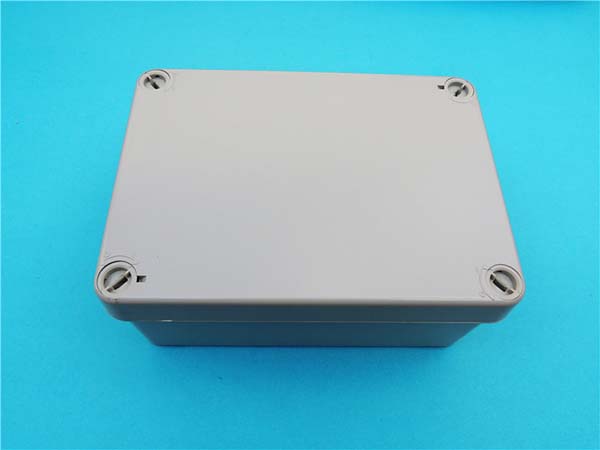
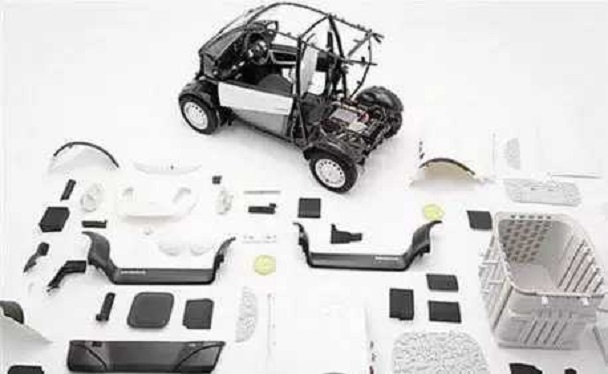
- Consumer and automotive products: Consumer product casings (phone cases, remote controls) printed in tough resin resist drops and scratches, showcasing designs while proving durability. In automotive, it’s used for automotive components like interior clips, sensor housings, or prototype parts that need to survive under-hood temperatures. Electronics enclosures also benefit—protecting circuit boards from impacts and minor spills.
- Specialized uses: Tough resin is making inroads in robotics (grippers, gear covers), aerospace components (lightweight brackets), and even medical devices (protective covers for equipment). Its ability to hold fine details (like mounting holes or text) while being genuinely tough makes it a versatile choice for any project where “looks like” isn’t enough—parts need to “work like” the real thing.
Performance and Durability: Testing Toughness
Tough resin’s performance and durability must be verified to ensure it meets application needs:
- Mechanical testing: Beyond visual inspection, test load-bearing capacity with simple stress tests—hang weights from parts to check for deformation, or use a impact tester to measure resistance to drops. Look for fatigue resistance too—parts like hinges should withstand 1000+ cycles of opening and closing without cracking. Tough resin typically outperforms standard resin by 2-3x in these tests, though it still falls slightly short of ABS in long-term stress.
- Environmental stability: Test thermal expansion by heating parts to 80°C and checking for warping—good tough resin should retain dimensional accuracy within ±0.2 mm. Expose samples to chemicals (oils, cleaning solvents) to verify chemical exposure resistance—swelling or softening indicates the resin isn’t suitable. Environmental resistance (UV, humidity) is moderate—parts for outdoor use may need a protective coating to prevent yellowing or brittleness over time.
- Real-world performance: For critical parts, track life-cycle performance—how well they hold up over weeks or months of use. Surface durability (resistance to scratches) can be tested with a pencil hardness test (tough resin typically scores 2H-3H, better than standard resin’s HB). Resistance to deformation under constant pressure (e.g., a clamp holding parts) is another key metric—good tough resin should creep minimally (less than 1% over 24 hours).
Post-Processing: Enhancing Toughness
Tough resin’s post-processing is similar to standard resin but with steps to preserve its strength:
- Support removal and cleaning: Use sharp flush cutters to remove supports, then sand nubs with 200-400 grit sandpaper—avoid aggressive sanding, which can create stress points. Clean parts in IPA for 10-15 minutes (longer than standard resin) to remove uncured material, which can weaken the surface.
- Post-curing: Critical for tough resin—UV post-curing (15-30 minutes in a 60°C curing station) locks in its mechanical strength. Unlike standard resin, under-curing tough resin leads to significant brittleness, so follow the manufacturer’s guidelines. Some resins benefit from a “annealing” step—post-curing at 80°C for 1 hour to reduce internal stress.
- Finishing: Painting is possible but use flexible primers and paints to avoid cracking when the part bends. Coating with a clear, UV-resistant layer improves environmental resistance for outdoor parts. Assembly with screws or adhesives works well—tough resin’s strength prevents stripping of threaded holes, a common issue with standard resin.
Yigu Technology’s Perspective: Tough Resin for Functional Parts
At Yigu Technology, tough resin is our go-to for clients needing both detail and durability. We’ve found it’s a game-changer for functional prototyping—parts that look like production components and perform like them too. Our team optimizes print parameters (longer exposure, heated platform) to maximize impact resistance, and we test samples for tensile strength and flexibility before full production. Whether it’s a rugged electronics enclosure or a durable automotive component, tough resin delivers where standard resin fails—proving that high resolution and real-world toughness can coexist.
Frequently Asked Questions (FAQ)
- Why is my tough resin print still brittle?
Brittle tough resin is usually under-cured. Increase layer exposure time by 10-20% or extend UV post-curing by 5-10 minutes. Ensure the curing station’s temperature is at least 60°C—heat helps activate the resin’s tough additives. Avoid over-sanding, which can remove the cured surface layer and expose weaker internal material.
- How does tough resin compare to ABS in strength?
Tough resin matches ABS in impact resistance and flexibility but has slightly lower tensile strength (50-70 MPa vs. ABS’s 20-40 MPa—wait, no: ABS typically has 20-40 MPa, so tough resin is stronger). It retains finer details than FDM-printed ABS but has lower thermal stability (ABS handles 90°C vs. tough resin’s 60-80°C). For most functional prototypes, tough resin is a better choice; for high-heat applications, stick with ABS.
- Can tough resin be used for load-bearing parts?
Yes, but within limits. It’s suitable for light to medium load-bearing capacity (e.g., brackets holding 1-5 kg). For heavier loads, test thoroughly—look for creep (slow deformation) over time. Reinforce critical areas with thicker walls (2-3 mm) and avoid sharp corners, which act as stress points. For industrial-grade load-bearing, consider engineering resins or metal.