yigu: If you’ve ever struggled with 3D prints that warp, break, or fail to match your design, you’re not alone. From uneven layer adhesion to select wrong materials that melt too quickly, Fused Deposition Modeling (FDM) — the most popular form of 3D printing — comes with its share of challenges. But what if you could master the entire process, from material selection to equipment setup, and consistently produce high-quality parts? This guide breaks down everything you need to know about FDM, backed by industry expertise and practical solutions to common pain points.
Process Fundamentals: How FDM Turns Digital Designs into Physical Parts
At its core, Fused Deposition Modeling (FDM) is a form of additive manufacturing that builds objects through layer-by-layer fabrication. Unlike subtractive methods that carve away material, FDM adds material precisely where it’s needed, reducing waste and enabling complex geometries. Here’s a step-by-step breakdown of how it works:
- Digital Design Preparation: A 3D model (created in CAD software) is sliced into thin layers using slicing software — think of it as cutting a loaf of bread into hundreds of tiny slices, each representing a layer of your print.
- Thermoplastic Melting: The printer feeds a filament (a thin, continuous strand of material) into an extruder, where it’s heated to its melting point. For example, Polylactic Acid (PLA) melts around 180–200°C, while Acrylonitrile Butadiene Styrene (ABS) requires higher temperatures (220–250°C).
- Extrusion Process: The molten material is pushed through a nozzle (typically 0.4mm in diameter, though sizes vary) as the print head moves along the X, Y, and Z axes. Each layer bonds to the one below as it cools.
- Layer Adhesion: Proper bonding between layers depends on temperature control. If the heated bed (or build plate) is too cold, the first layer may warp; if the nozzle is too hot, layers can blend unevenly.
- Finalization: Once all layers are printed, the object cools completely before being removed from the build plate. Post-processing (like sanding or painting) may be needed for a smooth finish.
A key advantage of FDM is its simplicity compared to other 3D printing technologies. However, precision is critical: even a 0.1mm error in nozzle movement can ruin a print. This is why calibration — adjusting settings like nozzle height and print speed — is non-negotiable.
Material Selection: Which Thermoplastic Should You Use for Your Project?
Choosing the right thermoplastic materials is often the difference between a successful print and a failed one. Each material has unique properties that affect strength, flexibility, and performance. Here’s how to decide:
| Material | Melting Temperature | Tensile Strength | Flexibility | Heat Resistance | Best For |
| PLA | 180–200°C | 50–70 MPa | Low | Poor (<60°C) | Prototypes, decorative parts |
| ABS | 220–250°C | 40–50 MPa | High | Good (80–100°C) | Functional parts, toys |
| Nylon | 210–250°C | 45–60 MPa | Very High | Excellent (>100°C) | Wear-resistant parts, gears |
| Polyethylene | 120–180°C | 20–30 MPa | High | Moderate (60–80°C) | Chemical-resistant containers |
Material compatibility is another factor. For example, PLA adheres well to a heated bed (60°C) but is prone to warping in warm environments. ABS, while durable, releases fumes during printing and requires a well-ventilated space. If you’re printing parts that need to withstand stress, Nylon (with its high flexibility and impact resistance) is often a better choice than PLA.
Pro tip: Test print a small sample (like a tensile test coupon) before committing to a large project. This helps you verify material properties like strength and flexibility under real-world conditions.
Equipment and Setup: Configuring Your FDM Printer for Success
Even the best materials won’t save a poorly set up printer. Here’s a breakdown of critical components and how to optimize them:
Essential FDM Printer Components
- Extruder: Feeds the filament into the heating chamber. A dual extruder allows printing with two materials (e.g., a support material and a main material).
- Nozzle: Determines layer resolution. Smaller nozzles (0.2mm) create finer details but print slower; larger nozzles (0.8mm) speed up printing but reduce precision.
- Heated Bed: Prevents warping by keeping the base layer warm. Most printers let you adjust the bed temperature (e.g., 60°C for PLA, 110°C for ABS).
- Spool Holder: Must feed filament smoothly to avoid jams. Ensure the spool rotates freely and the filament path is unobstructed.
- Controller: Manages printer settings via a software interface. Look for printers with intuitive controls for adjusting speed, temperature, and layer height.
Calibration Tips for Perfect Prints
- Level the Build Plate: An uneven bed causes inconsistent layer adhesion. Use the printer’s auto-leveling feature or manually adjust the bed screws until a piece of paper slides under the nozzle with slight resistance.
- Adjust Nozzle Height: Too close, and the nozzle will scrape the bed; too far, and layers won’t bond. A 0.1mm gap is ideal for most filaments.
- Calibrate Extruder Steps: Ensure the extruder pushes the correct amount of filament. A common test: command 100mm of filament extrusion and measure the actual length — adjust settings if it’s off by more than 1mm.
- Optimize Retraction: When the nozzle moves between sections, retracting filament slightly prevents stringing (thin threads of plastic between parts). Start with a retraction distance of 2–5mm and speed of 20–40mm/s.
Investing time in setup pays off: a well-calibrated printer reduces failed prints by up to 70%, according to industry data.
Applications and Uses: Where FDM Shines in Industry and Beyond
Fused Deposition Modeling (FDM) isn’t just for hobbyists — it’s revolutionizing manufacturing across sectors. Here are its most impactful applications:
- Rapid Prototyping: Engineers use FDM to create functional prototypes in hours, not weeks. For example, an automotive team can test a new gear design the same day it’s modeled, accelerating product development.
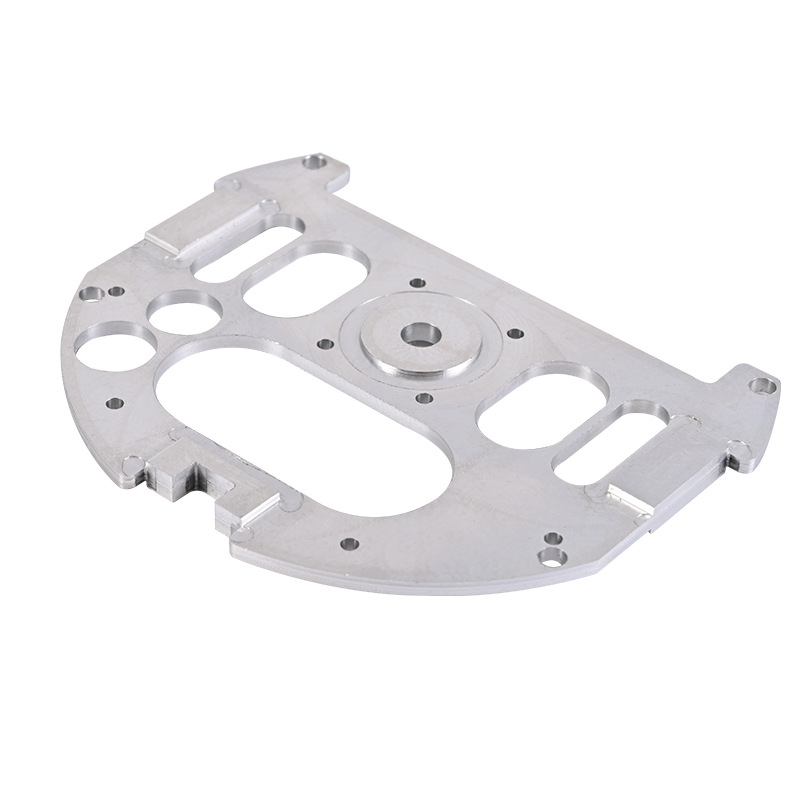
- Custom Manufacturing: Small-batch production is where FDM excels. Companies like Yigu Technology leverage FDM for plastic metal parts custom manufacturing, offering tailored components without the high costs of traditional molds.
- Medical Devices: From custom prosthetics to surgical guides, FDM produces patient-specific tools. PLA is often used here due to its biocompatibility.
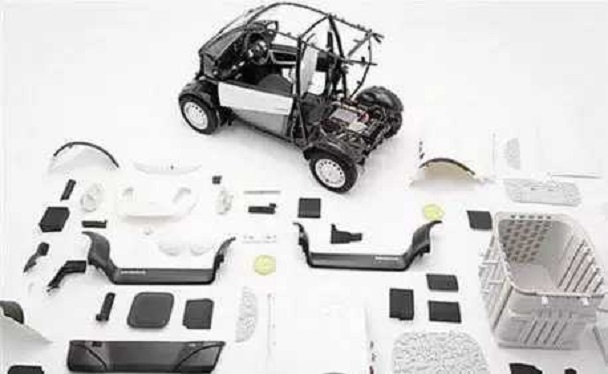
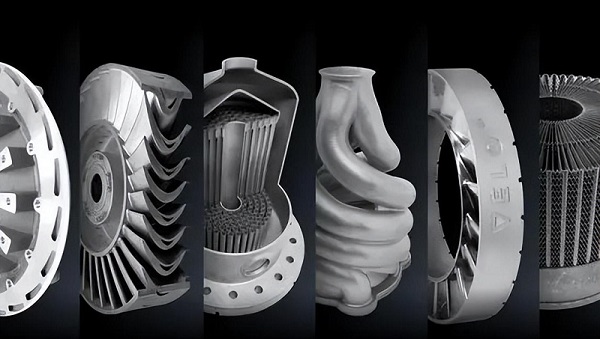
- Aerospace Components: Lightweight, complex parts (like drone frames or satellite brackets) are 3D printed with high-strength materials like Nylon, reducing aircraft weight and fuel consumption.
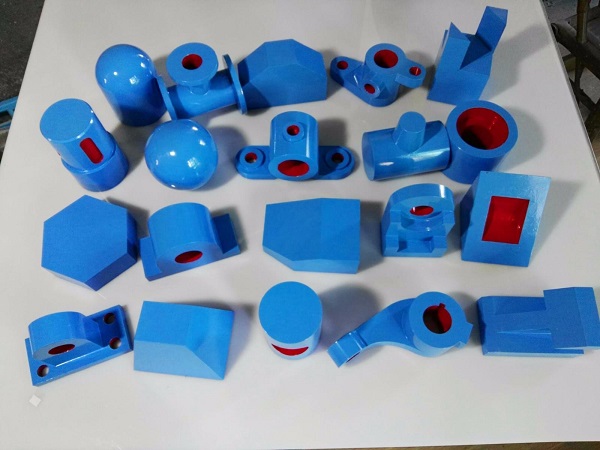
- Educational Tools: Schools use FDM to teach STEM concepts, letting students design and print everything from molecular models to robot parts.
One standout example: in architecture, firms print detailed architectural models with PLA, adding textures and colors to showcase building designs to clients. Artists, too, embrace FDM for art and sculpture, pushing the boundaries of what’s possible with traditional materials.
Expert Insight from Yigu Technology
As a leading plastic metal parts custom manufacturing Supplier, Yigu Technology emphasizes the importance of aligning FDM processes with material properties. “We often see clients prioritize speed over material selection, leading to parts that fail under stress,” says their lead engineer. “For industrial applications, we recommend Nylon or reinforced filaments for durability, paired with strict calibration to ensure layer adhesion. FDM’s strength lies in its versatility — but only when paired with expert knowledge of how materials and machines interact.”
FAQ: Your Most Pressing FDM Questions Answered
- Why is my FDM print warping?
Warping usually happens due to uneven cooling. Try increasing the heated bed temperature (e.g., 70°C for PLA, 110°C for ABS) or using a bed adhesive (like hairspray or PEI sheets) to improve first-layer adhesion.
- Which material is best for outdoor use?
ABS or Nylon are better than PLA for outdoor parts, as they resist UV damage and temperature fluctuations. Polyethylene also works well for its weather resistance.
- How can I improve layer adhesion in my prints?
Ensure the nozzle temperature is correct for your material, slow down the print speed (to allow better bonding), and use a slight over-extrusion (1–5%) to increase material flow between layers.
By mastering these fundamentals — from understanding layer-by-layer fabrication to choosing the right filament — you’ll transform your FDM prints from frustrating failures to professional-quality parts. Whether you’re a hobbyist or an engineer, FDM offers endless possibilities when approached with knowledge and precision.

