Introduction
If you have ever faced delayed production, unexpected costs, or parts that fail to meet specifications, you know that engineering machining is both an art and a science. Getting it right requires more than just running a machine. It demands a systematic approach that starts with design and ends with verified quality. This guide covers the core pillars of successful machining: Design for Manufacturability (DFM) , process planning, material selection, precision measurement, and advanced technologies. Whether you are a designer, production manager, or engineer, you will find practical solutions you can apply today.
What Is Design for Manufacturability and Why Does It Matter?
Design for Manufacturability (DFM) is the practice of designing parts with manufacturing in mind—not just function. This step locks in about 70% of product costs. Skip it, and you face rework, delays, or even scrapped batches.
Key DFM Practices to Master
- Simplify features: Remove unnecessary details. A milled aluminum bracket saw 12–18% faster cycle times when its internal corner radius increased from 1 mm to 3 mm.
- Analyze tolerances: Relax tolerances on non-critical surfaces. Tight tolerances add cost without adding value.
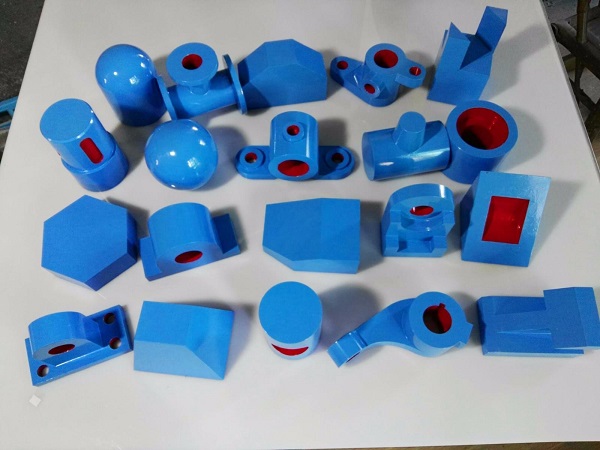
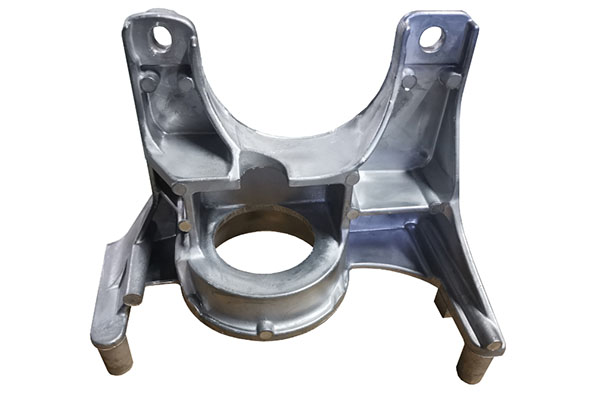
- Choose materials wisely: Pick materials that are easy to machine and fit your budget. For small-batch suspension mounts, switching from forged to billet steel cut lead times by 70% and reduced costs.
A Real-World DFM Success
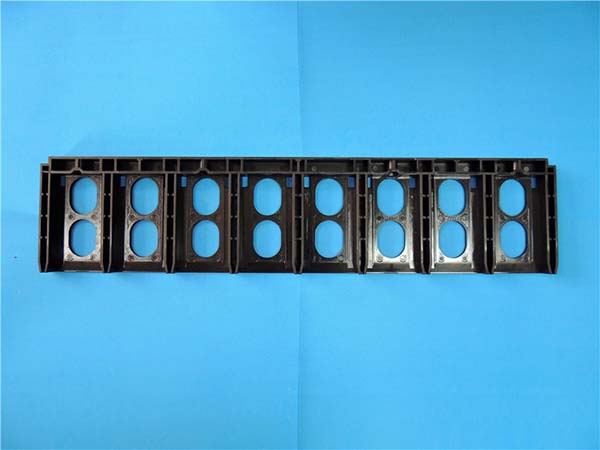
A security industry client faced 6-month lead times for phosphor bronze and naval brass components. By applying DFM—simplifying part geometry and standardizing features—they reduced lead times to 10 weeks. The fix was simple: removing non-essential contours that slowed toolpaths.
How Do You Turn Designs into Actionable Plans?
Even the best design fails without a solid plan. Process engineering maps every step from raw material to finished part. It uses tools that eliminate guesswork.
Critical Planning Tools
| Tool | Purpose | Pro Tip |
|---|---|---|
| Method Sheets | Outline step-by-step machining processes | Include tool types and inspection checkpoints to avoid errors |
| CAM Software | Generate toolpaths for CNC machines | Pair with toolpath optimization to cut cycle times by 15–20% |
| Setup Sheets | Document machine settings (feeds, speeds, fixtures) | Add photos of fixture setups for new operators |
Case Study: The Rectangle vs. Hex Dilemma
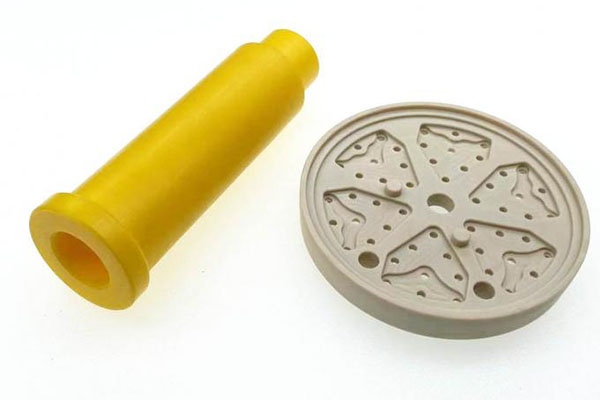
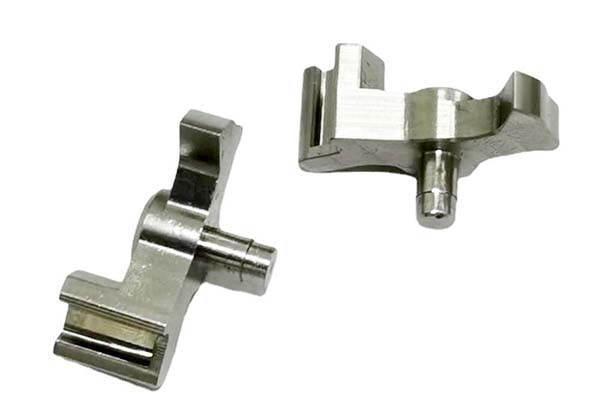
A client needed a part that would not spin in a plastic overmold. Traditional hex designs failed. Engineers switched to a rectangular shape. Instead of costly milling, they used a polygon tool at 10,000 RPM. The result? They finished parts in half the time. The lesson is clear: operation sequencing—choosing the right order of steps—saves both time and money.
How Do You Pick the Right Material?
Machinability is not just about the machine. It is about the material. A metal’s hardness, microstructure, and response to heat treatment directly affect your success.
Key Material Properties to Prioritize
- Machinability: Aluminum is easy; titanium is hard. This affects tool wear and cutting speed.
- Thermal expansion: High-carbon steels expand more when heated. This matters for parts used in high-temperature environments.
- Stress relief: Annealing (heating and cooling slowly) reduces internal stress in steel parts. It prevents warping after machining.
A Cost-Saving Material Move
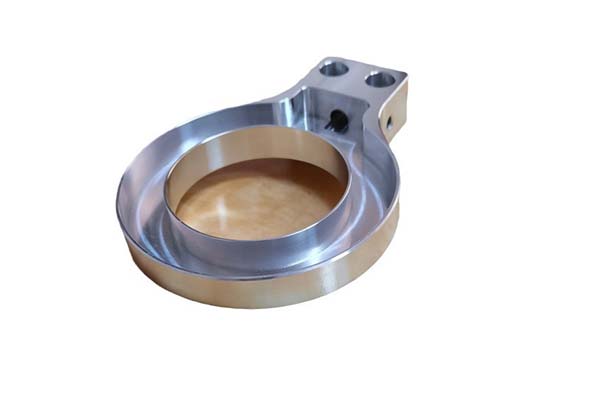
A locomotive client initially planned water jet cutting for 85 mm-thick fire hole rings. The process was expensive, and drilling holes manually added time. By switching to high-speed machining of flame-cut blanks, they matched the cost of water jetting but cut production time by 40%. The material? A low-alloy steel with excellent machinability.
What Does Precision Look Like in Practice?
In machining, “close enough” is not enough. Precision means hitting tight tolerances—and proving it with data.
Essential Metrology Tools
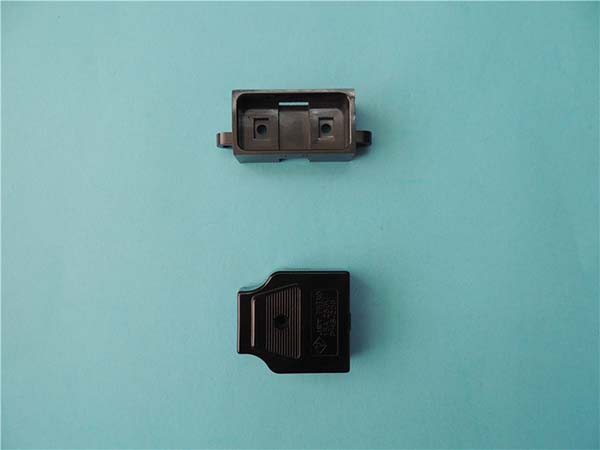
- CMM Programming: Coordinate Measuring Machines (CMMs) check dimensional accuracy down to 0.0001 inches. One shop used CMMs to verify single-sided drilling for electronic connectors while holding ±0.0001 inch tolerances.
- GD&T: Geometric Dimensioning and Tolerancing defines part geometry clearly. It reduces miscommunication between design and production.
- SPC (Statistical Process Control): Tracks variations in real time. An automotive supplier used SPC to reduce vibration in parts, cutting product noise by 30%.
Data You Can Trust
| Metric | Typical Value |
|---|---|
| Tightest common tolerance (medical parts) | ±0.0005 inches |
| Surface finish standard (aerospace components) | 4 microinches or better |
| Calibration frequency for metrology tools | Every 6–12 months |
What Advanced Technologies Are Shaping Machining?
The year 2025 is about smarter, faster machining. These technologies are not “nice-to-haves.” They are how you stay competitive.
Top Tech Trends to Adopt Now
- Multi-Axis Machining: 5-axis machines handle complex shapes in one setup. They reduce clamping errors and boost yield by 20%.
- Additive Hybrid: Combine 3D printing (for near-net shapes) with CNC machining (for precision). Aerospace shops use this to cut material waste by 30%.
- Smart Manufacturing: AI-powered adaptive control adjusts toolpaths in real time for vibration or heat. It improves accuracy by 30%.
Example of Next-Level Machining
Aerospace engineers once struggled with polished, contoured parts. They developed a custom lapping process paired with 5-axis machining to hit 4-microinch finishes. Traditional methods could not achieve this. The result? Lighter, more efficient components for jet engines.
Conclusion
Engineering machining is entering an era of “precision with purpose.” Success comes from unifying design, planning, materials, measurement, and technology. When you apply DFM early, you avoid costly mistakes. When you plan processes carefully, you reduce cycle times. When you choose the right materials, you save money. And when you adopt advanced technologies, you stay ahead of the competition. Machining is not just about making parts. It is about making parts better—faster and cheaper.
FAQs
How much does DFM really save?
On average, DFM reduces part costs by 9–14% and cuts cycle times by 12–18% for milled parts. For high-volume production (10,000+ units per year), savings jump to 20% or more.
When should I use multi-axis machining vs. 3-axis?
Use 3-axis for simple shapes like blocks and holes. Choose 5-axis for complex parts like curved aerospace components. Multi-axis avoids multiple setups and reduces errors.
How often do I need to calibrate metrology tools?
For daily use, calibrate every 6 months. If tools are used in harsh environments like dust or heat, calibrate every 3 months to maintain accuracy.
What is the biggest mistake new machinists make?
Skipping tolerance analysis. Over-specifying tolerances adds cost without improving performance. Always ask: “Does this tight tolerance matter for function?”
Contact Yigu Technology for Custom Manufacturing
At Yigu Technology, we combine deep engineering expertise with advanced machining capabilities. Our team applies DFM principles from the start, ensuring your parts are designed for efficient production. We operate 3-axis, 4-axis, and 5-axis CNC machines and work with a wide range of metals and plastics. Whether you need a single prototype or a medium-volume production run, we provide process planning, material guidance, and quality verification to deliver parts that meet your exact specifications.
Ready to bring your design to life? Contact Yigu Technology today for a free consultation and quote. Let us help you turn your concept into precision-machined reality.