Introduction
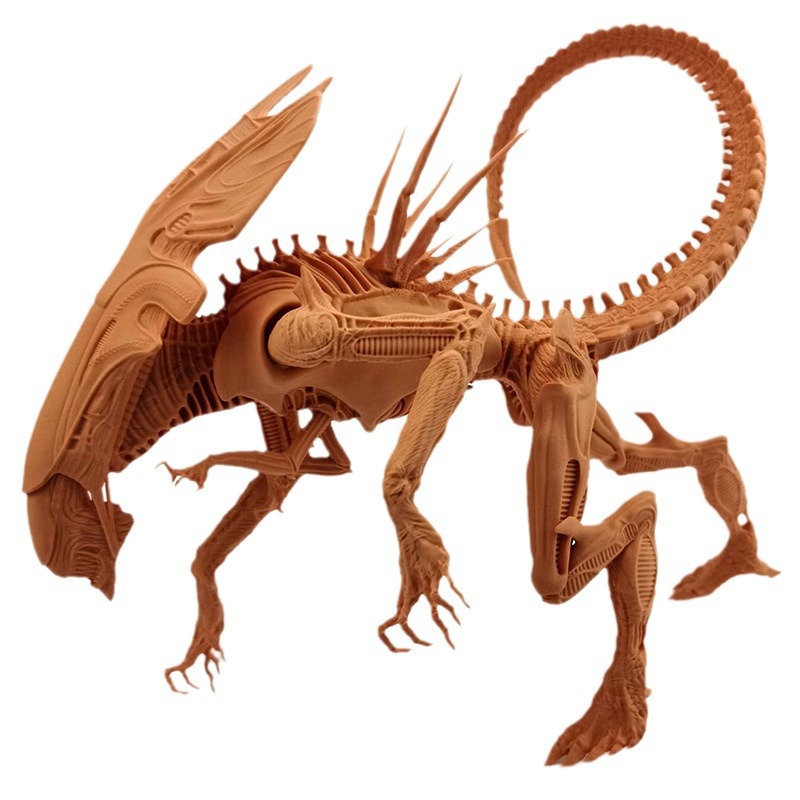
Dragons have captured human imagination for centuries. From ancient myths to modern movies, these majestic creatures symbolize power, wisdom, and mystery. Now, with 3D printing technology, you can hold a dragon in your hands—a physical creation born from digital design.
But the journey from concept to finished print isn't always smooth. Many enthusiasts struggle with choosing the right technology, modeling complex dragon anatomy, selecting appropriate materials, and achieving professional-looking finishes.
This guide covers everything you need to know. Whether you're a beginner making your first dragon or an experienced printer looking to refine your process, you'll find practical advice for creating stunning 3D dragon prints.
What 3D Printing Technology Should You Choose?
The printer you choose fundamentally affects what's possible. Each technology has strengths and tradeoffs.
FDM: Affordable and Accessible
Fused Deposition Modeling (FDM) printers are the most common and affordable option. They work by melting thermoplastic filament—PLA, ABS, PETG—and extruding it through a nozzle layer by layer.
Popular models like the Creality Ender series can achieve layer heights as low as 0.1mm. That's detailed enough for many dragon models.
Pros:
- Low cost (printers start under $200)
- Wide material selection
- Large build volumes possible
- Easy to learn and maintain
Cons:
- Visible layer lines
- Lower resolution than resin printers
- Requires careful support removal
Best for: Beginners, large dragons, cost-conscious projects.
SLA and DLP: Detail Champions
Stereolithography (SLA) and Digital Light Processing (DLP) printers use light to cure liquid resin. The results are stunning—layer heights as low as 0.025mm and surfaces smooth enough to look injection-molded.
The Anycubic Photon series and Elegoo Mars brought resin printing to the masses. These machines cost more than FDM printers but deliver detail that FDM can't match.
Pros:
- Exceptional detail—perfect for scales, claws, facial features
- Smooth surface finish
- Complex geometries print cleanly
Cons:
- Messy resin handling
- Post-processing required (washing, curing)
- Smaller build volumes
- Resin is more expensive than filament
Best for: Highly detailed dragons, display pieces, models with fine features.
Comparing Technologies for Dragon Printing
| Factor | FDM | SLA/DLP |
|---|---|---|
| Detail level | Good (0.1-0.2mm layers) | Excellent (0.025-0.05mm layers) |
| Surface finish | Visible layer lines | Smooth as molded |
| Print speed | Slow for detailed models | Faster for same detail |
| Material cost | Low ($20-50/kg) | Higher ($30-80/L) |
| Ease of use | Beginner-friendly | Messy, more steps |
| Post-processing | Sanding, painting | Washing, curing, then painting |
Choose based on your goals. If you want a quick, inexpensive dragon to paint and display, FDM works fine. If you want every scale visible and glass-smooth surfaces, invest in resin.
How Do You Design or Find a Dragon Model?
Understanding Dragon Anatomy
Before designing, study dragon anatomy. While mythical, believable dragons follow consistent patterns:
- Long, muscular body with powerful legs
- Large wings proportional to body size
- Distinct head with sharp teeth and horns
- Tail that balances the body
- Scales or hide covering the surface
References from movies, games, and mythology help. Notice how wings attach, how claws curve, how spines run along the back. Good anatomy makes your dragon convincing.
3D Modeling Software Options
If you're creating your own design, you'll need modeling software.
Blender is the free, open-source powerhouse. It offers:
- Sculpting tools for organic shapes
- Modeling tools for precise geometry
- Texturing and UV mapping
- A steep learning curve but endless tutorials
Autodesk Maya and ZBrush are professional tools used in film and games. Powerful but expensive and complex.
For beginners: Start with Blender. The price is right, and the community support is massive.
Digital Sculpting Techniques
Creating a dragon in software feels like working with digital clay.
Start with a basic shape—a sphere for the head, cylinders for body and limbs. Use sculpting tools to push and pull:
- Grab brush pulls out wings from the body
- Smooth brush refines surfaces
- Inflate brush adds volume to muscles
- Crease brush defines scales and details
Work from large forms to small details. Get the overall shape right before adding scales, claws, and texture.
Texture Mapping for Realism
Texture maps add color and surface detail. In Blender, UV mapping lays out the dragon's surface like a flattened hide, ready for painting.
Create scale textures in external software like Photoshop, then apply them in Blender. Bump maps simulate 3D texture without adding geometry. Color maps define the dragon's appearance—green scales, yellow underbelly, red highlights.
Scale and Proportion Matter
If your dragon is for a tabletop game, ensure it fits the game's scale. A 28mm scale miniature needs different proportions than a desktop display piece.
Proportion checks: head too large? wings too small? Legs stubby? Compare against reference images. Small adjustments make huge differences in believability.
What Materials Work Best for Dragon Prints?
PLA: The Beginner's Friend
Polylactic Acid (PLA) is the most common FDM filament. Made from corn starch, it's biodegradable and prints easily at 180-220°C.
Pros:
- Wide color range
- Easy to print
- No fumes
- Cheap
Cons:
- Less strong than other materials
- Can be brittle
- Not heat-resistant
Best for: Display dragons, prototypes, painted models.
ABS: Stronger and Heat-Resistant
Acrylonitrile Butadiene Styrene (ABS) is tougher than PLA and handles higher temperatures. Prints at 220-250°C and requires a heated bed to prevent warping.
Pros:
- Strong and durable
- Heat-resistant
- Can be acetone-smoothed
Cons:
- Strong fumes during printing
- Warps easily without enclosure
- More challenging to print
Best for: Dragons that will be handled, functional parts.
Resin: Detail Without Compromise
Resin printing dominates the high-detail space. Various formulations exist:
- Standard resin – Good all-purpose detail
- Flexible resin – Bendable wings and tails
- High-temperature resin – Heat-resistant applications
- Water-washable resin – Easier cleanup
Pros:
- Unmatched detail
- Smooth surfaces
- Wide material options
Cons:
- Messy handling
- Requires washing and curing
- More expensive per print
Best for: Detailed display pieces, jewelry, miniatures.
Flexible Filaments for Movable Parts
TPU (Thermoplastic Polyurethane) prints flexible parts. Use it for:
- Wing membranes that bend
- Articulated tails
- Poses that require flex
Flexible filaments need slower print speeds and specific settings. Not all printers handle them well.
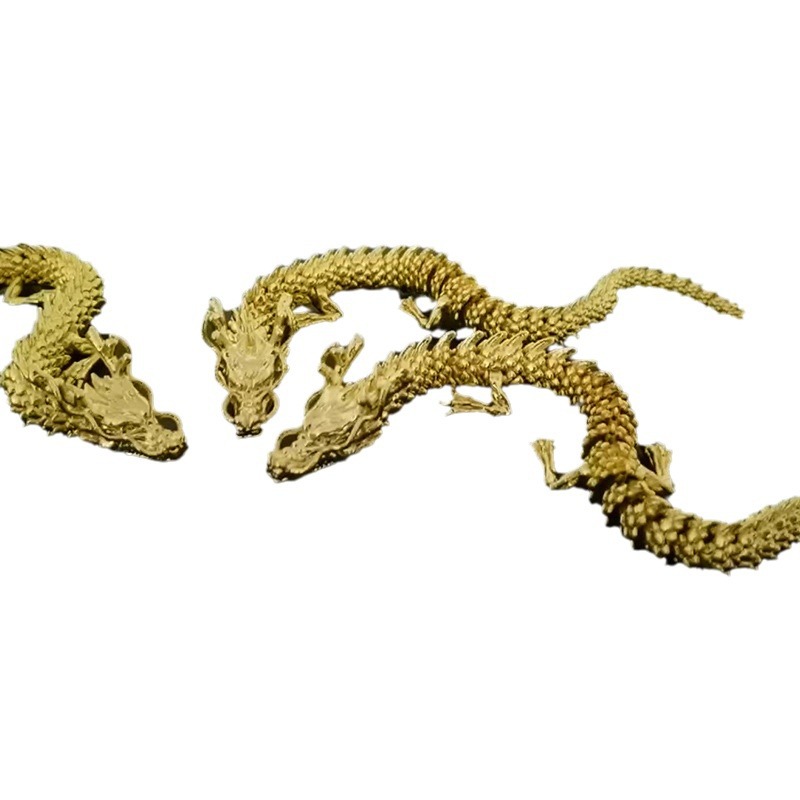
Metal-Infused Filaments for Luxury Looks
Bronze-fill, copper-fill, and similar filaments contain metal powder. Printed dragons look and feel like metal sculptures.
Pros:
- Heavy, metallic appearance
- Can be polished to shine
- Unique aesthetic
Cons:
- Expensive
- Abrasive on nozzles
- Requires post-processing to reveal metal look
Choosing Support Materials
Complex dragons need supports. In FDM printing, PVA (Polyvinyl Alcohol) supports dissolve in water—perfect for intricate models. In resin printing, supports are printed in the same material and removed manually.
Factor support removal into your material choice. Water-soluble supports save cleanup time but cost more.
Material Comparison for Dragon Printing
| Material | Detail | Strength | Flexibility | Ease of Print | Best Use |
|---|---|---|---|---|---|
| PLA | Good | Moderate | Low | Excellent | Display, painting |
| ABS | Good | High | Low | Challenging | Durable models |
| Standard resin | Excellent | Moderate | Low | Moderate | Detailed display |
| Flexible resin | Good | Moderate | High | Moderate | Wings, tails |
| TPU | Moderate | High | High | Challenging | Articulated parts |
| Metal-infused | Good | High | Low | Moderate | Luxury display |
How Do You Achieve Professional Post-Processing?
The print is just the beginning. Post-processing transforms good prints into great ones.
Sanding: Smoothing Layer Lines
For FDM prints especially, sanding is essential.
Start with coarse grit (80-120) to remove obvious layer lines and support marks. Progress to medium (220-320) , then fine (400-600) for smooth surfaces. For ultimate smoothness, wet sand with fine grit.
Work carefully around delicate features. Wings, claws, and spines can break if you're too aggressive.
Priming: The Foundation for Paint
Primer serves multiple purposes:
- Helps paint adhere
- Reveals imperfections needing more sanding
- Creates uniform base color
Apply thin, even coats. Let dry completely between coats. Sand lightly between coats for glass-smooth results.
For resin prints, primer is especially important—raw resin can resist paint adhesion.
Painting: Bringing Dragons to Life
Acrylic paints work best for 3D printed models. They're water-based, easy to work with, and available everywhere.
Techniques to try:
- Base coating – Solid color covering the entire model
- Dry brushing – Lightly dragging a nearly-dry brush over raised areas to highlight scales and details
- Washes – Thin, watery paint that flows into recesses, creating shadows
- Layering – Building up colors from dark to light
- Glazing – Thin transparent layers for subtle color shifts
Study reference images. Real animals have color variation—darker backs, lighter undersides, patterns and markings. Copy nature even for mythical creatures.
Assembly: Joining Multiple Parts
Large dragons often print in multiple pieces. Plan assembly points during design.
Use super glue (cyanoacrylate) for most materials. For stronger bonds, epoxy works well. Some modelers use pins—drill matching holes and insert metal wire—for joints that need strength.
Align parts carefully before glue sets. Test fit first, then commit.
Glazing: Protection and Shine
Clear acrylic glazes or varnishes protect your paint job. Apply after painting is complete.
- Matte finish – Reduces shine, looks natural
- Gloss finish – Makes colors pop, looks wet
- Satin finish – In-between
Multiple thin coats beat one thick coat. Let each dry completely.
Detail Enhancement
Small tools add final details:
- Hobby knives clean up support marks
- Small brushes paint eyes and tiny features
- Decals add symbols or patterns
- Weathering powders create aged, worn effects
The difference between "good" and "amazing" is in these final touches.
What Can You Do With Finished Dragon Prints?
Decorative Figures
Display dragons on shelves, desks, or in curio cabinets. Large, detailed prints become conversation pieces. Match colors to room decor or create fantasy-themed displays.
Toys for Play
Articulated dragons with movable parts entertain children and collectors alike. Flexible filaments create wings that flap, tails that wag, heads that turn.
Educational Models
Biology classes study anatomy through dragon models—imaginary but structurally consistent. Mythology classes visualize creatures from different cultures. Art classes learn sculpture techniques.
Product Prototypes
Entrepreneurs testing dragon-themed products—jewelry, games, decorations—use 3D printing for rapid prototyping. Test designs, get feedback, refine, all before production.
Customized Gifts
Personalize dragons for recipients. Favorite colors. Team logos. Special symbols. A custom dragon says "I put thought into this" more than any store-bought gift.
Display Models for Events
Conventions, exhibitions, and trade shows use large dragon prints as attention-grabbers. A well-painted dragon draws crowds to booths and displays.
What Does Yigu Technology Recommend?
At Yigu Technology, we've helped countless creators bring their dragon visions to life. Here's our advice:
Match technology to your goal. If you want every scale visible and glass-smooth surfaces, invest in resin printing. If you're making large display pieces or learning the ropes, start with FDM.
Design matters more than equipment. A well-designed dragon prints better on an entry-level machine than a poor design on the most expensive printer. Spend time on modeling.
Materials affect everything. Choose based on final use—display pieces can use PLA, but dragons that will be handled need stronger materials. Flexible filaments add realism to wings and tails.
Post-processing separates amateur from professional. Sanding, priming, painting—these steps transform prints. Don't rush them.
Test before committing. Print small sections to check fit, detail, and settings. Adjust as needed before the full print.
Conclusion: Your Dragon Awaits
3D printing dragons combines technology with creativity. The process—from design through post-processing—turns digital imagination into physical reality.
Choose your technology wisely. Design with anatomy in mind. Select materials that match your goals. Finish with care and attention.
The result? A dragon that's uniquely yours. One that didn't exist before you created it. One that captures the mythical wonder that dragons have represented for thousands of years.
Your dragon awaits. Start printing.
Frequently Asked Questions
What's the best 3D printer for dragon models?
For beginners, an FDM printer like the Creality Ender series offers affordability and ease. For maximum detail, SLA/DLP printers like Anycubic Photon or Elegoo Mars deliver smooth surfaces and fine features. Choose based on your budget and detail requirements.
How can I make my 3D printed dragon look more realistic?
Focus on three areas: design (accurate anatomy), printing (high resolution settings), and post-processing (sanding, priming, painting). Painting techniques like dry brushing and washes add depth. Study reference images throughout.
Can I use different materials for different dragon parts?
Yes. Print the body in rigid PLA or ABS, and wings in flexible TPU for movement. Multi-material printers exist but are expensive. Most creators print parts separately and assemble.
How long does it take to print a dragon?
A small dragon figurine might take 5-10 hours on FDM, 3-6 hours on resin. Large, detailed dragons can run 24-48 hours or more. Print time depends on size, detail level, and printer settings.
Do I need to add supports for dragon prints?
Almost always. Overhanging wings, outstretched claws, and tails need support. Slicing software generates them automatically. Plan for support removal in post-processing.
Contact Yigu Technology for Custom Manufacturing
Ready to create something extraordinary? At Yigu Technology, we combine 3D printing expertise with custom manufacturing capabilities. From dragon designs to production runs, we help bring your visions to life.
Contact us today to discuss your project. Let's make magic together.