Introduction
Rubber mold making is the process of creating a mold using rubber materials to produce replicas of an original object. The mold serves as a negative impression. Once created, casting materials like resin, plaster, or wax are poured in. After setting, the casting material is removed, yielding a positive copy of the original.
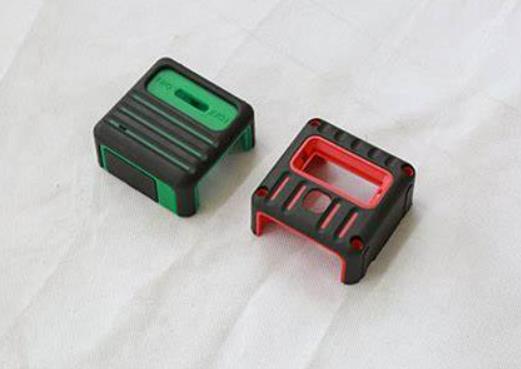
This technique spans industries. In automotive manufacturing, rubber molds produce gaskets, seals, and hoses—precision components requiring consistent quality. In consumer goods, they create toys, kitchen utensils, and bathroom accessories. For artists and hobbyists, rubber molds enable replication of unique designs—jewelry, sculptures, custom props—without sacrificing original detail.
This guide explores the fundamentals of rubber mold making: types of rubber, key steps in the process, and techniques to achieve professional results.
What Types of Rubber Are Used in Mold Making?
Different rubber types offer distinct properties suited to specific applications.
| Type | Flexibility | Temperature Range | Chemical Resistance | Main Applications |
|---|---|---|---|---|
| Silicone Rubber | High | -50°C to 250°C | Excellent | Food, medical, high-temperature casting |
| Natural Rubber | Good | Limited heat resistance | Limited | Low-cost consumer products |
| Nitrile Rubber (NBR) | Moderate | -25°C to 110°C | Excellent against oils and fuels | Automotive and industrial parts contacting oils |
| Butyl Rubber | Moderate | Varies | Good | Airtight and moisture-proof seals |
Silicone Rubber
Silicone rubber offers excellent flexibility, high temperature resistance, and outstanding chemical resistance. It withstands temperatures from -50°C to 250°C. Good tear strength and fine detail replication make it ideal for casting materials requiring high-temperature curing.
In food and medical industries, silicone’s non-toxic, inert properties make it suitable for food-contact items like chocolate molds and medical prosthetics. For intricate chocolate designs, silicone molds reproduce fine details while resisting heat during chocolate processing.
Natural Rubber
Natural rubber provides good elasticity and tensile strength at relatively low cost. However, it has limited chemical and heat resistance and can degrade over time when exposed to certain environmental factors.
Common in applications where cost-effectiveness is key and chemical/heat resistance requirements are moderate—low-cost consumer products like rubber balls or basic rubber seals in non-critical applications.
Nitrile Rubber (NBR)
Nitrile rubber offers excellent resistance to oils, fuels, and chemicals. Good abrasion resistance and performance across temperatures from -25°C to 110°C make it ideal for automotive and industrial parts contacting oils and fuels—oil seals, fuel hoses, gaskets. It is less flexible than silicone in some applications.
Butyl Rubber
Butyl rubber provides excellent air and moisture impermeability, good chemical resistance, and vibration-damping properties. Used where airtight or moisture-proof seals are required—inner tubes for tires, pharmaceutical bottle stoppers, electrical insulation products.
What Are the Key Steps in Mastering Rubber Mold Making?
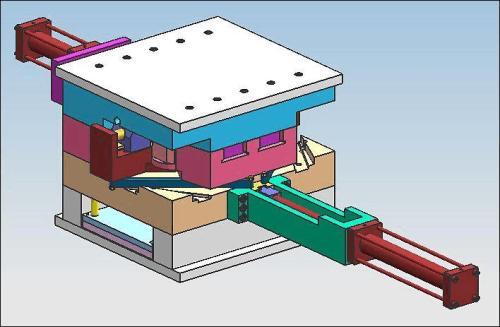
Step 1: Design Your Mold
The design phase is foundational. Understand the product shape—simple and geometric or complex with intricate details and undercuts. A small figurine mold must account for every curve and feature.
Demolding considerations: If the product has undercuts (areas preventing removal from a simple two-part mold), design a more complex mold with movable parts or use flexible rubber that stretches enough for removal without damage.
Size considerations: Larger molds may require additional support structures to prevent warping during curing.
CAD modeling: Creating a 3D model using CAD (Computer-Aided Design) software allows visualization from different angles, testing design concepts, and making adjustments before starting. The 3D model also calculates rubber volume needed for cost planning.
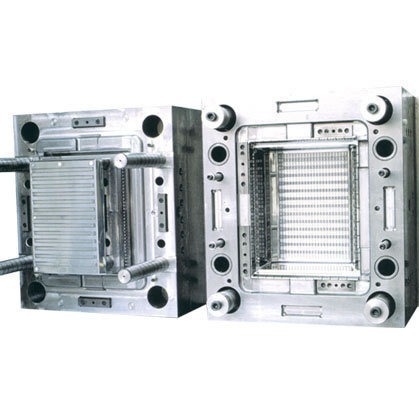
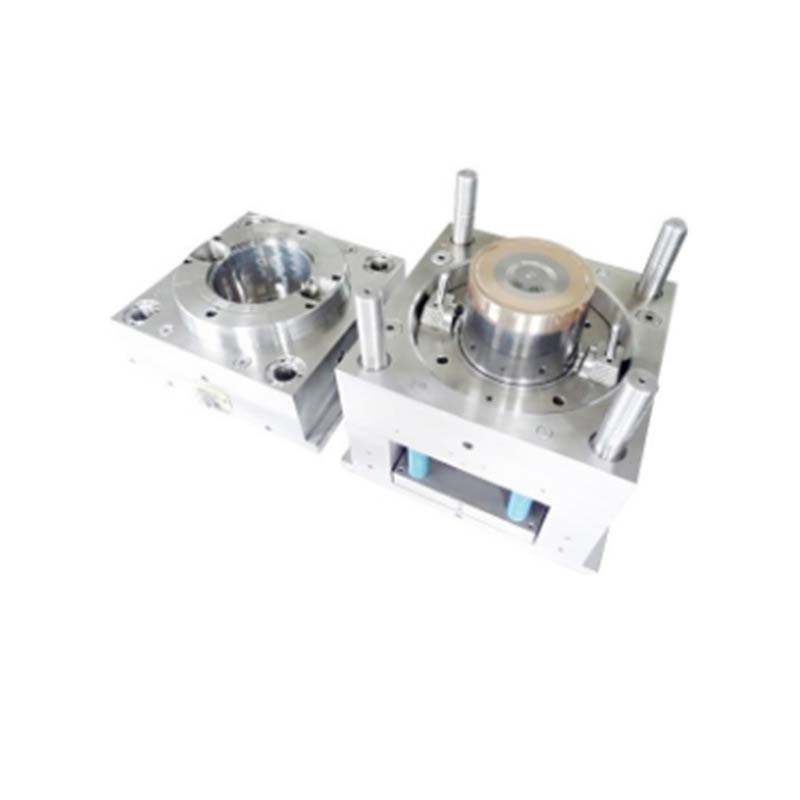
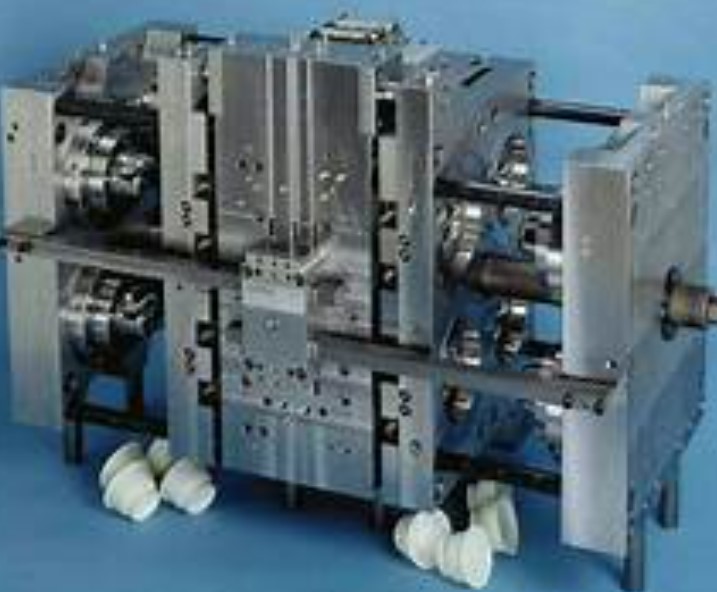
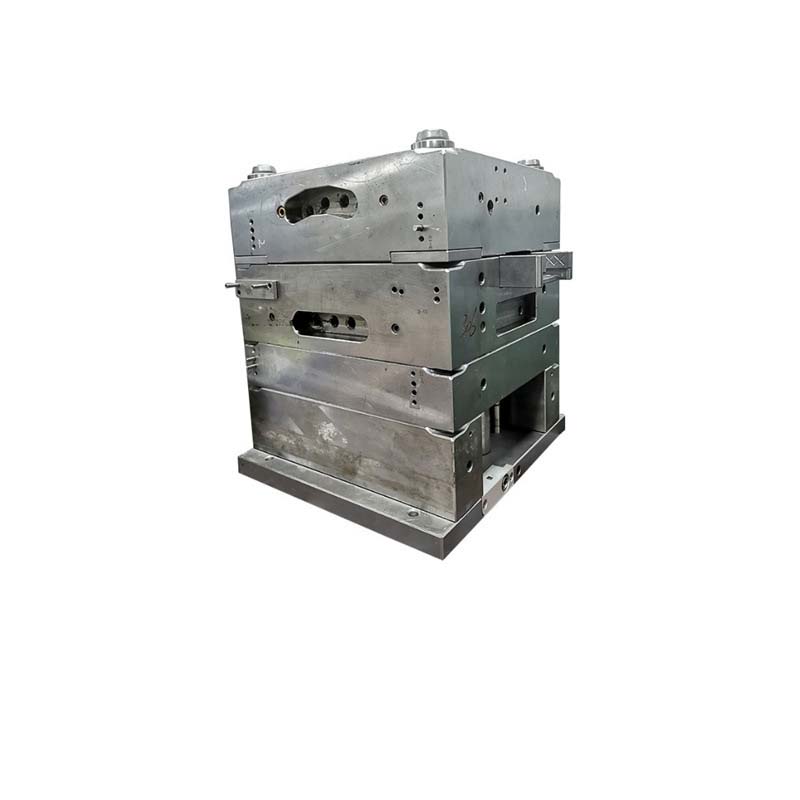
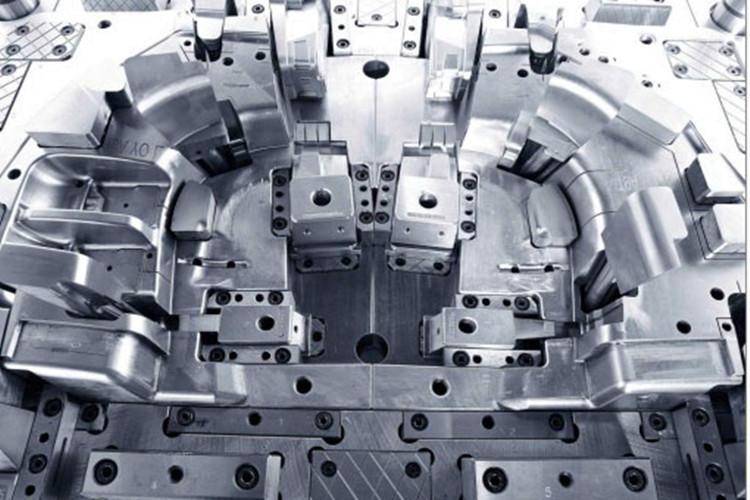
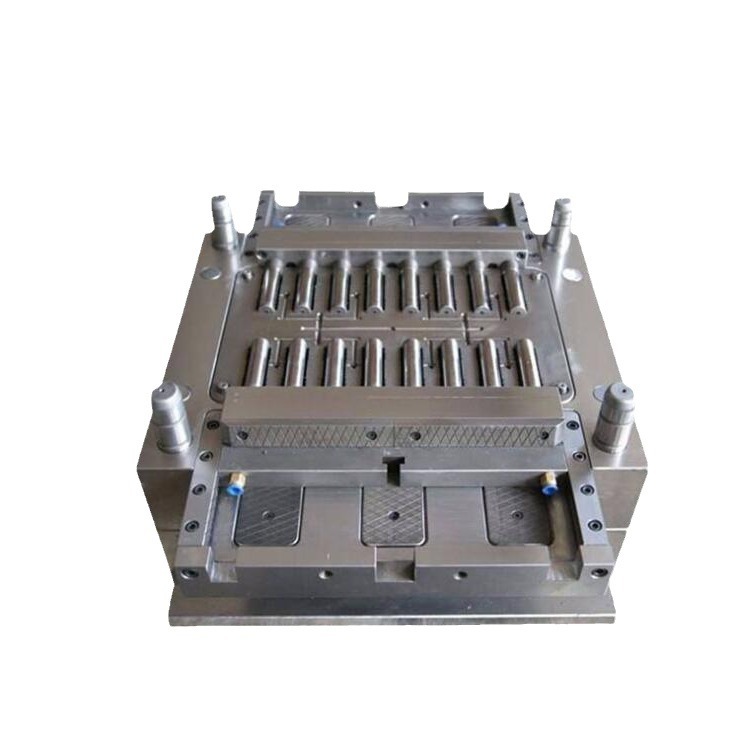
Step 2: Prepare the Mold Box and Materials
The mold box contains the rubber during molding. It must be sturdy enough to hold liquid rubber without leaking or deforming.
- Small-scale projects: Plastic storage containers or disposable cups work well
- Larger molds: Custom-made metal frames or thick-walled plastic boxes
Materials needed: Rubber, curing agent (if required), reinforcement materials (fiberglass mesh, metal inserts for strength), and materials for creating specific effects (textured fabrics, sandpaper to imprint textures).
Preparation: Ensure the mold box is clean and dry. Dirt, dust, or moisture affects mold quality. Apply a release agent to the inside to facilitate removal of the cured rubber mold later.
Step 3: Mix the Rubber
Proper mixing is essential for consistent results. The mixing ratio of rubber base and curing agent is critical. For two-part silicone rubber, typical ratios are 1:1 or 10:1 by volume—always follow manufacturer instructions.
Mixing method:
- Use a clean, disposable container and mixing tool (stir stick or paddle)
- Pour rubber base into container, then add curing agent
- Mix thoroughly, scraping sides and bottom for even distribution
- Mix smoothly and consistently to avoid introducing air bubbles
Mixing ratio impact: Too little curing agent leaves rubber soft and tacky (improper cure). Too much makes rubber brittle and prone to cracking.
Step 4: Pour the Rubber into the Mold
Pour slowly and steadily into the mold box, starting from one corner and gradually filling the cavity. This minimizes air bubble formation.
Air bubble removal:
- Use a toothpick or fine-tipped brush to gently burst bubbles rising to the surface
- For high-detail molds, use a vacuum chamber: after pouring, place mold in chamber and evacuate air. Reduced pressure causes trapped bubbles to expand and rise, where they can be removed
Complex shapes: Use a funnel or syringe to ensure rubber reaches all parts evenly. Take time to fill completely and accurately.
Step 5: Cure and Demold
Curing transforms rubber from liquid to solid, elastic mold. Time and conditions depend on rubber type.
- Room temperature cure: Some silicone rubbers cure in hours at ambient temperature
- Heat curing: Others require heat and pressure. Use a curing oven or heat-press machine, following manufacturer’s temperature and time settings
Curing issues: Over-cured rubber becomes too hard, losing flexibility. Under-cured rubber may not hold shape or may be too soft for use.
Demolding:
- Gently pry edges of mold away from mold box or surrounding structures
- For complex shapes or undercuts, use release agent or demolding tool
- For soft rubber molds, gently stretch to remove product—avoid excessive stretching that causes deformation or tearing
After demolding, inspect for damage or imperfections. Small defects can be repaired with additional rubber and curing agent.
What Creative Projects Can You Undertake with Rubber Molds?
Art and Sculpture
Rubber molds enable artists to create multiple copies of sculptures without repeated hand-sculpting. A master model is created in clay or other media. A silicone mold captures every detail—facial expressions, fabric folds, hair texture. Multiple casts in resin, plaster, or other materials produce consistent, detailed replicas for limited-edition series or large installations.
Jewelry Making
Silicone molds are essential for lost-wax casting. Molten wax is poured into the mold; after cooling, the wax model is removed, retaining fine details. This model is invested in casting material, then melted out, leaving a cavity for precious metals. Multiple wax models can be made from a single mold, improving efficiency for small-batch production.
Baking and Food Decoration
Food-grade silicone molds create chocolates, candies, and cake decorations. Non-stick surfaces ensure easy release. High-temperature resistance (up to 230°C for baking) allows direct oven use. Popular shapes include seasonal chocolates, custom cake toppers, and intricate decorations for special events.
DIY and Home Decor
Silicone molds enable personalized home decor:
- Custom candles: Pour melted wax into molds—seashells, stars, flowers—for unique designs
- Decorative vases: Create molds from natural textures (tree bark, coral), pour resin for textured vases
- Wall art: Cast plaster or resin in molds with leaf patterns or geometric designs; paint for personalized wall decor
What Common Problems and Solutions Exist?
Air Bubbles
Problem: Bubbles trapped in rubber cause surface imperfections in casts.
Solution: Mix slowly and smoothly. Pour steadily from one corner. Use a vacuum chamber for critical applications. Burst visible bubbles with a fine tool.
Incomplete Curing
Problem: Rubber remains soft or tacky.
Solution: Verify mixing ratio—too little curing agent prevents full cure. Ensure proper curing temperature and time. Follow manufacturer specifications.
Tearing During Demolding
Problem: Rubber tears when removing complex-shaped objects.
Solution: Use flexible rubber like silicone that stretches. Design molds with adequate draft angles. Apply release agent before pouring. Demold slowly and gently.
Mold Deformation
Problem: Mold warps during curing or storage.
Solution: Use adequate support structures for large molds. Cure on flat, stable surfaces. Store molds flat away from heat and sunlight.
Yigu Technology’s Perspective
As a custom supplier of non-standard plastic and metal products, we value rubber mold making in our production processes. Rubber molds are key to bringing unique product ideas to life.
Innovation: We use advanced 3D printing to create custom-designed mold boxes that better fit complex product shapes. This improves accuracy and shortens production cycles.
Material selection: Our understanding of rubber properties ensures we choose the most suitable type for each project—considering application environment, durability requirements, and cost-effectiveness.
Quality focus: Strict quality control measures at every step—from design to demolding—ensure final products meet the highest standards.
Mastering rubber mold making enables us to provide clients with high-quality, customized products that exceed expectations.
Conclusion
Rubber mold making is a versatile technique that bridges industrial production and creative expression. Understanding rubber types—silicone, natural, nitrile, butyl—helps match material properties to application requirements. Following key steps—design, mold box preparation, mixing, pouring, curing, demolding—ensures consistent, high-quality results.
From automotive seals and medical prosthetics to custom jewelry and home decor, rubber molds enable replication of complex shapes with precision and repeatability. With proper techniques and materials, anyone can master this art and unleash creativity.
FAQ
What is the best type of rubber for making flexible molds?
Silicone rubber is often the best choice. It offers excellent flexibility, stretching and bending without breaking, making it easy to demold complex-shaped objects. It accurately replicates fine details, has high temperature resistance (-50°C to 250°C), good chemical resistance, and is non-toxic—suitable for food and medical applications.
How can I prevent air bubbles from forming in my rubber molds?
Mix slowly and smoothly to minimize air introduction. Pour slowly and steadily from one corner to allow even flow. Use a toothpick or fine-tipped brush to burst visible bubbles. For critical molds, use a vacuum chamber after pouring—evacuated air causes trapped bubbles to expand and rise to the surface for removal.
Can I reuse the rubber mold after it has been used once?
Yes, most rubber molds can be reused. Inspect for damage—tears, cracks, excessive wear—after each use. Minor damage can be repaired with additional rubber and curing agent. Clean thoroughly between uses with mild solvent or soap and water to remove residue. Silicone rubber generally has longer lifespan and can be reused many times; other rubbers may degrade more quickly with repeated use.
Contact Yigu Technology for Custom Manufacturing
Looking to bring your unique product ideas to life with custom rubber molds? Yigu Technology specializes in non-standard plastic and metal products. Our team combines material expertise with precision manufacturing to deliver solutions tailored to your needs.
Reach out today to discuss your next project. Let us help you master the art of rubber mold making.