Introduction
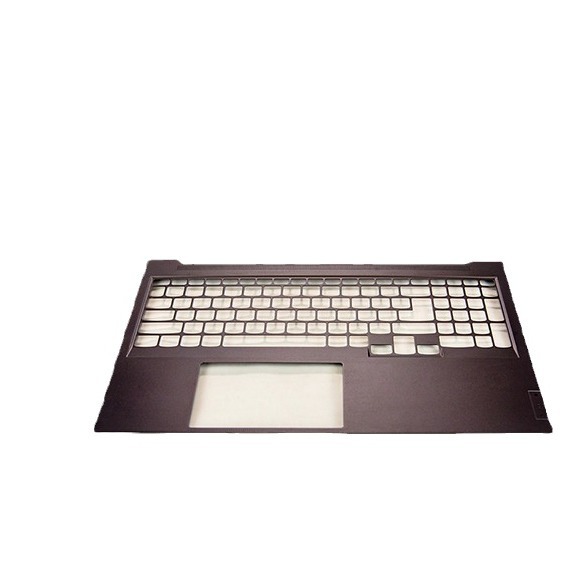
Every plastic product you use—from the dashboard in your car to the case on your phone—started as a design and became reality through a plastic injection mold. But what exactly goes into creating that mold? How do engineers transform a concept into a precision tool capable of producing millions of identical parts?
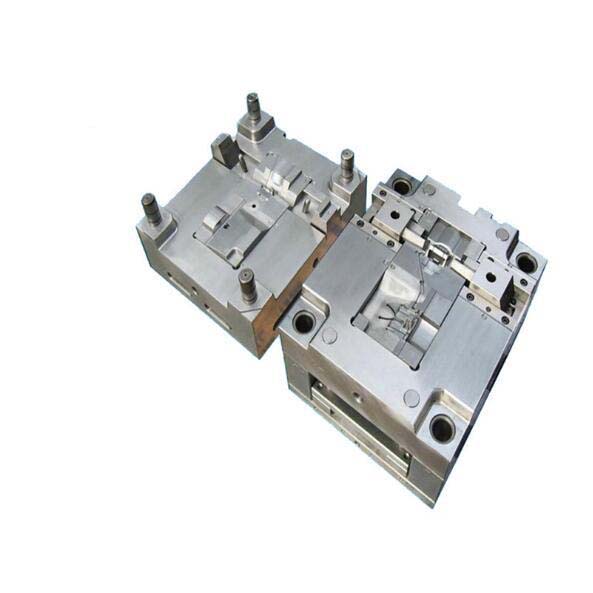
Plastic injection mold fabrication is the specialized process of designing and building the tools that shape molten plastic into finished products. It combines engineering precision, material science, and advanced manufacturing techniques to create molds that deliver consistent quality, high volume, and complex geometries.
This guide takes you through the entire process—from design and material selection to machining, assembly, and testing. Whether you’re new to molding or looking to deepen your understanding, you’ll learn how these essential tools are made.
What Is Plastic Injection Mold Fabrication?
At its core, plastic injection mold fabrication is the creation of a precisely engineered tool used to shape molten plastic into a desired form. The mold itself is a hollow cavity—when molten plastic is injected under pressure, it fills the cavity, cools, and solidifies into the final part.
| Key Advantage | Why It Matters |
|---|---|
| High-volume production | Produces thousands or millions of identical parts with tight tolerances |
| Cost-effectiveness | Low per-unit cost after initial mold investment |
| Complex geometries | Creates shapes impossible or costly with other methods |
| Material versatility | Works with hundreds of plastic types and formulations |
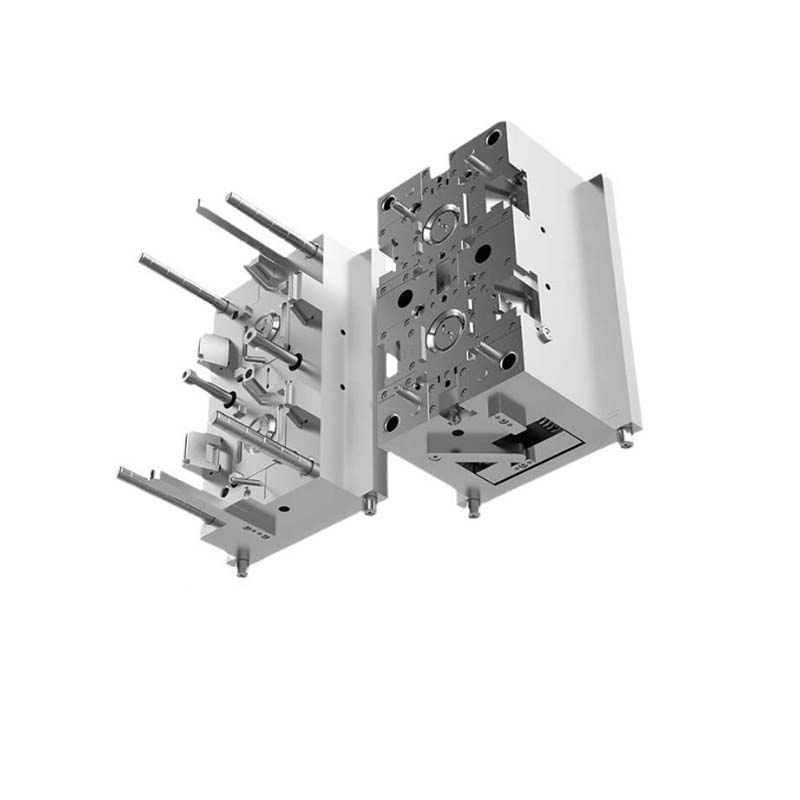
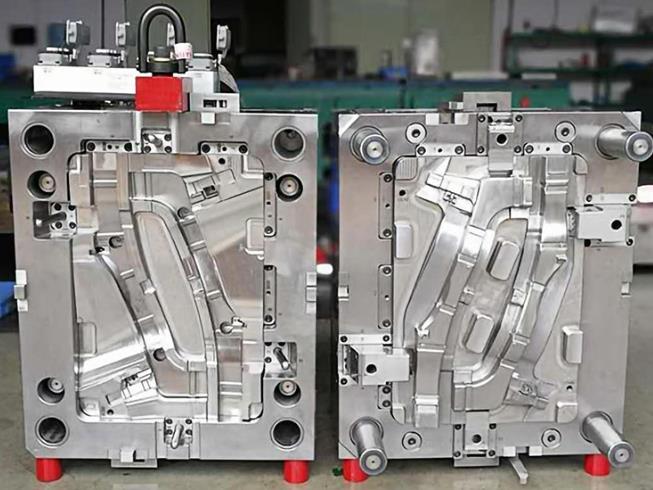
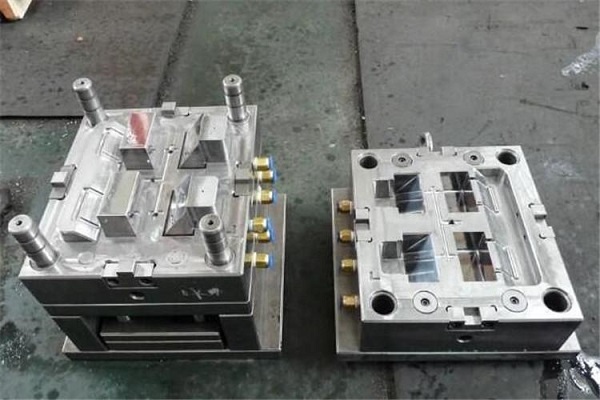
What Are the Key Components of a Plastic Injection Mold?
Mold Base: The Foundation
The mold base provides structural support and houses all other components. It consists of two main parts:
| Component | Function |
|---|---|
| Fixed mold plate (A-plate) | Attached to the stationary platen; holds the cavity and remains stationary during injection |
| Moving mold plate (B-plate) | Attached to the movable platen; moves during mold opening and closing; holds the core |
Design considerations: The mold base must be robust enough to withstand injection pressures—often 500–2,000 bar. For large molds producing automotive parts, the base may weigh hundreds of pounds and require thick steel plates (30–50 mm or more).
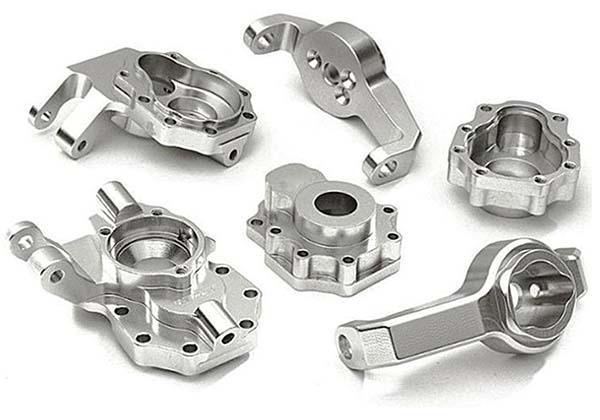
Cavity and Core: The Shape-Makers
These are the most critical components for determining the plastic part’s shape.
| Component | Function | Example |
|---|---|---|
| Cavity | Hollow, female-shaped part forming the outer surface | The outer body of a plastic bottle |
| Core | Male-shaped part forming internal features | The inner space of the bottle; threads on a cap |
The precise alignment between cavity and core is essential. Even a 0.05 mm misalignment can cause uneven wall thickness or assembly issues.
Gating System: Controlling the Flow
The gating system directs molten plastic from the injection machine nozzle into the cavity.
| Component | Function |
|---|---|
| Sprue | Main channel from the injection nozzle; large diameter for initial flow |
| Runner | Network of smaller channels distributing plastic to cavities |
| Gate | Narrowest point; controls flow rate and direction into the cavity |
Gate types:
| Type | Characteristics | Best For |
|---|---|---|
| Side gate | Simple; leaves visible mark | Functional parts; no cosmetic requirement |
| Point gate | Small; precise control | Thin-walled parts; cosmetic surfaces |
| Film gate | Wide, thin opening | Large, flat parts; uniform filling |
Cooling System: Managing Temperature
The cooling system removes heat from the mold, causing plastic to solidify. Channels—typically filled with water—circulate through the mold plates.
Why cooling matters:
- Uniform cooling prevents warpage and internal stresses
- Efficient cooling reduces cycle time; faster production
Real example: An automotive interior panel mold with poorly designed cooling channels produced warped parts. Redesigned channels with conformal cooling (following part shape) reduced cycle time by 25% and eliminated warpage.
Ejection System: Releasing the Part
After cooling, the part must be removed. The ejection system uses:
- Ejector pins: Small rods that push the part from the cavity
- Ejector plate: Moves all pins simultaneously
- Return pins: Reset the system when the mold closes
Design consideration: Ejector pins must be positioned to distribute force evenly. Too few pins or poor placement can deform or damage the part.
How Is a Plastic Injection Mold Fabricated?
Step 1: Design Phase
The design phase creates the blueprint for the entire mold. It directly impacts quality, production efficiency, and cost.
CAD/CAM software utilization:
Designers use CAD (Computer-Aided Design) software to create a 3D model of the mold with extreme precision. For a complex automotive interior component, CAD allows designers to:
- Define cavity and core geometry
- Set dimensions and tolerances
- Visualize the mold and make adjustments before manufacturing
Manufacturability and maintainability:
Designers must consider:
- Manufacturability: Can the mold be machined with available equipment? Extremely intricate features may need design modification.
- Maintainability: Is the mold easy to disassemble, clean, and repair? Modular components and accessible channels simplify maintenance.
Step 2: Material Selection
The choice of mold material affects performance, durability, and cost.
| Material | Hardness (HRC) | Characteristics | Applications |
|---|---|---|---|
| P20 | 28–33 | Good machinability; pre-hardened; cost-effective | Consumer goods; toys; general-purpose |
| 718 | 35–40 | Better wear resistance than P20 | Precision electronics; medium-volume production |
| H13 | 48–54 | Excellent heat resistance; toughness | High-temperature molding; engineering plastics |
| NAK80 | 40–42 | Mirror polishability | High-gloss products; optical components |
Selection criteria:
- Production volume: High volume demands durable materials like H13 or 718
- Part complexity: Intricate details may need materials with good machinability
- Cost: Balance performance with budget constraints
Step 3: Machining Processes
Machining transforms raw steel into precision mold components.
CNC Machining:
Computer-controlled machines remove material to create the desired shape.
- CNC milling: Creates flat surfaces, drill holes, cooling channels
- CNC turning: Machines cylindrical parts like cores and gate components
Precision: Achieves tolerances within a few micrometers—essential for proper fit and function.
EDM (Electrical Discharge Machining):
EDM creates complex shapes and features that traditional machining can’t handle. It works by using electrical discharges to erode material.
| Type | Function |
|---|---|
| Die-sinking EDM | Uses shaped electrode to create cavities; ideal for intricate features |
| Wire EDM | Uses thin wire to cut precise profiles; achieves tolerances of ±0.005 mm |
Real example: A mold for a plastic connector with small, intricate internal features required wire EDM to achieve the necessary precision. Conventional machining couldn’t reach the required detail.
Step 4: Assembly
After machining, components are assembled into a finished mold.
Assembly steps:
- Assemble mold base components; ensure fixed and moving plates are properly aligned
- Insert cavity and core; check alignment
- Install gating system components (sprue, runner, gates); ensure smooth flow path
- Connect cooling system pipes; leak-test for coolant leaks
- Tighten all components to specified torque
Step 5: Testing and Validation
Before production, the mold undergoes rigorous testing.
Dimensional inspection:
Use CMM (Coordinate Measuring Machine) to verify all components are within specified tolerances.
Trial run:
Install mold on injection molding machine and run multiple cycles. Monitor:
- Fill time
- Injection pressure
- Cooling time
- Part quality
Common defects to check:
| Defect | Indication |
|---|---|
| Flash | Excess plastic; insufficient clamping or misalignment |
| Short shots | Incomplete filling; insufficient pressure or poor gating |
| Warping | Uneven cooling; internal stresses |
Adjust mold or process parameters until parts consistently meet specifications.
How Long Does Mold Fabrication Take?
Lead times vary based on complexity:
| Mold Type | Typical Lead Time |
|---|---|
| Simple, small mold | 15–20 days |
| Medium complexity | 20–30 days |
| Complex, multi-cavity | 30–45 days |
| Large, high-precision | 45–60 days |
Factors affecting lead time: part size, cavity count, material selection, design complexity, and shop workload.
Yigu Technology’s Perspective
As a custom manufacturer, we’ve seen firsthand how proper mold fabrication transforms production. Our approach combines advanced equipment with experienced engineering.
Our capabilities:
- High-precision CNC machining: Micron-level accuracy for complex geometries
- EDM equipment: Wire and die-sinking for intricate features
- CAD/CAM integration: Seamless design-to-manufacturing workflow
- In-house assembly and testing: Complete control over quality
Our commitment:
We work closely with clients from design concept to final delivery. We offer advice on material selection, mold structure optimization, and production process improvement—ensuring your mold delivers consistent, high-quality parts.
Conclusion
Plastic injection mold fabrication is a complex, multi-step process that transforms design concepts into precision production tools. From design and material selection to machining, assembly, and testing, each step requires precision and expertise.
The result: a mold capable of producing thousands or millions of identical parts with tight tolerances, complex geometries, and consistent quality—enabling the products we use every day.
FAQ
What are the common materials used for plastic injection molds?
Common materials include P20 (general-purpose, good machinability), 718 (higher wear resistance), H13 (high-temperature applications), and NAK80 (mirror finish for optical parts). Selection depends on production volume, part complexity, and budget.
How can I ensure the quality of a plastic injection mold?
Select appropriate materials for your application. Use advanced CAD/CAM software for accurate design. Follow strict machining procedures with precision equipment. Conduct comprehensive testing—dimensional inspection with CMM and trial runs on an injection machine—to identify and fix issues before production.
What is the typical lead time for plastic injection mold fabrication?
Typical lead times range from 15 to 45 days. Simple molds may take 15–20 days. Complex molds with intricate features, multiple cavities, or large dimensions can take 30–45 days or longer. Factors include part size, cavity count, material selection, and shop workload.
What’s the difference between CNC machining and EDM in mold making?
CNC machining uses computer-controlled cutting tools to remove material—ideal for creating general shapes, flat surfaces, and standard features. EDM uses electrical discharges to erode material—essential for creating intricate details, sharp internal corners, and features that conventional cutting tools can’t reach.
How long does an injection mold last?
Mold life depends on material, maintenance, and production volume. A well-maintained steel mold (H13 or 718) can produce 500,000 to 1,000,000 cycles. Aluminum molds typically last 10,000–50,000 cycles. Proper cleaning, lubrication, and inspection extend life significantly.
Contact Yigu Technology for Custom Manufacturing
At Yigu Technology, we specialize in precision injection mold fabrication for demanding applications. Our team combines advanced equipment with decades of experience to deliver molds that perform.
We offer:
- Custom mold design and manufacturing
- High-precision CNC machining and EDM
- Comprehensive testing with CMM documentation
- Material selection guidance
[Contact Yigu Technology today] to discuss your injection mold project. Let’s build the tool that brings your products to life with quality and reliability.