Introduction
Rapid prototyping has transformed product development, compressing timelines from months to days. But behind the speed lies a structured process—a sequence of steps that, when followed correctly, ensures your prototype is accurate, functional, and useful. Skipping steps or rushing through them leads to wasted time, failed prints, and prototypes that do not answer the questions you need answered. At Yigu Technology, we guide clients through this process daily. This article outlines the five key steps in rapid prototyping: design creation, material selection, process execution, post-processing, and testing. Understanding each step helps you achieve better results, faster.
What Are the Five Key Steps?
| Step | Description |
|---|---|
| 1. Design Creation | From concept to accurate 3D model |
| 2. Material Selection | Choosing the right material for your objectives |
| 3. Process Execution | Building the prototype using selected technology |
| 4. Post-Processing | Cleaning, finishing, and refining the part |
| 5. Testing and Evaluation | Validating functionality and structure |
Step 1: Design Creation
Concept Development
Every prototype begins with an idea. This stage transforms that idea into a structured concept.
Activities:
- Observation and research: Identify user needs, pain points, and market gaps
- Inspiration gathering: Study existing products, nature, or innovative designs
- Brainstorming: Generate ideas with diverse teams (designers, engineers, users)
- Market analysis: Understand competitors and unique positioning
Why it matters: A study showed that products with unique, innovative concepts are 40% more likely to succeed in the market. Unique concepts come from thinking beyond existing solutions.
Example: Designing an ergonomic office chair might start with observing discomfort in existing chairs and drawing inspiration from natural curves that provide both support and comfort.
3D Modeling
Once the concept is solidified, it is translated into a detailed digital model using CAD software.
Common software:
- Autodesk Fusion 360: Comprehensive parametric design, easy modifications
- SolidWorks: Robust mechanical design, favored by engineers
- Blender: Free, powerful for complex organic shapes
Critical details:
- Precise measurements
- Accurate surface finishes
- Proper geometric tolerances
- Correct hole sizes, thread specifications, and assembly fits
Why it matters: A survey of manufacturing companies found that 70% of prototype failures in testing could be traced back to inaccuracies in the 3D design stage. A minor error—like a bolt hole modeled too small—can make assembly impossible, wasting time and resources.
Step 2: Material Selection
Compatibility with the Process
The material must match the chosen rapid prototyping technology.
| Technology | Compatible Materials |
|---|---|
| FDM | ABS, PLA, TPU, PETG, nylon, polycarbonate |
| SLA | Photopolymer resins (standard, tough, flexible, high-temperature, biocompatible) |
| SLS | Nylon, polyamide, glass-filled nylon, metal powders, ceramics |
| DLP | Photopolymer resins (similar to SLA) |
Why it matters: A study of 100 rapid prototyping projects found that 20% of failures were directly related to material-process incompatibility. Using the wrong material can cause extrusion issues (FDM), curing problems (SLA), or poor sintering (SLS).
Considering End-Use Requirements
Material selection must align with what the prototype needs to do.
| End-Use Requirement | Recommended Materials |
|---|---|
| Strength and toughness | ABS, nylon, PEEK, aluminum, titanium |
| Heat resistance | High-temperature resins, PEEK, metal |
| Flexibility | TPU, flexible resins |
| Aesthetics/surface finish | SLA resins, high-quality PLA |
| Biocompatibility | Medical-grade resins, titanium, PEEK |
Example: In automotive prototyping, engine components require high-strength materials like aluminum or PEEK to withstand heat and stress. In medical prototyping, implants must use biocompatible materials like titanium or medical-grade resins that pass strict ISO 10993 standards.
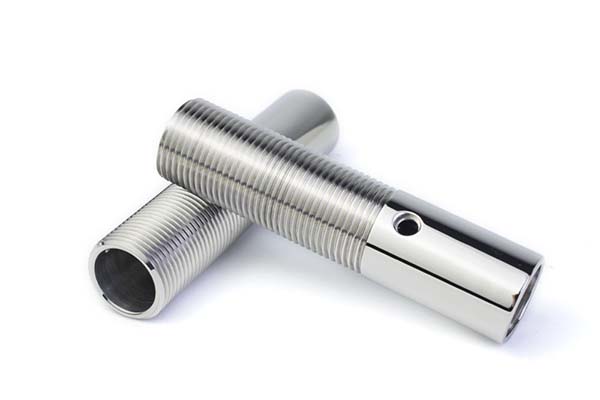
Step 3: Prototyping Process Execution
Stereolithography (SLA)
How it works:
- A UV laser selectively cures liquid photopolymer resin layer by layer
- Build platform lowers (0.05–0.2 mm per layer)
- Process repeats until complete
Advantages:
- High precision (±0.05–0.1 mm)
- Smooth surface finish
- Excellent for fine details
Applications:
- Jewelry, dental models, medical devices, scale models
Fused Deposition Modeling (FDM)
How it works:
- Thermoplastic filament is fed into a heated nozzle
- Molten plastic is extruded layer by layer
- Material cools and solidifies
Advantages:
- Cost-effective equipment and materials
- Wide material range (ABS, PLA, TPU, nylon, etc.)
- Accessible for small businesses and hobbyists
Applications:
- Concept models, functional prototypes, custom enclosures
Example: A DIY electronics enthusiast might use FDM with ABS to create a custom enclosure for a circuit board—testing fit and functionality before production.
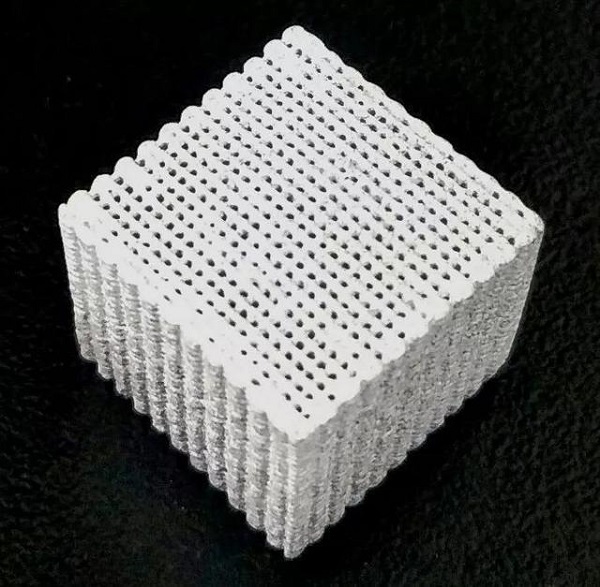
Selective Laser Sintering (SLS)
How it works:
- Powder is spread evenly across the build platform
- High-power laser sinters powder particles layer by layer
- Unsintered powder provides natural support
Advantages:
- High strength and durability
- Complex geometries without support structures
- Works with metals, plastics, ceramics
Applications:
- Functional prototypes, aerospace components, medical implants, heat exchangers
Step 4: Post-Processing
Support Removal
Support structures are essential during printing to stabilize overhangs and complex geometries. Removing them requires care.
| Technology | Support Removal Method |
|---|---|
| FDM | Hand removal, pliers, cutters (supports same material as part) |
| SLA | Snapping or cutting cured resin supports; careful to avoid damage |
| SLS | Minimal supports; unsintered powder is brushed or blown away |
Why it matters: A single slip with a cutting tool can scratch or break the prototype, affecting functionality or appearance.
Surface Finishing
Surface finishing enhances appearance, feel, and sometimes functionality.
| Method | Process | Result |
|---|---|---|
| Sanding | Use progressively finer grit sandpaper | Smooth surface, reduced layer lines |
| Polishing | Polishing compounds and wheels | High-gloss, mirror-like finish |
| Painting | Apply primer and paint | Custom color, protection, enhanced appearance |
Comparison:
| Stage | Surface Condition | Appearance | Feel |
|---|---|---|---|
| Before post-processing | Rough, visible layer lines | Dull | Uneven |
| After post-processing | Smooth | Glossy, desired color | Smooth |
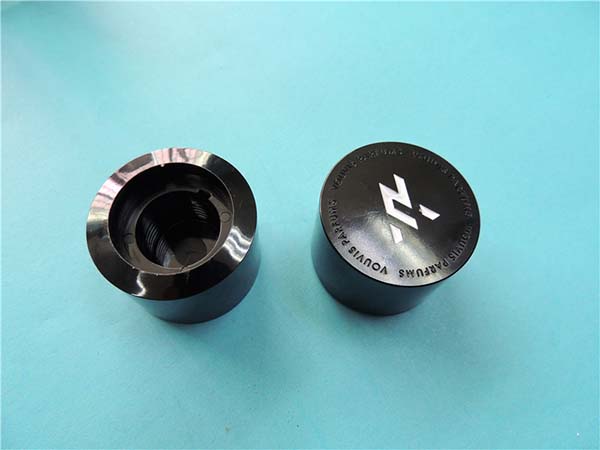
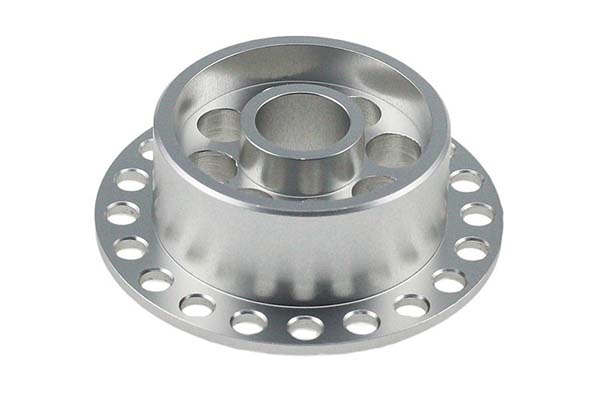
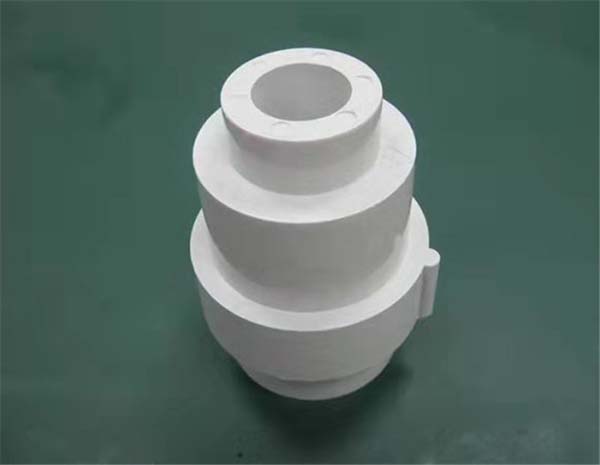
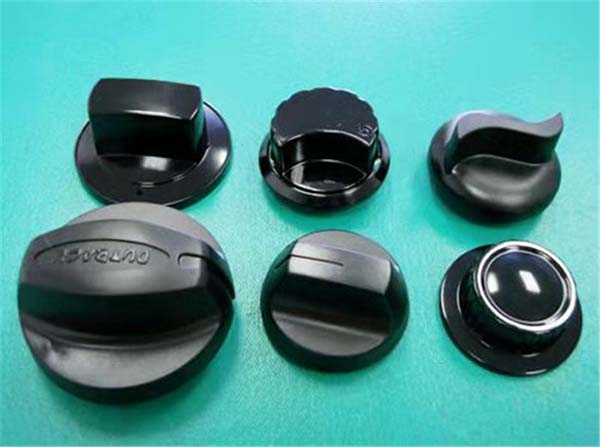
Example: A consumer product prototype—after sanding, polishing, and painting—looks and feels like a finished product, suitable for investor presentations or market testing.
Step 5: Testing and Evaluation
Functional Testing
Functional testing ensures the prototype performs as intended.
Methods:
- Test cases based on specifications: Define what "working" means
- Input and output validation: Ensure correct processing and results
- Edge case testing: Test boundaries (e.g., battery drain, extreme conditions)
- Compatibility testing: Verify interaction with other systems or devices
Why it matters: A study found that 80% of product recalls or major design changes could have been avoided with more comprehensive functional testing during prototyping.
Example: A handheld gaming device prototype is tested for button functionality, screen response time, battery life, and compatibility with external displays.
Structural Analysis
Structural analysis assesses integrity and strength—critical for parts under mechanical stress.
Methods:
- CAE software (ANSYS, ABAQUS): Simulate loads, stress distributions, and failure points
- Physical testing (universal testing machines): Apply tensile, compressive, and bending forces to measure strength
Example: A drone frame prototype undergoes CAE simulation to identify stress concentrations during flight. Engineers modify the design to reinforce weak points, improving structural integrity and preventing potential failures.
Yigu Technology's Perspective
As a custom manufacturer of non-standard plastic and metal products, Yigu Technology follows these key steps in every rapid prototyping project.
What we have learned:
- Design accuracy is foundational: 70% of failures trace back to the 3D model. Invest time here.
- Material selection determines success: Match material to both process and end-use requirements.
- Process control matters: Calibrated equipment and optimized parameters produce consistent, high-quality prototypes.
- Post-processing transforms parts: Sanding, polishing, and finishing turn rough prototypes into presentation-ready models.
- Testing validates everything: Functional and structural testing reveal issues that need refinement before production.
We guide clients through each step, ensuring that the final prototype meets their objectives—whether for concept validation, functional testing, or investor presentations.
Conclusion
Rapid prototyping is a structured process. The five key steps are:
- Design Creation: From concept to accurate 3D model—the foundation
- Material Selection: Match material to process and end-use requirements
- Process Execution: Build the prototype using SLA, FDM, SLS, or other technologies
- Post-Processing: Remove supports, sand, polish, and finish
- Testing and Evaluation: Validate functionality and structural integrity
Skipping steps or rushing through them leads to failed prototypes, wasted time, and missed opportunities. By following these steps carefully, you ensure that your prototype is accurate, functional, and ready for the next stage of development.
Frequently Asked Questions
What is the most important step in rapid prototyping?
Design creation—specifically, the accuracy of the 3D model. A survey found that 70% of prototype failures trace back to inaccuracies in the design stage. Investing time in precise modeling prevents downstream issues.
How do I choose the right material for my prototype?
Consider two factors: compatibility with the process (FDM, SLA, SLS) and end-use requirements (strength, flexibility, heat resistance, biocompatibility). Match material to what the prototype needs to do.
Why is post-processing necessary?
Post-processing removes support structures, smooths surfaces, and adds finishes. It transforms a rough prototype into a professional-looking model suitable for testing, presentations, or market feedback.
How do I know if my prototype is ready for production?
When functional testing and structural analysis confirm that the prototype meets all specifications, and when design iterations have stabilized (multiple tests without significant changes), you are ready to transition to production tooling.
What is the difference between functional testing and structural analysis?
Functional testing ensures the prototype performs its intended tasks (buttons work, software runs, device communicates). Structural analysis assesses mechanical integrity—strength, stress distribution, and durability under load. Both are essential for different aspects of validation.
Contact Yigu Technology for Custom Manufacturing
At Yigu Technology, we follow a rigorous rapid prototyping process to deliver high-quality plastic and metal prototypes. Our capabilities include FDM, SLA, SLS, CNC machining, and finishing services. We serve automotive, medical, aerospace, and consumer goods industries.
If you are developing a new product and need a reliable prototyping partner, contact our engineering team. Let us guide you through the key steps—from design to testing—to bring your ideas to life.