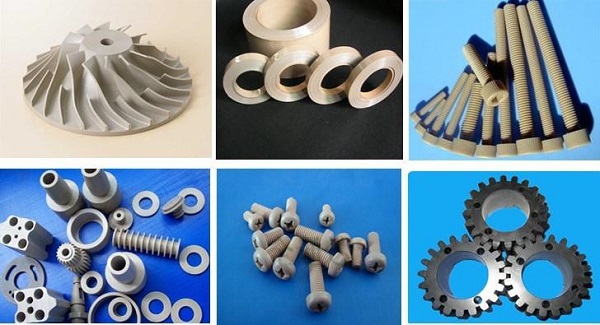
Introduction
PEEK—Polyether Ether Ketone—isn't your average 3D printing material. It's a high-performance thermoplastic that handles temperatures up to 250°C, resists harsh chemicals, and has strength approaching metal.
But here's the challenge: PEEK is hard to print. Really hard.
Get the temperature wrong, and your part delaminates. Layers don't bond. Warping ruins everything. And you've wasted expensive material.
The key is temperature control—nozzle temperature, build plate temperature, chamber temperature. Each must be precisely managed.
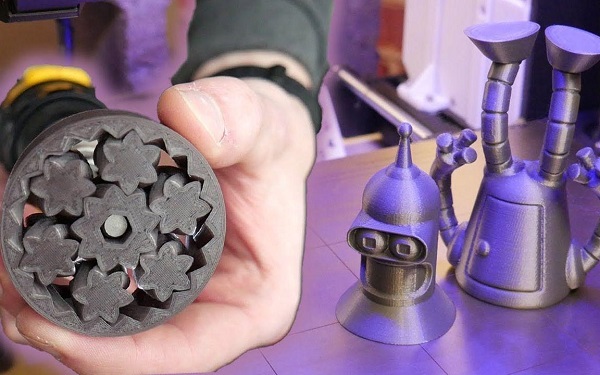
At Yigu technology, we've printed thousands of PEEK parts for aerospace, medical, and industrial clients. This guide covers everything you need to know about PEEK 3D printing temperature—why it matters, what settings to use, and how to get consistent results.
What Makes PEEK Such a Special Material?
Exceptional Mechanical Properties
PEEK is incredibly strong:
- Tensile strength: Up to 100 MPa—comparable to some metals
- Flexural modulus: Around 3.8 GPa—very stiff
- Density: Only 1.3 g/cm³—much lighter than metal
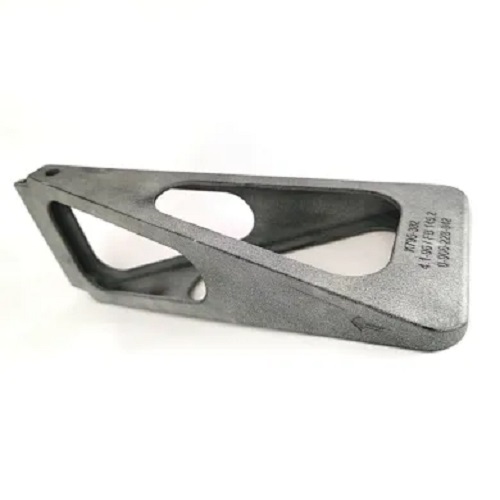
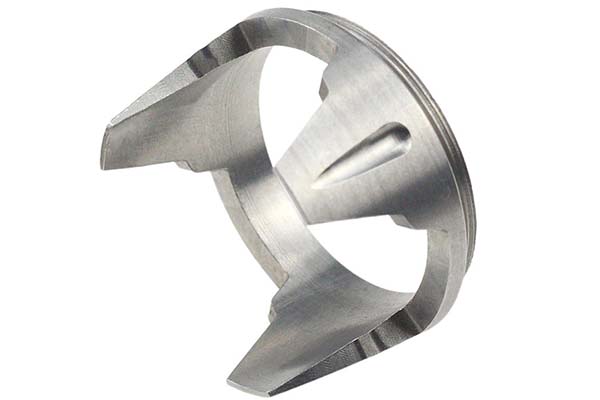
This combination—strength and lightness—makes PEEK ideal for applications where every gram counts. Aerospace components. Medical implants. Automotive parts.
High-Temperature Resistance
PEEK doesn't soften when things get hot:
- Melting point: 343°C
- Continuous operation: Up to 250°C
Other plastics would degrade or melt. PEEK keeps working. Engine compartments, aircraft interiors, industrial machinery—PEEK handles it.
Chemical Resistance
PEEK resists almost everything:
- Acids and bases
- Solvents and oils
- Most organic and inorganic substances
Only concentrated sulfuric acid affects it. For chemical processing, pharmaceutical, and industrial applications, this matters.
Biocompatibility
PEEK is biocompatible—the human body accepts it without adverse reactions. It's used for:
- Spinal cages
- Hip replacements
- Dental prosthetics
- Cranial implants
Unlike some metals, PEEK doesn't corrode or cause inflammation. It integrates well with tissue.
Why Does Temperature Matter So Much in PEEK 3D Printing?
Influence on Material Melting and Flow
PEEK has a melting point of 343°C. But printing requires higher temperatures—typically 360°C to 440°C at the nozzle.
Too cold (below 350°C) : Material doesn't fully melt. Extrusion is lumpy. Layers don't bond. Surface finish is rough. Internal voids form, weakening the part.
Too hot (above 450°C) : Material over-melts. It becomes too fluid, dripping from the nozzle during non-extrusion phases. Accuracy suffers. In extreme cases, PEEK can carbonize, ruining its properties.
The sweet spot is somewhere in between—hot enough for good flow, but not so hot that control is lost.
Impact on Crystallization
PEEK is a semi-crystalline polymer. Its structure during cooling determines its final properties.
Rapid cooling: Polymer chains don't have time to arrange into ordered crystals. Crystallinity is low. Strength and stiffness suffer.
Controlled cooling: Chains arrange into uniform crystalline structure. Mechanical properties improve—higher tensile strength, better creep resistance.
The chamber temperature controls cooling rate. Too cold, and PEEK cools too fast. Just right, and it crystallizes properly.
Layer Adhesion
Each layer must bond to the one below. Poor adhesion means delamination—layers separating under stress.
Nozzle temperature affects how well molten PEEK flows into the previous layer. Chamber temperature keeps the part warm so new layers bond properly.
Build plate temperature ensures the first layer sticks. Without good first-layer adhesion, the whole print fails.
Warping Prevention
PEEK shrinks as it cools. If cooling is uneven, internal stresses build up. The part warps—corners lift, dimensions change.
High build plate temperature (120-180°C) keeps the first layer stuck down. Chamber temperature (90-160°C) maintains even temperature throughout the part, reducing stress.
What Are the Key Temperature Parameters?
Nozzle Temperature
Recommended range: 360°C – 440°C
Why this range: PEEK has high viscosity. It needs high temperature to flow properly through the nozzle.
Too low (350°C) : Material doesn't fully melt. Extrusion is inconsistent. Layers don't bond. Surface is rough. Internal voids form.
Too high (450°C) : Material over-melts. Dripping occurs. Accuracy suffers. Carbonization possible.
Optimal setting: Depends on your specific PEEK formulation and printer. Start in the middle and adjust based on results.
Build Plate Temperature
Recommended range: 120°C – 180°C
Why this range: First-layer adhesion is critical. High temperature keeps PEEK stuck to the plate.
Too low (100°C) : Part warps or lifts during printing. Corners curl. Large parts especially prone to failure.
Too high (190°C+) : May cause PEEK to stick too aggressively, making removal difficult. Can also affect lower layers.
For large or complex parts: Lean toward the higher end—180°C provides maximum adhesion.
Chamber Temperature
Recommended range: 90°C – 160°C (some high-end systems go above 200°C)
Why this range: Controls cooling rate and crystallization. Maintains even temperature throughout the part.
Too low: PEEK cools too quickly. Crystallinity decreases. Mechanical properties suffer. Warping increases.
Just right: Controlled cooling allows proper crystallization. Parts have optimal strength and stiffness.
Higher is better for PEEK—but requires an enclosed printer capable of maintaining these temperatures.
Temperature Relationships
These three temperatures work together:
| Parameter | Typical Range | Effect |
|---|---|---|
| Nozzle temp | 360-440°C | Melting and flow |
| Build plate temp | 120-180°C | First-layer adhesion |
| Chamber temp | 90-160°C | Cooling rate, crystallization |
All must be controlled simultaneously for successful PEEK printing.
How Do You Find the Ideal Temperature for Your Setup?
Start with Manufacturer Recommendations
Every PEEK filament is slightly different. Start with the temperature range recommended by your filament supplier.
Calibrate with Test Prints
Print small test objects—temperature towers, calibration cubes—at different temperatures.
What to look for:
- Layer adhesion: Can you separate layers by hand? They should be fused solidly.
- Surface quality: Is it smooth or rough? Any gaps or voids?
- Dimensional accuracy: Does the part match the design?
- Warping: Any lifting or curling?
Adjust Based on Results
If layers don't bond: Increase nozzle temperature. Decrease print speed. Ensure chamber is warm enough.
If warping occurs: Increase build plate temperature. Increase chamber temperature. Check first-layer adhesion.
If surface is rough: Nozzle may be too cold. Or too hot (dripping). Dial in the temperature.
If part is weak: May need higher chamber temperature for proper crystallization. Or post-print annealing.
Document Your Settings
Once you find what works, document everything:
- Filament brand and lot
- Nozzle temperature
- Build plate temperature
- Chamber temperature
- Print speed
- Layer height
Consistency matters. The same settings should produce the same results.
What Printer Capabilities Do You Need?
All-Metal Hotend
Standard hotends with PTFE liners can't handle PEEK temperatures. PTFE degrades above 240°C. You need an all-metal hotend rated for 400°C+.
High-Temperature Nozzle
Brass nozzles wear quickly with abrasive materials. Hardened steel or ruby-tipped nozzles last longer at high temperatures.
Heated Build Plate
Must reach 180°C+ consistently. Glass or PEI surfaces work well.
Heated Chamber
This is the hardest requirement. PEEK needs an enclosed, heated chamber—ideally 90°C+. Some industrial printers reach 200°C.
Without a heated chamber, PEEK printing is extremely difficult. Parts warp. Layers delaminate. Crystallization suffers.
Thermal Management
Even heating is critical. Drafts cause uneven cooling. Insulation helps maintain temperature.
Safety Considerations
PEEK printing at high temperatures requires:
- Ventilation (though PEEK fumes are less toxic than some materials, good ventilation is still important)
- Fire safety—high temperatures increase risk
- Personal protective equipment for handling hot components
What Post-Processing Affects Temperature-Related Properties?
Annealing
After printing, PEEK parts can be annealed to improve properties:
- Heat the part to around 200-250°C in an oven
- Hold for several hours
- Cool slowly
Annealing increases crystallinity, improving:
- Strength
- Stiffness
- Chemical resistance
- Temperature resistance
Stress Relief
Prints often have internal stress from thermal gradients. Slow cooling in the printer helps. Additional stress relief in an oven can further stabilize dimensions.
Machining
If dimensional accuracy is critical, machine after printing. PEEK machines well with proper tooling.
Yigu Technology's Perspective
At Yigu technology, we've printed thousands of PEEK parts. Here's what we've learned:
Temperature control is everything. Even small deviations cause problems. We maintain tight tolerances on all three temperature parameters.
Start conservative, then adjust. Begin with manufacturer recommendations, then fine-tune based on results. Document everything.
The chamber matters most. A heated chamber separates successful PEEK printing from constant failure. If your printer doesn't have one, you'll struggle.
Material quality varies. Not all PEEK filaments are equal. We source only from reputable suppliers with consistent properties.
Applications we serve:
- Aerospace components needing high strength and temperature resistance
- Medical implants requiring biocompatibility
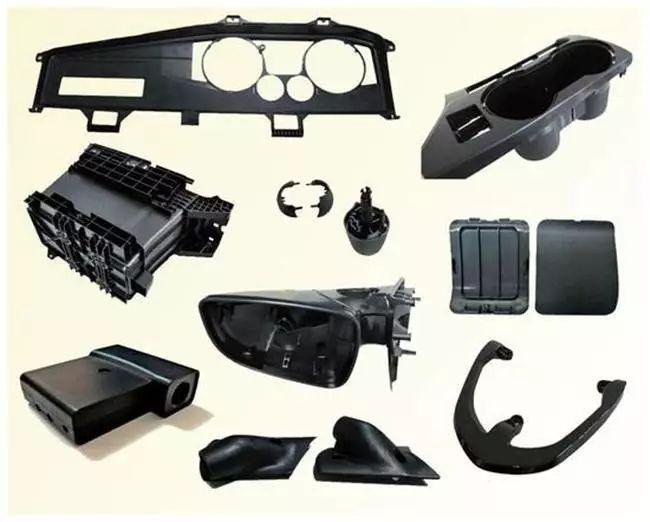
- Industrial parts exposed to harsh chemicals
- Automotive components in high-heat environments
PEEK isn't easy to print. But with the right temperatures and equipment, it's incredibly rewarding.
Conclusion
PEEK 3D printing temperature isn't a single number—it's three numbers working together:
| Parameter | Ideal Range | What It Controls |
|---|---|---|
| Nozzle temperature | 360-440°C | Melting, flow, layer bonding |
| Build plate temperature | 120-180°C | First-layer adhesion, warping prevention |
| Chamber temperature | 90-160°C+ | Cooling rate, crystallization, stress |
Finding the ideal settings requires:
- Manufacturer recommendations as a starting point
- Test prints to dial in your specific setup
- Documentation for consistency
- Proper equipment—all-metal hotend, heated bed, heated chamber
The rewards are worth the effort. PEEK parts offer:
- Strength approaching metal
- Temperature resistance to 250°C
- Chemical resistance to almost everything
- Biocompatibility for medical applications
For demanding applications, PEEK is unmatched. And temperature control is the key to printing it successfully.
FAQ
What is the ideal nozzle temperature for PEEK 3D printing?
The ideal nozzle temperature range is 360°C to 440°C. The exact temperature depends on your specific PEEK formulation and printer. Start in the middle and adjust based on results. Too low causes poor layer bonding and rough surfaces. Too high causes dripping and potential carbonization.
Why does PEEK need a heated chamber?
PEEK requires a heated chamber to control cooling rate and crystallization. Without it, PEEK cools too quickly, resulting in low crystallinity and poor mechanical properties. Warping also increases dramatically. A heated chamber (90-160°C+) is essential for successful PEEK printing.
What happens if the build plate temperature is too low for PEEK?
If the build plate is too low (below 120°C), the first layer won't adhere properly. The part will warp or lift during printing. Large parts are especially prone to failure. For best results, maintain build plate temperature between 120°C and 180°C.
Can I print PEEK on a standard 3D printer?
No. Standard 3D printers can't reach the required temperatures. You need:
- All-metal hotend rated for 400°C+
- Heated build plate reaching 180°C+
- Heated chamber (enclosure) maintaining 90°C+
Without these, PEEK printing will fail.
How does temperature affect PEEK's mechanical properties?
Temperature affects crystallinity. Proper cooling (controlled by chamber temperature) allows polymer chains to arrange into ordered crystals. This increases tensile strength, stiffness, and creep resistance. Rapid cooling reduces crystallinity, weakening the part.
What post-processing can improve PEEK parts?
Annealing—heating printed parts to 200-250°C for several hours, then slow cooling—increases crystallinity and improves mechanical properties. Stress relief can reduce internal stresses from printing. Machining can achieve tighter tolerances on critical dimensions.
Contact Yigu Technology for Custom Manufacturing
Ready to print PEEK parts for your project? Yigu technology specializes in high-performance 3D printing with materials like PEEK, ULTEM, and more.
We offer:
- Free quotes within 24 hours—just send your CAD file
- Design for high-temperature materials—optimizing your parts for success
- Industrial printers with heated chambers and precise temperature control
- Material expertise—selecting the right PEEK formulation for your application
- Post-processing—annealing, machining, finishing
- Quality assurance—inspection and certification support
Contact us to discuss your project. Tell us what you're making and what it needs to do. We'll help bring your design to life—at the right temperature.