You’ve heard PC (Polycarbonate) is the material for tough, high-performance 3D prints—strong enough for industrial parts, clear enough for lenses, and heat-resistant for demanding applications. But when you try to print it, you’re met with a string of issues: the filament clogs the nozzle, layers peel apart like cheap tape, or the final part warps so badly it’s unrecognizable. Maybe your “clear” PC print comes out cloudy, or it shatters unexpectedly under stress, leaving you wondering if it’s worth the hassle.
The truth is, PC’s exceptional material properties—its strength, heat resistance, and clarity—come with strict printing requirements. Unlike PLA or PETG, it demands precise temperature control, a stable environment, and specialized printing techniques to avoid failure. In this guide, we’ll break down how to master 3D printing PC, from understanding its unique characteristics to nailing post-processing, so you can create parts that live up to its reputation.
Material Properties: Why PC Stands Above the Rest
Polycarbonate is a high-performance thermoplastic known for its unbeatable combination of strength, versatility, and durability. Its material properties make it a top choice for applications where failure isn’t an option:
- Strength and resilience: PC boasts high strength with a tensile strength of 65-70 MPa, far exceeding PLA (30-60 MPa) and ABS (20-40 MPa). Its impact resistance is legendary—it’s virtually unbreakable under normal conditions, even at low temperatures. This makes it ideal for protective gear or parts that need to withstand sudden shocks, like machine guards or tool housings.
- Thermal and dimensional stability: PC’s thermal stability is a standout feature, with a glass-transition temperature of 147°C and continuous use temperature up to 120°C. It can handle hot environments that would warp PETG (80°C) or melt PLA (60°C). Its dimensional stability is equally impressive; it shrinks minimally during cooling, ensuring parts retain their precise dimensions—critical for tight-tolerance applications like automotive components.
- Optical clarity and resistance: PC is naturally transparent, offering optical clarity second only to glass among 3D printing materials. This makes it perfect for light covers, lenses, or display enclosures. It also resists most chemicals, including oils, alcohols, and weak acids, though it’s vulnerable to solvents like acetone. While its UV resistance is moderate (it yellows over time in direct sunlight), UV-stabilized grades are available for outdoor use.
To put it in perspective, here’s how PC compares to other popular filaments:
| Material | Tensile Strength | Impact Resistance | Max Continuous Use Temp | Optical Clarity |
| PC | 65-70 MPa | Excellent | 120°C | High (transparent) |
| ABS | 20-40 MPa | Good | 90°C | Low (opaque) |
| PETG | 40-55 MPa | Good | 80°C | Medium (semi-transparent) |
| PLA | 30-60 MPa | Poor | 60°C | Medium (semi-transparent) |
Printing Techniques: Taming PC’s High-Temperature Demands
Printing PC is challenging, but with the right setup and printing techniques, consistent results are achievable. The key is to manage heat, reduce warping, and ensure strong layer bonds:
Temperature and Environment: Non-Negotiable Requirements
- High-temperature nozzle: PC requires a nozzle temperature of 260-300°C—significantly higher than most filaments. This high heat ensures proper melting; temperatures below 260°C cause under-extrusion and weak layers, while exceeding 300°C can degrade the material, reducing strength and clarity. Use a nozzle made of hardened steel or brass with a large bore (0.4 mm or larger) to avoid clogs.
- Heated bed and enclosed chamber: A heated bed at 100-120°C is essential for first-layer adhesion. PC shrinks as it cools, so an enclosed chamber that maintains a ambient temperature of 60-80°C is critical to prevent warping. The chamber slows cooling, allowing layers to bond properly and reducing internal stress that causes cracks.
- Cooling control: PC needs minimal cooling—keep the fan at 0-20%. Excessive cooling (above 30%) causes rapid solidification, leading to poor layer adhesion and brittle parts. Let the material cool gradually within the enclosed chamber to preserve strength and dimensional accuracy.
Speed, Layers, and Supports: Optimizing for Success
- Print speed adjustments: Print PC slowly—20-40 mm/s is optimal. Faster speeds (above 50 mm/s) don’t allow enough time for layers to bond, resulting in weak parts. Slower speeds also reduce shear stress on the molten material, minimizing stringing and improving precision.
- Layer adhesion: Achieving strong layer bonds is critical. Use a layer height of 0.1-0.2 mm (with a 0.4 mm nozzle) to maximize contact between layers. Increase nozzle temperature by 5-10°C if layers separate easily, and ensure the first layer is slightly over-extruded (105-110% flow rate) to lock it to the bed.
- Support material compatibility: PC works best with soluble supports like PVA (printed at 210-230°C) for complex geometries, as breakaway supports are hard to remove without damaging the part. If using PC for supports, match the temperature settings to the model material and add a 0.1 mm gap between the support and model for easier separation.
Applications: Where PC’s Performance Shines
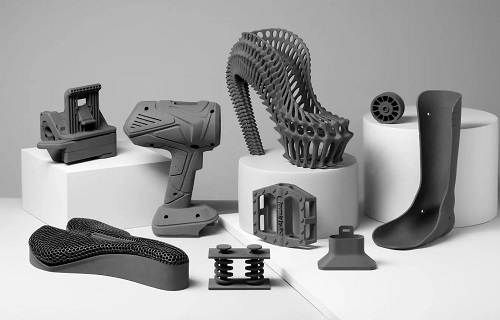
PC’s unique blend of strength, heat resistance, and clarity makes it indispensable in these critical applications:
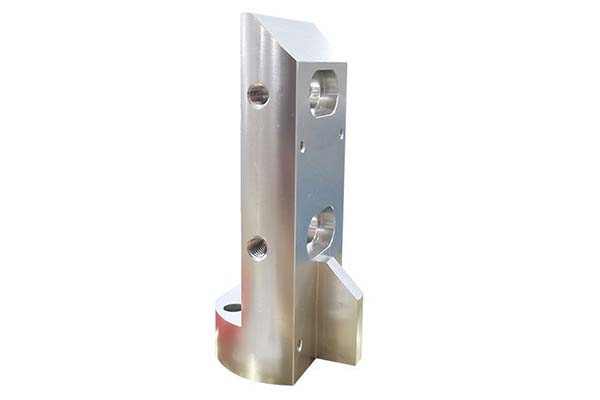
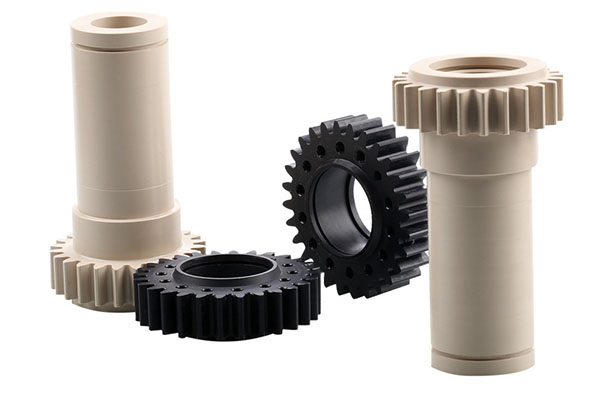
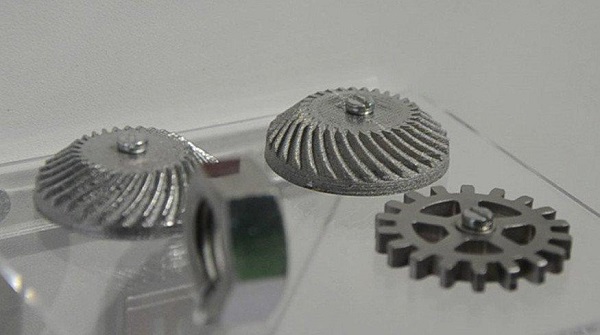
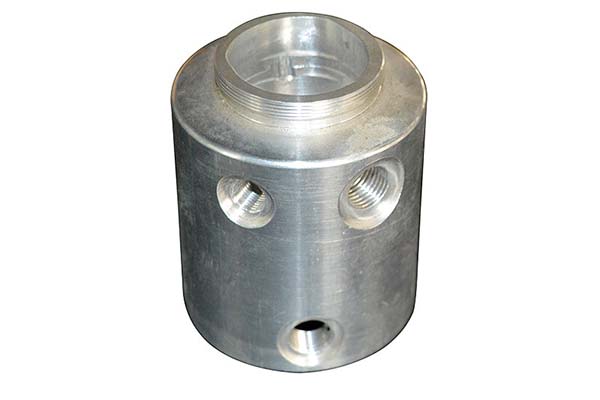
- Industrial parts and functional prototypes: Factories rely on PC for industrial parts like machine components, conveyor guides, and inspection fixtures. Its high strength and thermal stability withstand the rigors of daily use, while its dimensional accuracy ensures parts fit perfectly. For functional prototypes, PC mimics the performance of injection-molded parts, allowing rigorous testing under real-world conditions.
- Protective gear and automotive components: PC is the material of choice for protective gear like safety glasses, face shields, and helmet visors, thanks to its impact resistance and clarity. In automotive applications, it’s used for light housings, sensor covers, and under-hood components that need to withstand high temperatures and vibrations.
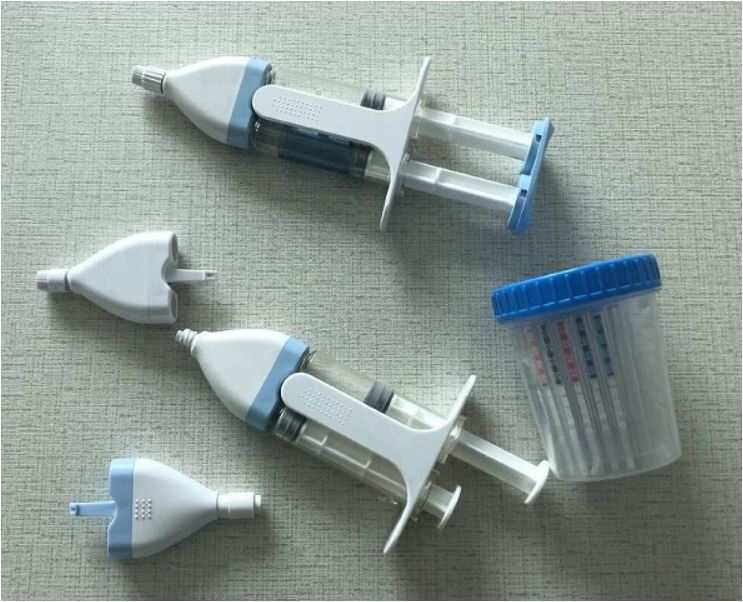
- Electronics enclosures and medical devices: Electronics enclosures benefit from PC’s heat resistance (protecting internal components from overheating) and dielectric properties. In medical devices, it’s used for housings, surgical instrument trays, and even some transparent components like IV fluid containers, as it’s easy to sterilize and biocompatible (in medical grades).
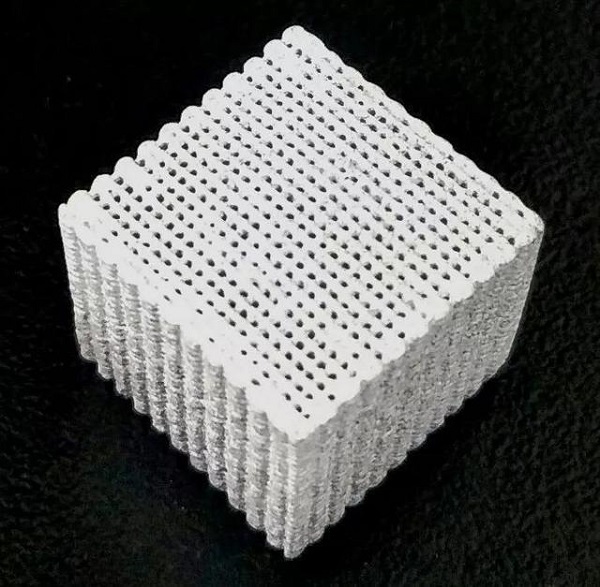
- Architectural models: While less common, PC’s optical clarity makes it ideal for architectural models of glass buildings or light features. It can be printed in thin layers to simulate glass panels, offering a realistic look that opaque materials can’t match.
Post-Processing: Enhancing PC’s Natural Qualities
PC’s post-processing needs are minimal, but the right techniques can enhance its strength, clarity, and appearance:
- Sanding and polishing: PC sands well to remove layer lines—start with 200-400 grit sandpaper, then move to 800-1200 grit for a smooth finish. Polishing with a plastic polish (like Novus) or a buffing wheel brings out its optical clarity, turning semi-transparent prints into clear, glass-like parts. This is essential for lenses or light covers.
- Annealing: For maximum strength and dimensional stability, annealing PC parts is a game-changer. Heat the part to 120-130°C (just below its glass-transition temperature) in an oven, hold for 1-2 hours, then cool slowly (turn off the oven and let it cool naturally). This reduces internal stress, making the part more resistant to impact and heat.
- Painting and machining: PC accepts paint well, but clean the surface with isopropyl alcohol first to remove oils. Use acrylic or enamel paints; avoid solvent-based paints that can cloud the material. For precise fits, machining (drilling, milling, or turning) PC is possible with standard tools, though it’s harder than ABS or PLA, so use sharp bits and coolants to prevent melting.
- Assembly and surface finishing: PC bonds well with epoxy or cyanoacrylate (superglue), but for stronger joints, use PC-specific adhesives that melt the surface slightly for a welded bond. Surface finishing options like vapor smoothing (with specialized solvents) can further enhance clarity, though this is best left to professionals to avoid warping.
Yigu Technology’s Perspective: Expertise in PC 3D Printing
At Yigu Technology, we specialize in 3D printing PC for clients who demand uncompromising performance. We understand its sensitivity to temperature and environment, which is why we use industrial-grade printers with precision heated beds, enclosed chambers, and high-temperature nozzles. Whether you need automotive components with tight tolerances, clear medical devices, or durable industrial parts, we optimize every parameter—from print speed to layer adhesion—to ensure your PC parts meet or exceed expectations. With PC, the difference between success and failure is in the details, and we’ve mastered them.
Frequently Asked Questions (FAQ)
- Why is my PC print warping despite using a heated bed?
Warping in PC is usually due to poor chamber temperature control. Ensure your enclosed chamber maintains 60-80°C, lower the bed temperature slightly (to 100°C), and use a PEI sheet with hairspray for better adhesion. Also, avoid printing large, flat parts without breaks to reduce stress.
- Can PC be printed on a consumer-grade 3D printer?
It’s possible but challenging. Consumer printers lack the precise temperature control and enclosed chambers of industrial models. If trying, use a printer with a all-metal hot end (capable of 300°C), add an enclosure (e.g., with acrylic panels), and start with small, simple parts to test settings.
- How do I restore PC’s optical clarity after printing?
Sand the part with 400, 800, 1200, and 2000 grit sandpaper, then polish with a plastic polish (like Meguiar’s Mirror Glaze). For best results, use a buffing wheel with a mild abrasive compound. Avoid skipping grits, as deep scratches will remain visible.