Introduction
You have tried turning copper. The surface finish is rough. Burrs cling to edges. The material sticks to your cutting tool. You are not alone. Copper’s unique properties—its softness, high ductility, and tendency to adhere to tools—make it trickier to machine than harder metals like steel. But with the right knowledge of materials, tools, parameters, and problem-solving, you can achieve clean cuts and flawless finishes.
This guide covers everything you need to master copper turning: material selection, tooling, parameters, troubleshooting, and finishing techniques. Whether you are working with pure copper for electrical components or brass for plumbing fittings, you will find actionable steps to improve your work.
What Copper Materials Should You Use?
Before you start turning, selecting the right copper alloy is critical. Each type has properties that directly impact machining.
Key Copper Material Types
| Material Type | Key Properties | Best For | Machining Notes |
|---|---|---|---|
| Pure Copper | High thermal conductivity; soft, gummy | Electrical components, busbars | Prone to built-up edge; needs sharp tools |
| Oxygen-Free Copper | Low oxygen content; high ductility | Waveguides, precision electrical parts | Less prone to oxidation; requires coolant |
| Beryllium Copper | Harder than pure copper; good strength | High-stress parts (valves, springs) | Needs higher cutting speeds; less galling |
| Brass (Cu-Zn) | Harder than pure copper; machinable | Plumbing fittings, decorative parts | Easier to turn; better chip control |
| Bronze (Cu-Sn) | Strong; corrosion-resistant | Bearings, marine parts | Can be brittle; adjust feed rates carefully |
Real-World Example
A client was turning pure copper for electrical busbars. They kept getting sticky built-up edge on their tools, ruining surface finish. Switching to oxygen-free copper and adding high-pressure coolant eliminated the built-up edge. Production speed increased by 20%.
Key takeaway: High thermal conductivity and high ductility (common in pure copper) make it prone to heat buildup and tool adhesion. Harder alloys like brass or beryllium copper are more forgiving but still need specific tooling.
What Cutting Tools Work Best for Copper Turning?
Using the wrong tool is the #1 mistake in copper turning. Unlike steel, copper does not harden when cut—so you need tools that stay sharp, reduce friction, and avoid galling (material sticking to the tool).
Must-Have Tool Features
| Feature | Recommendation | Why |
|---|---|---|
| Sharp cutting edge | Sharpen every 2–3 hours (pure copper) | Dull edges cause tearing and built-up edge |
| Polished rake face | Ra <0.8 μm; polish with diamond stone | Reduces friction; stops copper from sticking |
| Positive rake angle | 10–15° | Helps tool “slice” through copper instead of pushing |
| Large clearance angle | 8–12° | Prevents flank from rubbing; reduces wear |
Tool Material Comparison
| Tool Material | Best For | Speed Range (SFM) | Pros | Cons |
|---|---|---|---|---|
| High-Speed Steel (HSS) | Low-volume jobs, manual lathes | 100–300 | Cheap, easy to sharpen | Wears fast at high speeds |
| Uncoated Carbide | Medium-volume, CNC lathes | 300–600 | Longer tool life than HSS | Needs sharp edges; can chip if dull |
| PCD Inserts | High-volume, precision parts | 600–1200 | Ultra-sharp, minimal wear | Expensive; not for brass/bronze (abrasive) |
Pro Tip: For brass or bronze, avoid PCD inserts—these alloys contain small abrasive particles that wear down diamond quickly. Stick to uncoated carbide.
What Machining Parameters Should You Use?
Even the best tools will not work if your parameters are off. Copper’s softness means you need to balance speed, feed rate, and coolant to avoid heat buildup and poor finishes.
Step-by-Step Parameter Setup
| Parameter | Recommendation | Notes |
|---|---|---|
| Cutting speed | HSS: 100–300 SFM; Carbide: 300–600 SFM; PCD: 600–1200 SFM | Slower speeds let copper stick to the tool |
| Feed rate | 0.002–0.005 ipr | Moderate to high feed breaks chips into small pieces |
| Depth of cut (roughing) | 0.050–0.100 inches | Removes material efficiently |
| Depth of cut (finishing) | 0.005–0.010 inches | Prevents workpiece deformation |
| Coolant | Water-soluble, 3–5% concentration | Flood cooling works better than mist for copper |
Critical Techniques
| Technique | Why |
|---|---|
| Climb turning | Tool moves with workpiece rotation; reduces tool pressure; smoother surface |
| Avoid dwell | Never let tool sit in one spot—causes heat buildup and indentations |
| Chip evacuation | Use chip breaker geometry (C-type) to break chips into small, manageable pieces |
Example: A client’s heat exchanger tubes had surface roughness Ra 6.3 μm. Switching to climb turning dropped roughness to Ra 1.6 μm.
How Do You Solve Common Copper Turning Challenges?
Even with the right setup, issues arise. Here is how to fix the most common problems.
Troubleshooting Guide
| Challenge | Cause | Solution |
|---|---|---|
| Burr formation | Dull tool; low feed rate | Sharpen tool; increase feed rate by 0.001 ipr |
| Material adhesion | Unpolished rake face; low coolant | Polish rake face; increase coolant flow |
| Surface roughness | High cutting speed; dull tool | Reduce speed by 50 SFM; sharpen tool |
| Chip control issues | Wrong chip breaker; low feed rate | Switch to aggressive chip breaker; increase feed |
| Workpiece deformation | Too much tool pressure; thin workpiece | Use softer tool (HSS instead of carbide); add steady rest |
| Heat buildup | Insufficient coolant; high depth of cut | Increase coolant; reduce depth by 0.020 inches |
| Parting-off difficulties | Dull parting tool; low coolant | Use sharp PCD parting tool; direct coolant at cut |
Case Study: Parting-Off Pure Copper
A manufacturer struggled with parting-off 1-inch diameter pure copper rods for electrical components. Cuts were uneven; tools broke frequently. Two issues were identified:
- Dull parting tool
- Insufficient coolant
Solutions:
- Replaced tool with sharp carbide parting insert
- Added dedicated coolant nozzle for parting tool
Results:
- Parting-off time reduced by 30%
- Zero broken tools in one month
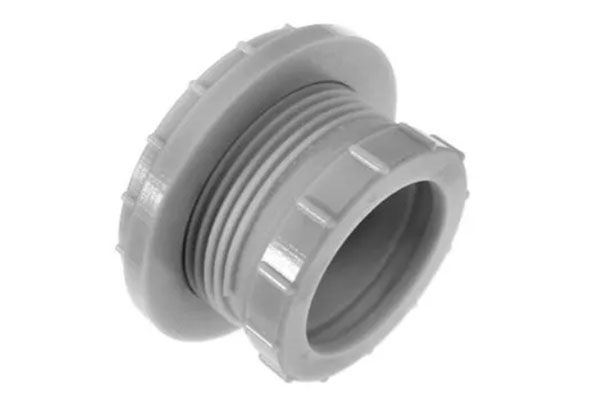
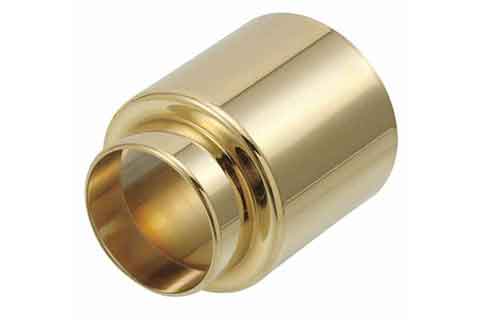
What Applications and Finishing Techniques Are Common?
Copper turning parts serve diverse industries—from electronics to plumbing. Finishing steps make them ready for use.
Common Applications
| Application | Material | Finishing Requirements |
|---|---|---|
| Electrical components | Pure copper, oxygen-free copper | Deburr; polish for good electrical contact |
| Heat exchanger tubes | Brass, bronze | 320-grit sandpaper on inside for heat transfer |
| Busbars | Pure copper | Deburr edges (prevents arcing); optional high-gloss polish |
| Waveguides | Oxygen-free copper | Ultra-fine polishing (Ra <0.2 μm) to reduce signal reflection |
| Plumbing fittings | Brass | Deburr threads; clear coat prevents tarnishing |
Step-by-Step Finishing Process
| Step | Method | Details |
|---|---|---|
| Deburring | Deburring tool; 120-grit sandpaper; vibratory tumbler with ceramic media | Fast, consistent for small parts |
| Polishing | Progress through grits: 240 → 400 → 600 → polishing compound (rouge) | For precision parts: buffing wheel at 1500 RPM |
| Corrosion resistance | Clear lacquer; nickel or chrome plating | For outdoor, marine, or wet applications |
Expert Insight: For waveguides, even a small scratch affects performance. Always follow the full grit sequence. Skipping the 600-grit step increased signal loss by 10% in one batch—requiring rework.
Conclusion
Copper turning demands respect for the material’s unique properties. Success depends on:
- Material selection: Match alloy to application—pure copper for conductivity, brass for machinability, beryllium copper for strength
- Tooling: Sharp edges, polished rake faces, positive rake angles; PCD for high-volume precision, carbide for medium runs
- Parameters: High cutting speeds (300–1200 SFM depending on tool), moderate to high feeds (0.002–0.005 ipr), flood coolant
- Techniques: Climb turning, avoid dwell, aggressive chip breakers
- Finishing: Proper deburring, progressive polishing, corrosion protection where needed
When these elements come together, copper turning delivers clean cuts, smooth finishes, and reliable parts—from electrical busbars to plumbing fittings.
FAQs
Can I use the same tools for brass and pure copper?
No. Brass is harder and less sticky than pure copper. For brass, uncoated carbide works well. For pure copper, you need sharper tools (PCD or polished HSS) to avoid adhesion.
How do I prevent built-up edge when turning pure copper?
Use a sharp tool with polished rake face, high cutting speeds (300+ SFM for carbide), and copious coolant. If issues persist, increase feed rate slightly—this breaks chips and reduces tool contact time.
What is the best coolant for copper turning?
Water-soluble coolant with good lubricity (3–5% concentration) is ideal. Avoid oil-based coolants—they leave residue that is hard to clean off, problematic for electrical parts.
Why is my copper workpiece deforming during turning?
Deformation is usually caused by excessive tool pressure or a thin workpiece. Solutions: reduce depth of cut; use softer tool (HSS instead of carbide); add steady rest to support the workpiece.
How do I achieve a high surface finish on copper?
Use sharp PCD insert (CNC) or polished HSS tool (manual lathes) , low depth of cut (0.005–0.010 inches), and high cutting speeds. Finish with 600-grit sandpaper and polishing compound for mirror finish.
Contact Yigu Technology for Custom Manufacturing
At Yigu Technology, we specialize in copper turning for electrical, plumbing, and precision applications. With 15 years of experience, advanced CNC turning capabilities, and ISO 9001 certification, we deliver components with exceptional surface finishes and tight tolerances.
Our expertise includes material selection (pure copper, oxygen-free, brass, bronze), tooling (PCD, carbide), and finishing (deburring, polishing, plating). Contact us today to discuss your copper turning project.