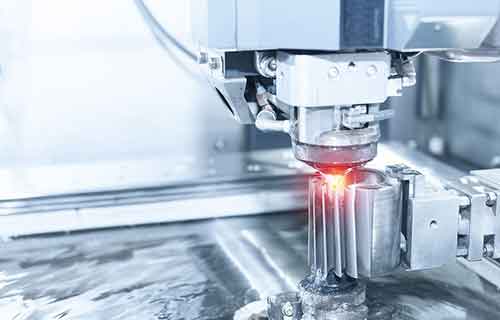
Introduction
If you have ever worked on a project that requires custom metal or plastic components—whether for a prototype, an automotive repair, or an aerospace application—you have likely encountered machining parts. But turning a concept into a functional, precise part is not as simple as hitting “start” on a machine. From initial design choices that impact manufacturability to final inspections that ensure compliance, every step matters. This guide breaks down everything you need to know about machining parts : how to design them for success, the key features that define their functionality, the most common manufacturing processes, how to ensure top-tier quality, and where these parts are used across industries—with real-world examples and practical tips to avoid costly mistakes.
How Do You Design Machining Parts for Manufacturability?
Before a single cut is made, the design phase sets the tone for your machining part’s success. Poorly designed parts can lead to delayed production, wasted materials, or even parts that fail in real-world use. The goal is to balance functionality with Design for Manufacturability (DFM) and Design for Assembly (DFA) —principles that save time and money while improving performance.
Key Design Elements
| Element | Description | Example |
|---|---|---|
| CAD Model | 3D digital blueprint; clean, detailed model helps machinists avoid misinterpretation | Medical implant: revised CAD model separated overlapping features—reduced machining time 30%, eliminated material waste |
| Geometric Dimensioning & Tolerancing (GD&T) | Defines feature relationships (parallelism, perpendicularity) and allowable variation | Automotive engine part: bore tolerance ±0.001 inches ensures alignment with crankshaft—deviation could cause engine failure |
| Wall thickness & material selection | Thin walls (<0.02″ for metals) warp under heat; overly thick walls waste material | Electronics housing: reduced walls from 0.5″ to 0.1″ (aluminum 6061)—cut material costs 40%, maintained durability |
| Critical features | Identify non-negotiable features (threaded holes for mounting) in CAD model | Machinists prioritize these features |
Quick DFM Checklist
| Design Aspect | Do’s | Don’ts |
|---|---|---|
| Wall thickness | Keep consistent (0.02–0.5 inches for metals) | Use walls thinner than 0.02 inches |
| Corners | Add chamfers/fillets (0.01–0.1 inches) | Leave sharp 90° corners (causes tool wear) |
| Holes | Place at least 0.1 inches from edges | Put holes too close to edges (cracks risk) |
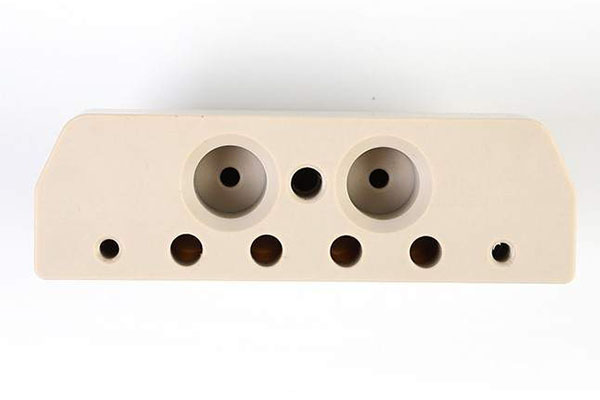
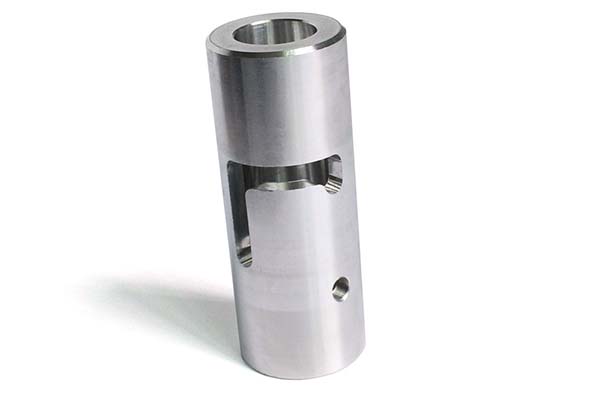
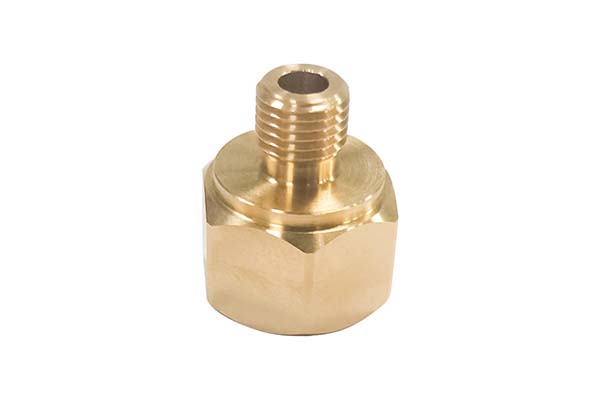
What Part Features and Geometries Define Functionality?
Every machining part consists of specific features that determine what it does and how it works. Understanding these features helps you design parts that meet your needs—and communicate clearly with machinists.
Common Features and Their Uses
| Feature | Description | Example |
|---|---|---|
| Pockets & slots | Pockets: recessed areas; slots: long, narrow recesses | Custom fixture: 2×4″ pocket held sensor securely during operation |
| Holes & threads | Holes for mounting or passing fasteners; threaded holes (tapping) allow screw-in without nuts | Drone frame: 10 0.25″ holes, 5 tapped for M4 screws—quick assembly without extra hardware |
| Bosses & chamfers | Bosses: raised sections; chamfers: angled edges prevent sharpness, ease assembly | Handheld industrial tool: 0.5″ boss prevented wobble; chamfered edges avoided user injury |
| Complex contours & thin-walled sections | Contours: curved/irregular shapes (turbine blades); thin-walled sections save weight, require careful machining | Turbine blade: 5-axis machining cut complex contour in one setup—improved precision |
Feature Compatibility Tip
Not all features work with every material. Undercuts (recesses requiring tool to reach behind feature) are easy in aluminum but challenging in hardened steel (can damage tools). For undercuts in steel, use smaller, more durable tools (carbide end mill) and reduce cutting speed.
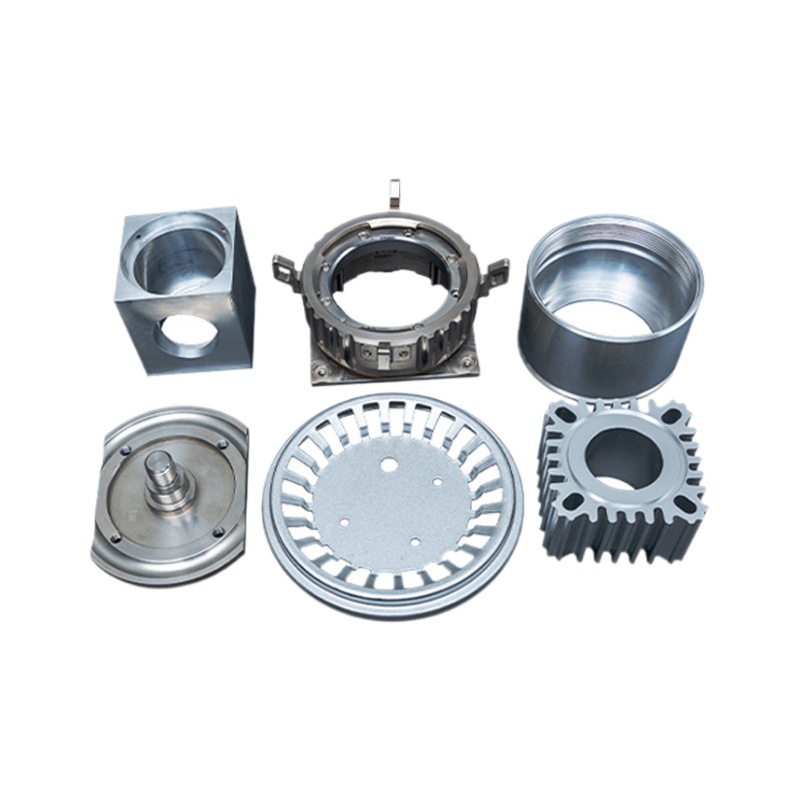
How Do You Choose the Right Manufacturing Process?
The process you use depends on material, features, and volume. Each method has pros and cons—the best choice balances speed, cost, and precision.
Comparison of Key Machining Processes
| Process | Best For | Precision (Tolerance) | Speed (Per Part) | Material Compatibility |
|---|---|---|---|---|
| CNC Milling | Complex 3D features (pockets, contours) | ±0.0005 inches | 10–60 minutes | Metals (aluminum, steel), plastics |
| CNC Turning | Cylindrical parts (shafts, bores) | ±0.0001 inches | 5–30 minutes | Same as milling |
| EDM (Electrical Discharge Machining) | Hard materials (titanium, hardened steel) | ±0.0002 inches | 30–120 minutes | Metals only |
| Laser Cutting | Thin sheets (up to 0.25″ thick) | ±0.001 inches | 1–5 minutes | Metals, plastics, wood |
Real-World Process Selection Example
| Project | Solution | Rationale |
|---|---|---|
| 500 aluminum brackets for automotive assembly line | CNC milling | Simple rectangular shape with two holes; fast and cost-effective for small to medium volumes |
| Single prototype titanium medical implant with complex contour | 5-axis CNC machining + EDM for small undercut | 5-axis avoids multiple setups; EDM handles titanium (too hard for standard tools) |
Pro Tip for High-Volume Production
For 1,000+ parts , combine processes. Use waterjet cutting to quickly cut blanks, then CNC milling to add detailed features. This reduces overall production time by up to 50% compared to milling alone.
How Do You Ensure Quality and Inspection?
Even the best design and machining process can result in faulty parts if quality is not checked. Inspection ensures your part is precise, functional, and compliant with industry standards—whether for aerospace (AS9100) or medical (ISO 13485) applications.
Critical Inspection Steps
| Step | Description | Example |
|---|---|---|
| First Article Inspection (FAI) | Full inspection of first part produced; verifies machining process before mass production | Aerospace turbine blade: FAI found contour off by 0.002 inches—adjusted CNC program; all subsequent blades passed |
| CMM Measurement | Coordinate Measuring Machine checks 3D dimensions down to 0.00001 inches | Medical implant hip bore: ±0.0005 inches to fit stem—CMM ensures compliance |
| Surface Finish (Ra) | Measures smoothness; lower Ra reduces friction | Hydraulic valve: Ra 0.4 μm achieved with grinding after milling |
| Functional Testing | Test if part works as intended | Custom gear: tested meshing and torque capacity before failure |
Quality Control Report (QCR) Must-Include Items
| Item | Description |
|---|---|
| Part number and CAD model reference | Identifies part |
| List of inspected features (with tolerances) | Specifies what was checked |
| Measurement results | Example: “Bore diameter: 0.5002 inches, tolerance ±0.0005 inches—PASS” |
| Inspection method | CMM, calipers, etc. |
| Inspector name and date | Traceability |
Where Are Machining Parts Applied Across Industries?
Machining parts are everywhere—from the phone in your pocket to the plane you fly in. Their versatility and precision make them essential in nearly every industry.
| Industry | Components | Requirements | Example |
|---|---|---|---|
| Aerospace | Turbine blades, engine mounts | Extreme precision (±0.0001 inches); high-strength materials (titanium, Inconel) | Turbine blade: Inconel 718, 5-axis machining—withstands 1,200°F |
| Medical | Implants (hip stems, dental crowns), surgical instruments | Biocompatible materials (titanium, stainless steel 316L); perfect finishes to avoid infection | Dental implant: EDM created textured surface for bone growth—improved long-term stability |
| Automotive | Brake calipers, transmission shafts | Mass production consistency | 10,000 brake calipers: CNC turning—each had same bore size, ensuring consistent braking |
| Consumer Electronics | Laptop housings, smartphone frames | Lightweight, precise | Laptop housing: aluminum alloy 5052, CNC milling—20% weight reduction vs. plastic |
What Is Yigu Technology’s Perspective on Machining Parts?
At Yigu Technology , we believe the future of machining parts lies in blending precision with sustainability. Traditional machining often prioritizes speed over material waste—we have seen projects where 30% of raw material is discarded as scrap. Our approach focuses on:
- DFM optimization: Designing parts to use less material.
- Scrap recycling: Recycling 90% of aluminum and steel scrap , reducing carbon footprint by 25% .
- Advanced technology: 5-axis machining and AI-powered CNC programs —AI system predicts tool wear and adjusts cutting speeds, reducing errors by 18% .
For clients, this means better parts at lower costs, with less environmental impact.
Conclusion
Machining parts success depends on integrating design, manufacturing, and quality control. DFM principles —consistent wall thickness (0.02–0.5 inches for metals), chamfers/fillets (0.01–0.1 inches), holes ≥0.1 inches from edges—prevent warping, tool wear, and cracking. Key features —pockets, slots, holes, threads, bosses, chamfers, complex contours—define functionality. Process selection matches part requirements: CNC milling (±0.0005 inches) for complex 3D features; CNC turning (±0.0001 inches) for cylindrical parts; EDM for hard materials; laser cutting for thin sheets. Quality control requires First Article Inspection (FAI), CMM measurement (down to 0.00001 inches), surface finish (Ra) testing, and functional testing—with QCR documentation. Applications span aerospace (turbine blades: ±0.0001 inches, Inconel 718), medical (implants: biocompatible titanium, textured surfaces for bone growth), automotive (10,000 brake calipers with consistent bore size), and consumer electronics (20% weight reduction with aluminum 5052). By integrating DFM, appropriate processes, and rigorous inspection, machining parts deliver precision, reliability, and cost-effectiveness across industries.
FAQs
How do I choose the right material for my machining part?
Start with your part’s purpose: Strength (automotive parts) → steel or aluminum alloy 6061. Biocompatibility (medical implants) → titanium or stainless steel 316L. Lightweight (drones) → aluminum alloy 5052 or carbon fiber-reinforced plastic (CFRP).
What is the difference between CNC milling and CNC turning?
CNC milling uses rotating tools to cut material—good for 3D features like pockets, contours. CNC turning spins the material against a stationary tool—good for cylindrical parts like shafts. If your part is round, use turning; if irregular, use milling.
How much does it cost to machine a part?
Cost depends on material, complexity, and volume. Simple aluminum bracket (low complexity, 100 parts): $5–10 per part. Complex titanium medical implant (high complexity, 10 parts): $500–1,000 per part. Ask for a quote with breakdown of material, labor, and setup costs.
How long does it take to machine a part?
Simple part (bracket with two holes): 10–30 minutes per part. Complex part (turbine blade): 1–2 hours per part. High-volume orders (1,000+ parts): lead times 2–4 weeks (setup + production time).
What is the most common mistake in machining part design?
Ignoring DFM —designing walls too thin (causing warping) or holes too close to edges (causing cracks). Always share your CAD model with a machinist early—they can suggest tweaks to improve manufacturability.
Contact Yigu Technology for Custom Manufacturing
At Yigu Technology , we combine precision manufacturing with DFM expertise to deliver high-quality machining parts. Our CNC milling (±0.0005 inches) , CNC turning (±0.0001 inches) , EDM , and laser cutting capabilities serve aerospace (turbine blades), medical (implants), automotive (10,000+ brake calipers), and consumer electronics (20% weight reduction) applications. We recycle 90% of aluminum and steel scrap , reducing carbon footprint by 25% , and use AI-powered CNC programs to reduce errors by 18% . We provide DFM feedback to optimize your designs for manufacturability.
Ready to turn your concept into a precision machining part? Contact Yigu Technology today for a free consultation and quote. Let us help you achieve precision, reliability, and cost-effectiveness in every component.