This comprehensive guide provides an in-depth look at plastic injection molding, one of the most versatile and widely used manufacturing processes globally. We will break down the injection molding process from concept to finished part, exploring each step in detail. You'll learn about the essential key components of an injection mold, including the mold base, guiding components, positioning components, the plastic injection molding pouring system, and the forming components. This guide is designed for engineers, product designers, and decision-makers seeking a thorough, practical understanding of the technology, its applications, and how to leverage it for successful manufacturing.
Introduction: What is Plastic Injection Molding?
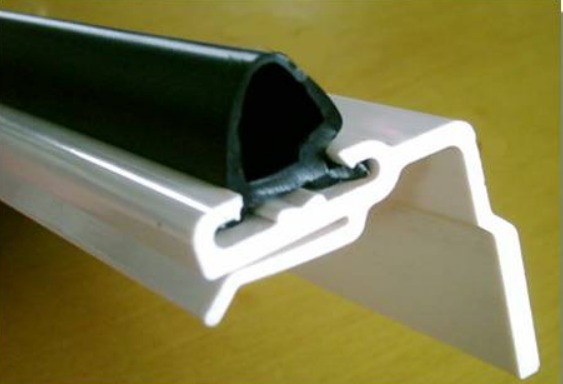
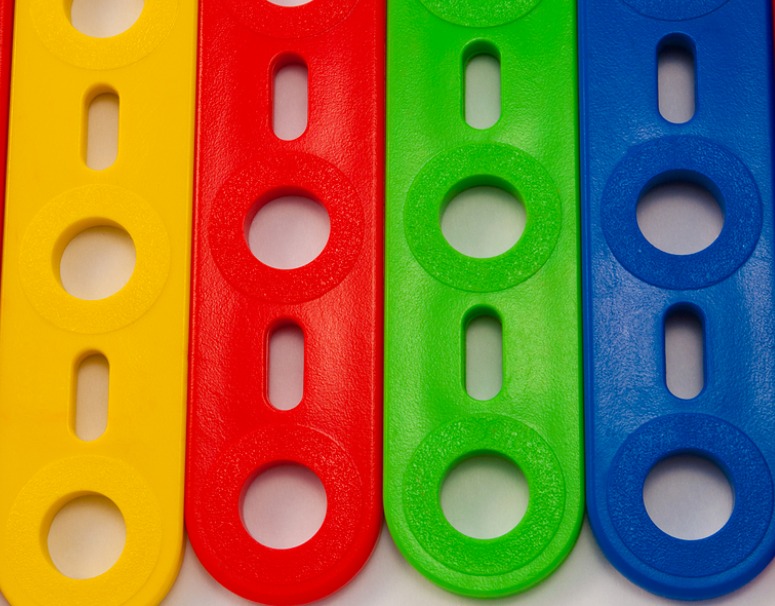
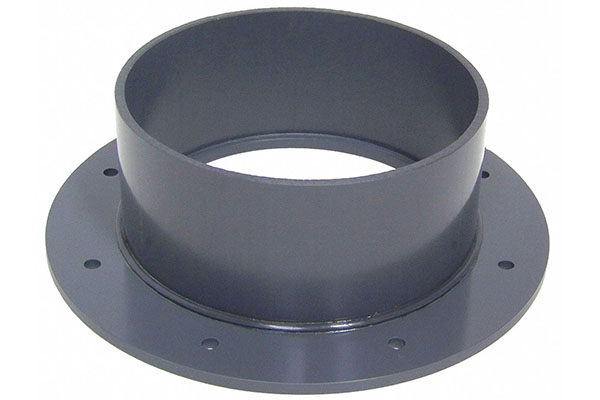
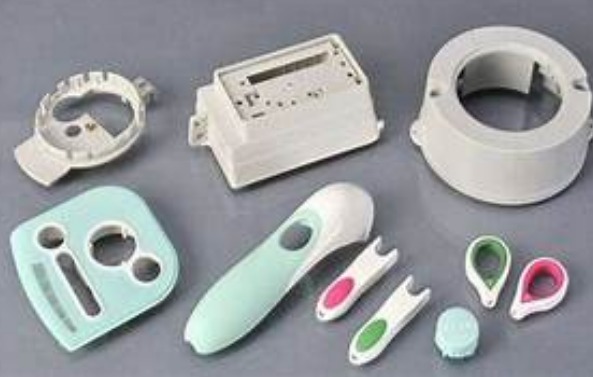
Plastic injection molding is a cornerstone of modern manufacturing. It’s a repeatable process where granulated or pelleted thermoplastic material is melted, injected under high pressure into a custom-designed mold cavity, cooled, and then ejected as a solid part. Valued for its high production speed, excellent repeatability, and ability to produce complex geometries with tight tolerances, this technology is behind everything from microscopic medical components to large automotive body panels. Its efficiency and scalability make it ideal for high-volume production runs, where the initial investment in precision tooling pays off through low per-part costs and consistent quality.
How Does the Plastic Injection Molding Process Work?
The injection molding cycle is a precisely controlled sequence of events. It begins with material preparation and ends with a finished part ejection, often in a matter of seconds. The core principle revolves around the plasticization of resin in the injection unit and its subsequent forming within the clamped mold. Understanding this flow is critical for troubleshooting, optimizing cycle times, and ensuring part quality. The process's reliability stems from the integration of mechanical, hydraulic, and electronic systems working in unison within the injection molding machine.
A Step-by-Step Breakdown of the Molding Cycle
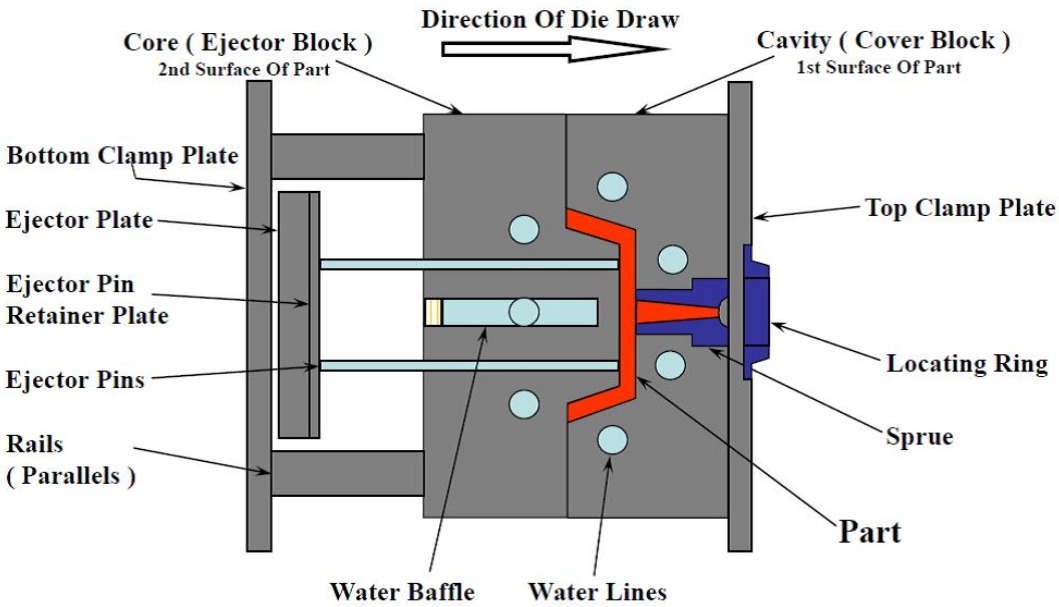
- Clamping: The two halves of the injection mold—the fixed half on the injection side and the moving half on the ejection side—are securely closed and held together by the clamping unit. Tonnage, a measure of this clamping force, must be sufficient to withstand the immense internal pressure of the injected melt (often thousands of PSI) to prevent "flash" (excess plastic seeping out of the mold seam).
- Injection: The plastic resin pellets are fed from the hopper into the heated barrel. A reciprocating screw rotates, conveying the material forward. The combined action of mechanical shear from the screw rotation and heat from the barrel bands melts the plastic into a homogeneous melt pool. Once a precise "shot" volume is accumulated in front of the screw, it acts as a plunger, injecting the molten plastic at high speed and pressure through the nozzle and into the mold's runner system and cavities.
- Cooling & Holding: After the cavity is filled, pressure is maintained (the holding phase) to pack additional material into the cavity to compensate for plastic shrinkage as it cools. The part cools and solidifies within the water-cooled mold. Cooling time typically constitutes the majority of the total cycle time. As a product engineer, I've optimized cooling line layouts to reduce cycle time by 15% on a complex automotive connector, directly impacting unit cost.
- Screw Recovery (Plasticating): While the part cools, the screw retracts and begins rotating again, melting and conveying the next shot of material to the front of the barrel. This step happens concurrently with cooling, maximizing machine efficiency.
- Ejection: Once sufficiently solidified, the mold opens. Ejector pins, plates, or sleeves, activated by the molding machine, push the finished part(s) out of the mold cavity. The mold then closes, and the cycle repeats.
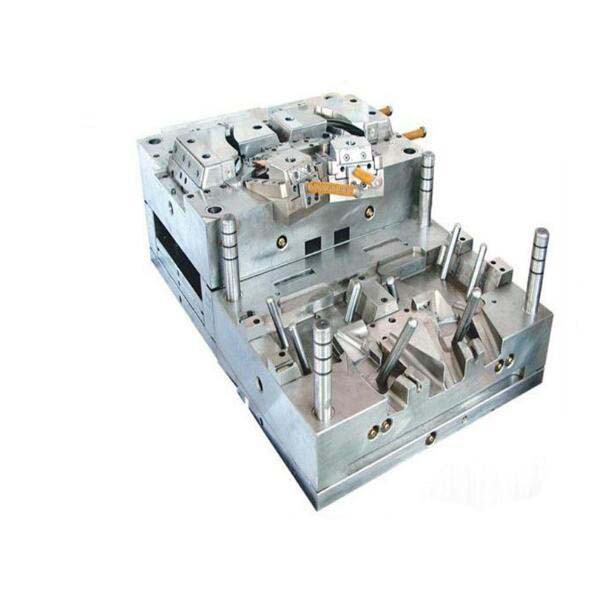
What Are the Key Components in a Plastic Injection Mold?
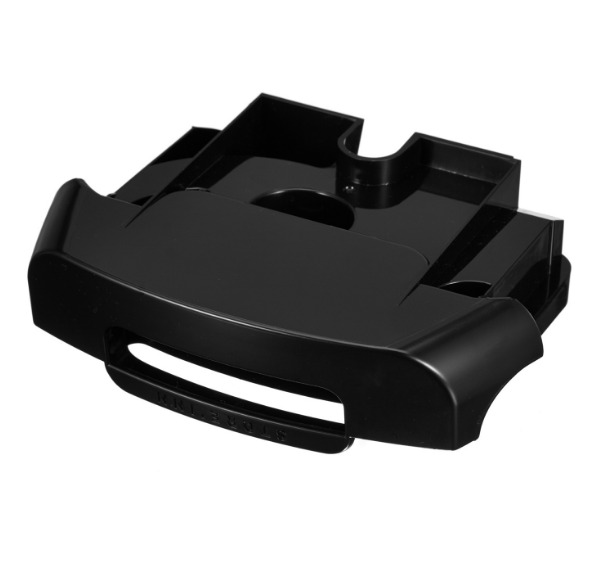
The mold, or tool, is the heart of the process. It is a high-precision, often steel, assembly that defines the part's shape, surface finish, and dimensional accuracy. A standard injection mold consists of several systems, each with a critical function.
The Mold Base: The Foundation
The mold base is the structural frame that houses all other components. It includes plates for clamping to the machine, supporting the cavity and core inserts, and housing the ejection system. Standardized mold bases from suppliers like DME or HASCO are commonly used to reduce cost and lead time.
Guiding Components: Ensuring Precision Alignment
These components ensure the two mold halves align perfectly every time the mold closes, preventing damage to delicate core pins and ensuring consistent part wall thickness. The primary elements are:
- Guide Pins/Bushes: Hardened steel pins on one half fit precisely into matching bushings on the other, providing coarse alignment.
- Leader Pins & Bushings: Used for larger molds or additional precision.
Positioning Components: Locking the Core and Cavity
Once aligned, these components lock the core and cavity in the correct positional relationship to withstand injection pressures.
- Tapered Interlocks (or Wear Plates): These are precisely machined blocks that provide a final, fine alignment and take on the side forces during injection, protecting the guide pins.
The Pouring System: Channeling the Melt
This is the network of channels that delivers the molten plastic from the machine nozzle to the part cavities.
- Sprue: The primary channel from the nozzle to the mold.
- Runners: Distribution channels that carry the melt from the sprue to the gates. Cold runner systems solidify and are ejected with the part (or separately), while hot runner systems keep the plastic molten within the mold, reducing waste and improving cycle times for high-volume production.
- Gate: The small, critical opening where the melt enters the part cavity. Gate design (e.g., edge, submarine, or pinpoint) profoundly affects part appearance, strength, and filling behavior.
The Forming Component System: Creating the Part
This system contains the actual part-forming surfaces and the mechanisms to release the part.
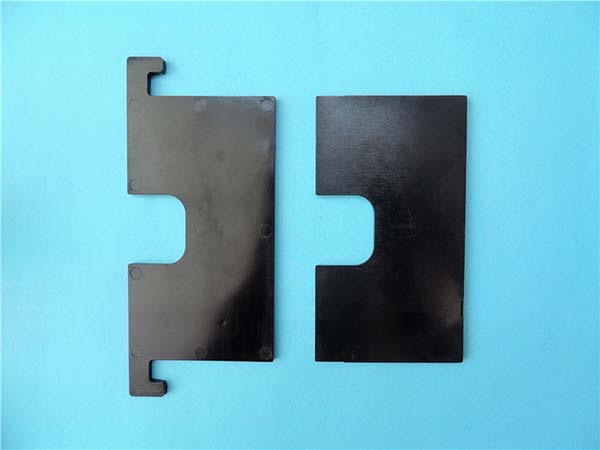
- Cavity & Core: The cavity (usually on the stationary "A" side) forms the part's external shape. The core (on the moving "B" side) forms internal geometries. They are often separate inserts for easier machining and repair.
- Ejection System: Comprised of ejector pins, plates, and return pins, this system pushes the cooled part off the core after mold opening.
- Cooling System: A network of drilled channels or baffles through which water or coolant circulates to control mold temperature. Efficient cooling is non-negotiable for quality and productivity.
- Venting: Small channels or gaps (often only 0.02-0.03mm deep) at the parting line or ejector pins that allow trapped air to escape during injection, preventing burns or short shots.
FAQ: Plastic Injection Molding
- What are the most common materials used in plastic injection molding?
The most common materials are thermoplastics, which can be re-melted. This category includes ABS (Acrylonitrile Butadiene Styrene) for its toughness, Polypropylene (PP) for its chemical resistance and flexibility, Polyethylene (PE) in various densities, and Polycarbonate (PC) for optical clarity and impact strength. Engineering resins like Nylon (PA) and POM (Acetal) are used for higher mechanical performance. - What is the typical lead time for a custom injection mold?
Lead time varies dramatically based on complexity. A simple, single-cavity mold for a prototype might be completed in 4-6 weeks. A multi-cavity, production-grade mold with hot runners, complex actions, and high-grade steel can take 12-20 weeks or more. At Yigu Technology, we employ concurrent engineering and advanced machining to compress these timelines without sacrificing quality. - How do you control warpage and shrinkage in molded parts?
Warpage and shrinkage are inherent to the process but are managed through design and process control. Key strategies include: designing uniform wall thickness, using ribs and gussets for support, optimizing gate location and cooling channel layout to ensure even cooling, and fine-tuning packing pressure and cooling time during process validation. Material selection is also critical, as each resin has a characterized shrinkage rate. - What is the difference between a prototype mold and a production mold?
Prototype molds are built for speed and lower cost, often using softer aluminum or mild steel, fewer cavities, and simplified cooling. They validate design and function. Production molds are built for durability and volume, using hardened tool steels (e.g., P20, H13), sophisticated temperature control, multiple cavities, and robust ejection systems to withstand hundreds of thousands to millions of cycles.
Contact Yigu Technology for Custom Manufacturing.
Navigating the complexities of plastic injection molding requires a partner with deep expertise and a commitment to quality. At Yigu Technology, we combine engineering excellence with state-of-the-art manufacturing to turn your concepts into high-performance, mass-produced realities. From design for manufacturability (DFM) analysis and precision mold making to full-scale production and quality assurance, we manage your entire project with transparency and technical rigor.
Ready to discuss your project? Contact our engineering team today for a comprehensive consultation and quote. Let's build something remarkable together.