Introduction
Imagine holding a tool handle that feels soft where your hand grips it, has a hard core for strength, and features a colored logo that won’t wear off. That’s the magic of 3 shot injection molding. This advanced manufacturing process combines three different materials into a single part during one production cycle. Unlike traditional molding that creates simple, one-material items, this method delivers products with enhanced functionality, improved aesthetics, and better performance. Whether you’re designing automotive components, medical devices, or consumer electronics, understanding this process helps you make smarter manufacturing decisions.
What Exactly Is 3 Shot Injection Molding?
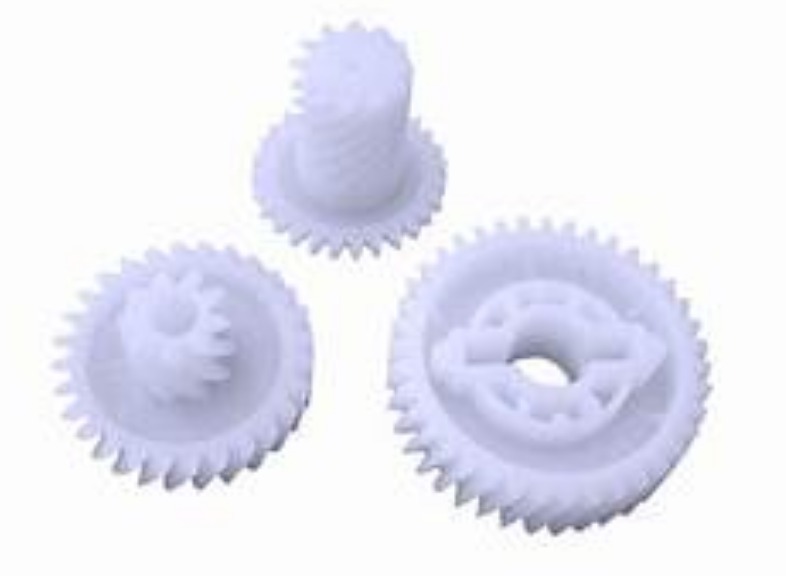
3 shot injection molding—also called three-component or three-color molding—is a process where three distinct materials are injected into a single mold in three separate stages. Each material bonds with the previous one, creating a unified part with multiple properties.
Think of it like baking a layered cake, but instead of flour and sugar, you’re working with engineered plastics. The first layer forms the structural base. The second adds a functional feature like a soft-grip surface. The third introduces color, texture, or specialized performance—such as electrical conductivity.
This method gives designers freedom they never had before. You can combine a rigid plastic like ABS with a flexible material like TPE, then add a decorative or functional top layer—all in one automated cycle.
Why Choose 3 Shot Over Single or 2 Shot Molding?
When deciding on a manufacturing process, you need to weigh cost, complexity, and final product requirements. Here’s how the three methods compare:
| Aspect | Single Shot | 2 Shot | 3 Shot |
|---|---|---|---|
| Tooling Cost | Low ($5k–$10k) | Medium ($10k–$30k) | High ($20k–$50k+) |
| Per-Unit Cost | $0.10–$0.20 | $0.25–$0.50 | $0.50–$1.00 |
| Cycle Time | 10–30 seconds | 30–60 seconds | 60–120 seconds |
| Functionality | Basic | Dual-property | Multi-functional |
| Skill Requirement | Low to moderate | Moderate | High |
A real-world example: a medical device manufacturer needed a syringe with a clear barrel, a soft plunger seal, and a textured finger grip. Single-shot molding couldn’t combine these features. Two-shot gave them barrel and seal but required a separate assembly step for the grip. Three-shot molding delivered all three features in one cycle, eliminating assembly labor and improving quality consistency.
How Does the Process Work Step by Step?
Step 1: Material Preparation
Each material arrives in pellet form and is loaded into separate hoppers. Many plastics—like nylon or polycarbonate—are hygroscopic, meaning they absorb moisture. If not dried properly, moisture turns to steam during injection and causes surface defects or weak spots. Desiccant dryers reduce moisture content to below 0.02% before processing.
Step 2: First Shot Injection
The machine’s screw rotates, melting the first material in a heated barrel. Once molten, it injects into the mold cavity at controlled pressure—typically 50 to 200 MPa, depending on material and part complexity. This first shot forms the structural core of the product.
For an automotive interior knob, this first shot might be ABS plastic chosen for its impact resistance and dimensional stability.
Step 3: Second Shot Injection
After the first shot partially cools and solidifies, the mold rotates or indexes to align with the second injection unit. The second material—often a thermoplastic elastomer (TPE) —injects onto the base. It bonds chemically or mechanically, creating a composite structure.
Consider a smartphone case: the first shot is a hard polycarbonate frame for protection. The second shot adds a shock-absorbing TPE layer around the edges.
Step 4: Third Shot Injection
The mold repositions once again. The third material injects into remaining cavities. This could be a decorative colored layer, a translucent window for LED indicators, or a conductive polymer for touch-sensitive surfaces.
A mechanical keyboard keycap often uses this stage to add a printed legend layer that resists wear over years of typing.
Step 5: Cooling and Ejection
Cooling channels circulate water through the mold to solidify the part evenly. Cooling time affects both quality and efficiency—too fast causes warping; too slow reduces throughput. Once solid, ejector pins push the finished part out. Robots often handle removal to prevent damage and maintain cycle consistency.
What Machinery Makes This Possible?
Injection Molding Machine
A 3-shot machine features three independent injection units, each with its own screw, barrel, and nozzle. Precise controls ensure accurate material dosing and timing. The clamping system holds the mold closed under pressure—ranging from 50 tons for small parts to over 1,000 tons for large automotive components.
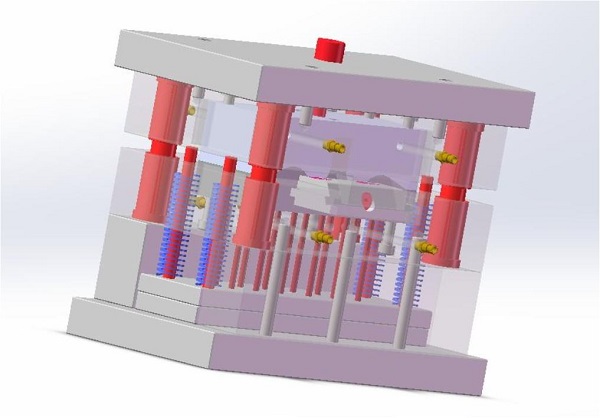
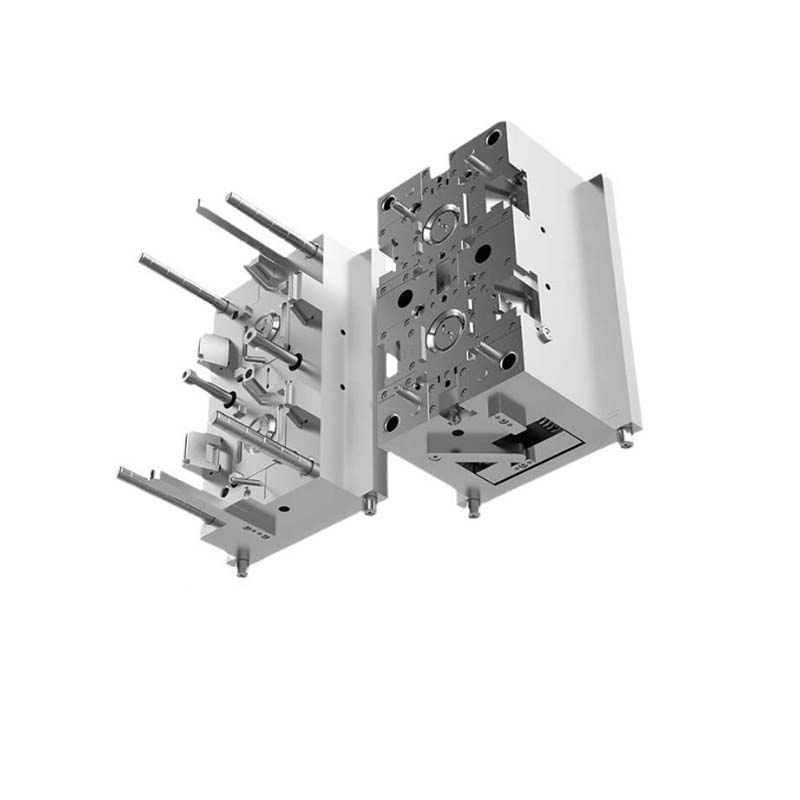
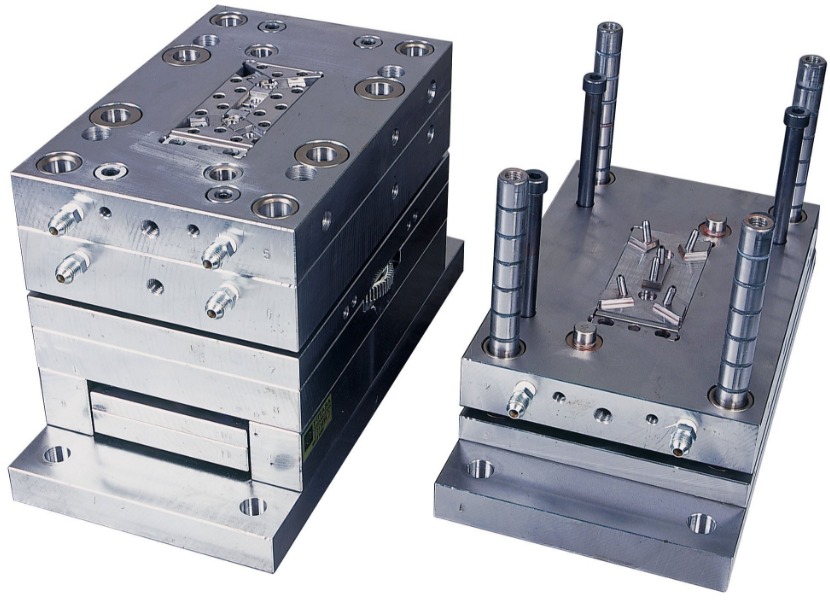
The Mold
The mold is the heart of the process. It contains complex cavity designs, rotating plates, movable cores, and slides. High-quality steel like P20 or H13 withstands repeated high pressures and temperatures. A rotating plate mold, for example, positions the partially formed part in front of each injection unit in sequence.
Auxiliary Equipment
- Material dryers: Hopper or desiccant dryers remove moisture to prevent defects.
- Temperature controllers: Maintain barrel, mold, and cooling water temperatures within ±1°C for consistency.
- Robotic arms: Automate part removal and post-processing, boosting efficiency.
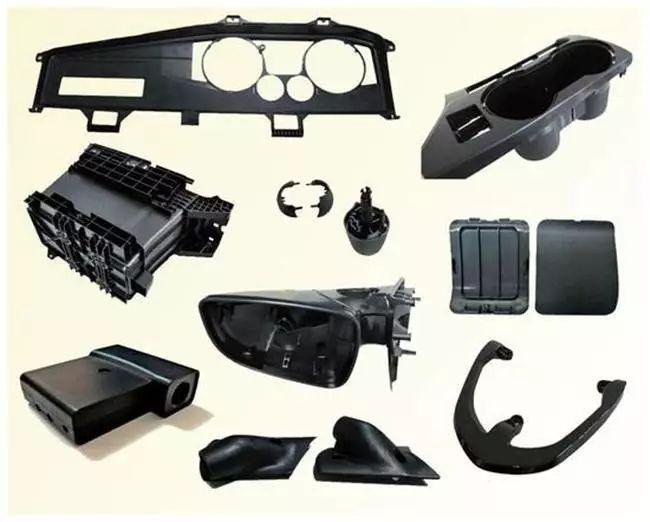
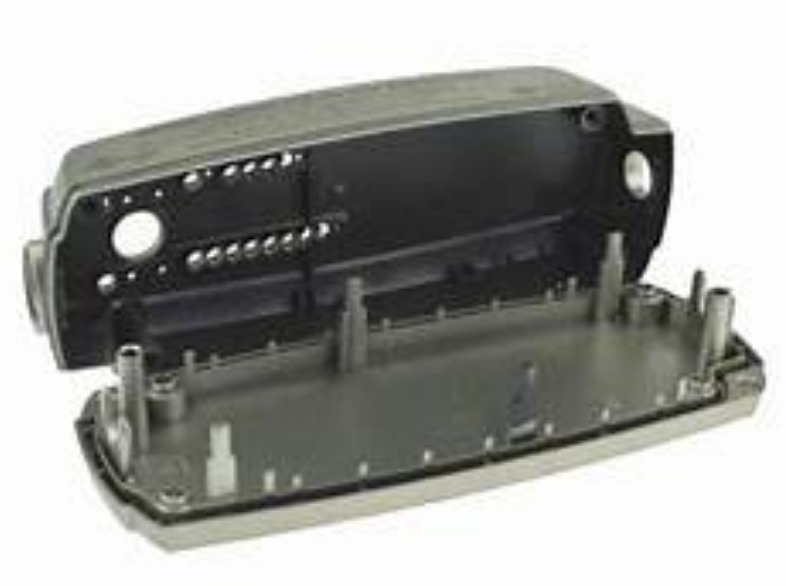
Where Is 3 Shot Injection Molding Used?
Electronics Industry
- Smartphone cases: Hard inner shell + shock-absorbing TPE middle layer + decorative outer finish.
- Keyboards and mice: Keycaps with durable base, soft-touch surface, and wear-resistant legends.
Medical Industry
- Syringes: Clear polycarbonate barrel + soft rubber plunger seal + textured finger grip.
- Inhalers: Structural base + airtight seal + color-coded mouthpiece for dosage identification.
Consumer Goods
- Tool handles: Hard nylon core + ergonomic TPE grip + overmolded anti-slip texture.
- Toys: Rigid body + soft ears or wheels + colorful decorative elements.
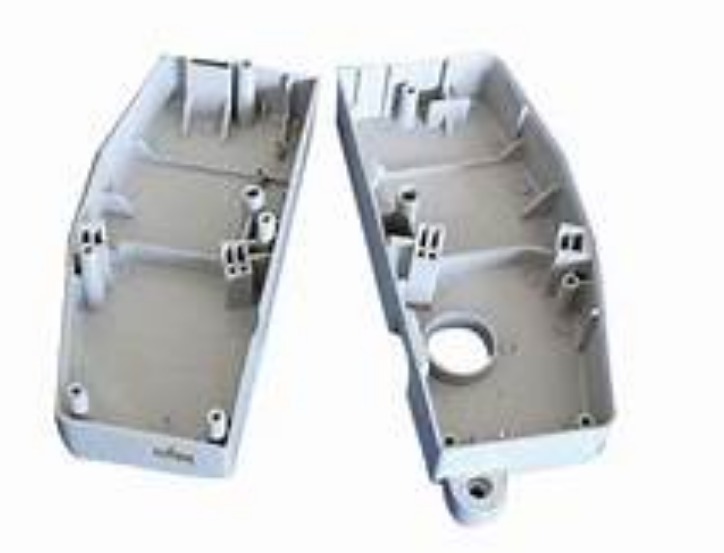
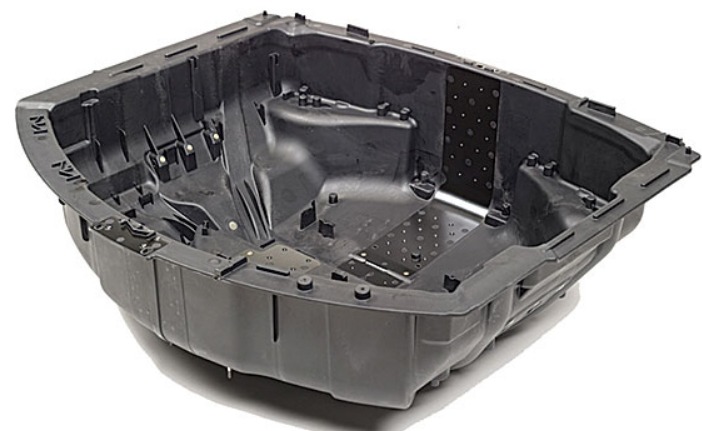
Automotive Industry
- Interior controls: Structural housing + soft-touch surfaces + backlit icons for night visibility.
- Door handles: Metal-like finish + rubberized grip + integrated sensors for keyless entry.
What Materials Can You Use?
Material selection depends on the function of each layer:
| Layer | Common Materials | Properties |
|---|---|---|
| Structural base | ABS, PP, PC, Nylon | Strength, rigidity, heat resistance |
| Functional middle | TPE, TPU, silicone | Flexibility, shock absorption, soft-touch |
| Decorative/functional top | PMMA, colored polymers, conductive plastics | Aesthetics, wear resistance, conductivity |
For a power tool handle, the base might be glass-filled nylon for strength, the middle layer TPE for vibration damping, and the top layer a colored polymer with company branding.
What Quality Measures Ensure Success?
1. Raw Material Control
Check material purity, moisture content, and pellet consistency. For hygroscopic materials like nylon, ensure moisture is below 0.02% using desiccant dryers.
2. Process Optimization
Set injection pressure, speed, and temperature precisely for each shot. Use mold flow simulation software to predict filling patterns and prevent defects before cutting steel.
3. Mold Maintenance
Regularly inspect mold components. Clean cavities and check moving parts like slides and cores for wear. A well-maintained mold produces consistent parts for hundreds of thousands of cycles.
4. In-Process Inspection
Implement visual checks, dimensional measurements, and functional tests during production. Early detection prevents scrap and rework.
What Are the Cost Considerations?
Tooling is the largest upfront expense. A 3-shot mold typically costs $20,000 to $50,000 or more, depending on complexity. However, this cost spreads across production volume.
For high-volume runs (100,000+ units), the per-unit cost can drop to $0.50–$1.00, making it very economical compared to assembling multiple components separately.
For low-volume production, this method may not be cost-effective due to high tooling amortization. However, if the product requires three distinct material properties that cannot be achieved through assembly, it remains a viable option.
Conclusion
3 shot injection molding represents a significant leap forward in plastic part manufacturing. By combining three materials in a single automated cycle, it eliminates assembly steps, improves product reliability, and unlocks design possibilities that were previously impossible or too expensive. From medical devices that require multiple material properties to consumer electronics that demand both durability and aesthetics, this process delivers consistent, high-quality results.
Understanding the process, machinery, and material options helps you make informed decisions that balance cost, complexity, and performance. When you need parts with layered functionality—strength where it matters, comfort where it touches, and appearance that lasts—3 shot injection molding is often the answer.
FAQ
What is the difference between 2 shot and 3 shot injection molding?
Two-shot molding combines two materials in one cycle, typically for applications like a rigid base with a soft-touch grip. Three-shot molding adds a third material, enabling more complex features such as decorative layers, conductive paths, or additional functional surfaces that would otherwise require secondary assembly.
Can 3 shot injection molding use different types of plastics?
Yes. Common combinations include ABS for structure, TPE for soft-touch surfaces, and polycarbonate for clear windows or decorative layers. Materials must be compatible to ensure proper bonding between layers during the injection process.
How long does a 3 shot injection molding cycle take?
Cycle times typically range from 60 to 120 seconds, depending on part size, material viscosity, and cooling requirements. This is longer than single-shot cycles but offsets time saved by eliminating assembly steps.
Is 3 shot injection molding suitable for prototyping?
Typically no, due to high tooling costs. Prototyping is often done using single-shot methods with assembly or using 3D printing for design validation before committing to a full 3-shot production mold.
Contact Yigu Technology for Custom Manufacturing
At Yigu Technology, we specialize in complex injection molding solutions. Our team has delivered hundreds of successful 3-shot molding projects across automotive, medical, electronics, and consumer goods industries. We combine advanced machinery with deep material expertise to help you achieve the right balance of performance, aesthetics, and cost. Whether you’re refining an existing design or starting from scratch, we work with you from concept through production. Contact us today to discuss your custom manufacturing needs.