Introduction
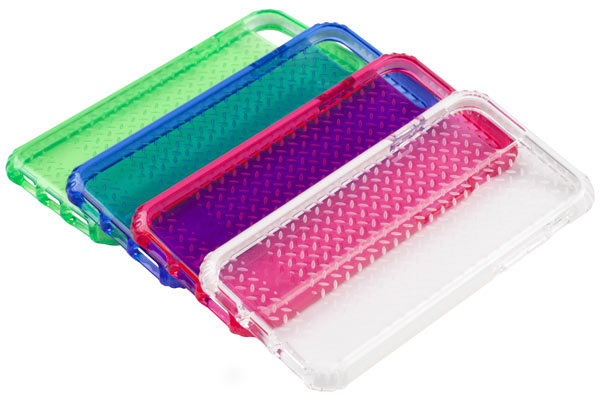
Insert molding is a manufacturing process that combines pre-formed components—typically metal—with plastic in a single molding cycle. The result is a single, integrated part that leverages the strength of metal and the design flexibility of plastic. This process eliminates secondary assembly, improves reliability, and enables complex geometries that would be impossible with either material alone.
But successful insert molding requires careful design. The insert must be positioned precisely, the plastic must flow uniformly around it, and the bond between materials must withstand thermal expansion differences. Poor design leads to insert movement, cracking, stress, and premature failure.
This guide provides a professional overview of insert molding design. You will learn about material selection, design considerations, mold design, process parameters, and applications. By the end, you will understand the principles needed to create reliable insert-molded parts.
What Is Insert Molding Design?
Insert molding design is the practice of engineering parts where pre-formed inserts are encapsulated by plastic during injection molding. The insert becomes a permanent part of the final component.
How Does Insert Molding Work?
The process follows a straightforward sequence:
- Insert placement – The insert is positioned in the mold cavity using pins, holders, or automated systems
- Mold closing – The mold closes around the insert
- Plastic injection – Molten plastic is injected, flowing around the insert
- Cooling and bonding – The plastic solidifies, forming a mechanical and sometimes chemical bond with the insert
- Ejection – The finished integrated part is ejected
Real-world example: An electronic device housing with metal threaded inserts. The inserts are placed in the mold, plastic is injected around them, and the finished housing has permanent threads ready for assembly—no post-molding tapping or insert installation required.
Why Is Insert Molding Important?
Insert molding offers several critical advantages:
| Benefit | Explanation |
|---|---|
| Mechanical strength | Combines metal strength with plastic design flexibility |
| Function integration | Embeds electrical contacts, threads, or structural reinforcements |
| Assembly reduction | Eliminates post-molding assembly steps |
| Design freedom | Enables features impossible with plastic alone |
| Reliability | Permanent bond; no loosening over time |
How Do You Select Materials for Insert Molding?
Material selection affects bond strength, stress, and long-term reliability.
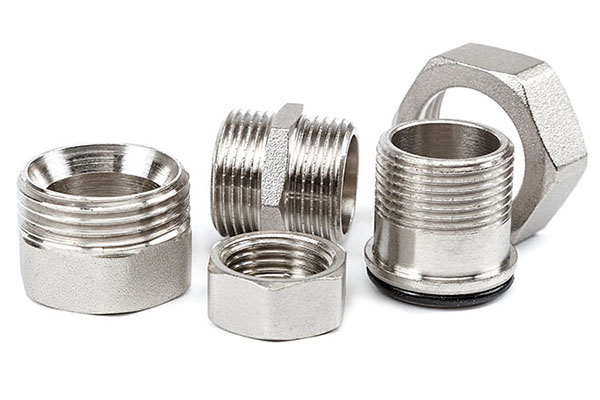
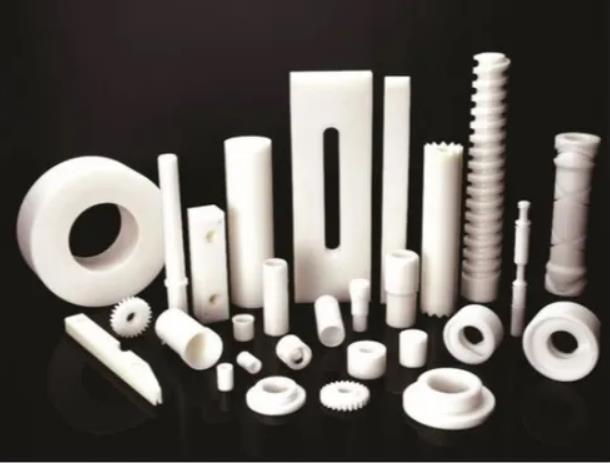
Insert Materials
Common insert materials and their characteristics:
| Material | Key Properties | Typical Applications |
|---|---|---|
| Brass | Corrosion resistant; good conductivity; machinable | Electrical contacts; threaded inserts |
| Aluminum | Lightweight; good thermal conductivity | Aerospace; automotive; heat sinks |
| Steel | High strength; wear resistant | Load-bearing components; structural parts |
| Stainless steel | Corrosion resistant; high strength | Medical devices; marine applications |
| Copper | Excellent electrical conductivity | Electrical connectors; grounding |
| Other plastics | Multi-material combinations | Specialized functional parts |
Selection factors:
- Mechanical requirements (strength, hardness)
- Electrical or thermal needs
- Corrosion environment
- Cost
- Compatibility with plastic
Plastic Materials
Plastic selection must consider:
| Factor | Why It Matters |
|---|---|
| Compatibility | Must bond with insert material (mechanically or chemically) |
| Thermal expansion | Mismatch causes stress; minimize difference |
| Mechanical properties | Strength, flexibility, impact resistance |
| Chemical resistance | For application environment |
| Processing temperature | Must not degrade during molding |
Thermal expansion considerations:
| Material Pair | Coefficient Difference | Risk |
|---|---|---|
| Brass + ABS | Moderate | Manageable with design |
| Aluminum + Polypropylene | Moderate | Manageable |
| Steel + Polycarbonate | High | Stress risk; requires design care |
| Steel + Nylon | High | Significant stress; pre-heating recommended |
Guideline: When possible, select materials with similar thermal expansion coefficients. When mismatch is unavoidable, design features to accommodate stress.
What Are the Key Design Considerations?
Proper design prevents insert movement, stress cracking, and bond failure.
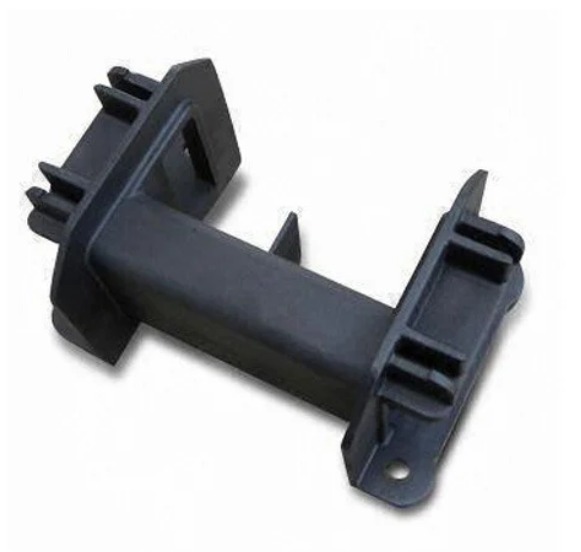
Insert Shape and Geometry
Best practices:
- Use circular or symmetric shapes whenever possible—they promote uniform shrinkage around the insert
- Avoid sharp corners on inserts—they create stress concentration points in the surrounding plastic
- Add undercuts, knurling, or grooves to improve mechanical locking
- Ensure insert surfaces are clean; consider surface roughening for better bonding
Example: A cylindrical brass insert with knurled surface provides excellent mechanical lock. The knurling creates mechanical interlock with the plastic, preventing rotation or pull-out.
Insert Placement
Proper placement ensures adequate plastic encapsulation and stress distribution.
| Placement Consideration | Recommendation |
|---|---|
| Distance to wall | Minimum 1–2 times insert diameter (for small inserts) |
| Distance between inserts | Sufficient for plastic flow between them |
| Distance to edge | Adequate to prevent cracking under load |
| Insert orientation | Align with flow direction when possible |
Why distance matters: If the insert is too close to the wall, the plastic may not fully encapsulate it, creating a weak point. If inserts are too close together, flow may be restricted, causing voids or weak bonding.
Wall Thickness Around Inserts
Guidelines:
- Maintain uniform wall thickness around the insert
- Avoid abrupt thickness changes that create stress concentration
- Minimum plastic thickness: 1–2 mm for small inserts; proportional for larger
Uneven thickness causes uneven cooling and shrinkage, which can pull the insert off-center or create stress cracks.
Stress Management
Thermal expansion mismatch creates stress. Manage it through:
| Method | How It Helps |
|---|---|
| Pre-heating inserts | Reduces temperature differential during molding |
| Compliant materials | Use softer plastics that accommodate stress |
| Stress-relief features | Add ribs or flexible sections |
| Annealing | Post-mold heat treatment to relieve residual stress |
Pre-heating guidelines:
- Heat inserts to 50–100°C above ambient (but below plastic melt temperature)
- Pre-heating reduces the temperature difference between insert and plastic
- Typical pre-heat temperatures: 80–120°C for metals
How Do You Design the Mold for Insert Molding?
Insert molding molds are more complex than standard injection molds.
Mold Structure
Key features of insert molding molds:
| Feature | Purpose |
|---|---|
| Insert holders | Position inserts accurately within the cavity |
| Locating pins | Ensure precise alignment of inserts |
| Retention features | Hold inserts in place during injection |
| Ejection system | Must clear inserts; avoid direct contact |
Insert fixation methods:
| Method | Best For | Accuracy |
|---|---|---|
| Pin placement | Cylindrical inserts; general use | High |
| Threaded holes | Threaded inserts | Very high |
| Magnetic holders | Ferrous materials | Moderate |
| Mechanical clamps | Large or irregular inserts | High |
| Vacuum suction | Smooth surfaces; delicate inserts | High |
Parting Line Design
The parting line must be positioned to:
- Avoid intersecting critical insert locations
- Minimize flash that could interfere with insert function
- Allow for proper insert placement and removal
Gate Location
Gate placement is critical for uniform flow around inserts:
| Gate Placement | Effect |
|---|---|
| Too close to insert | Uneven pressure; risk of insert movement |
| Directly behind insert | Flow divides around insert; may create weld line |
| Balanced location | Even flow; uniform encapsulation |
Best practice: Position gates so plastic flows evenly around the insert, avoiding direct impingement that could displace it.
Venting
Adequate venting prevents air traps around inserts:
- Place vents at flow ends and around insert locations
- Vent depth appropriate for material (0.02–0.05 mm typical)
- Consider permeable steel for complex geometries
What Process Parameters Matter Most?
Proper process control ensures consistent quality.
Temperature Control
| Parameter | Importance | Typical Range |
|---|---|---|
| Melt temperature | Affects flow and bonding | Material-dependent (180–300°C) |
| Mold temperature | Affects cooling rate and stress | 40–80°C typical |
| Insert pre-heat | Reduces thermal stress | 80–120°C for metals |
Effect of incorrect temperature:
- Too low: Poor flow; incomplete encapsulation; weak bond
- Too high: Material degradation; insert displacement
Pressure and Speed
| Parameter | Function | Guidelines |
|---|---|---|
| Injection pressure | Forces plastic around inserts | Sufficient for complete fill; avoid excessive (can displace inserts) |
| Injection speed | Controls flow behavior | Moderate; fast enough to fill before freezing, slow enough to avoid insert movement |
| Holding pressure | Compensates for shrinkage | Maintained until gate freezes |
Monitoring: Use cavity pressure sensors to verify consistent filling around inserts.
Cooling
- Uniform cooling prevents warpage and stress
- Cooling channels should be balanced around insert locations
- Inserts with high thermal conductivity affect local cooling rates
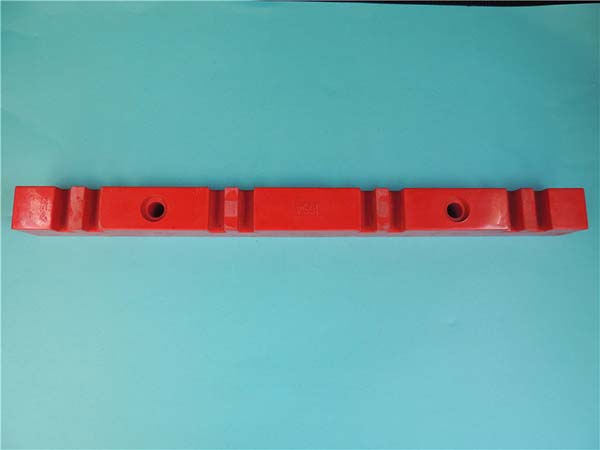
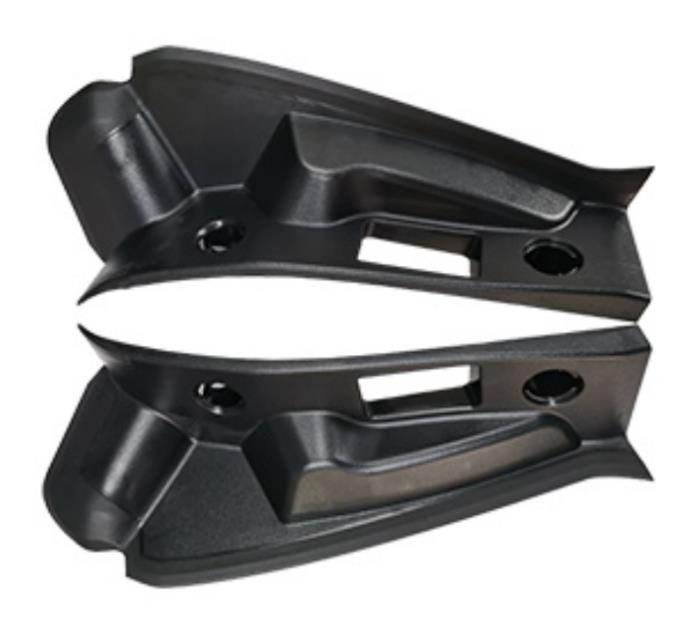
What Are the Applications of Insert Molding?
Insert molding serves diverse industries.
Automotive Industry
Over 70% of modern car interiors contain at least one insert-molded component.
| Application | Inserts | Benefits |
|---|---|---|
| Door handles | Metal reinforcement | Strength; durability |
| Control knobs | Metal shafts | Wear resistance; precise control |
| Engine components | Metal bushings | Heat resistance; strength |
| Sensor housings | Metal contacts | Electrical connectivity; sealing |
Medical Industry
Insert molding enables sterile, reliable medical devices.
| Application | Inserts | Benefits |
|---|---|---|
| Syringe barrels | Metal or plastic components | Precise dosing; drug compatibility |
| Surgical instruments | Metal blades or tips | Sharpness; sterilization compatibility |
| Diagnostic devices | Electrodes | Electrical connectivity; biocompatibility |
| Implantable devices | Metal components | Biocompatibility; strength |
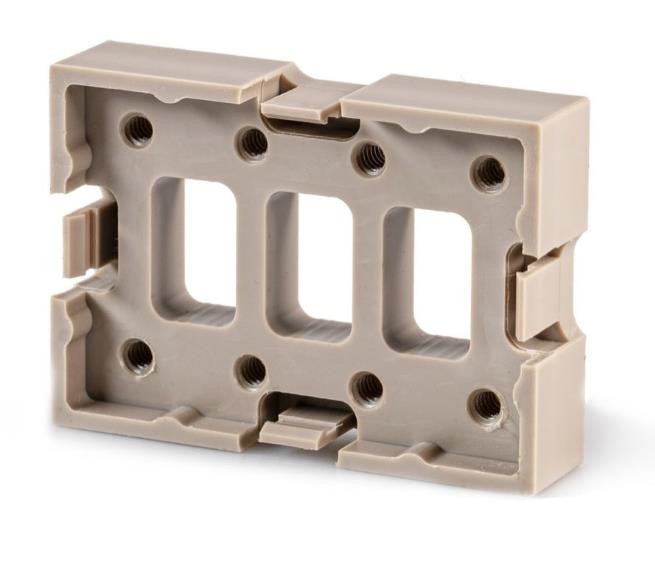
Electronics Industry
Approximately 80% of electronic devices use insert-molded components.
| Application | Inserts | Benefits |
|---|---|---|
| Smartphone frames | Metal structural inserts | Durability; heat dissipation |
| Connectors | Metal pins and contacts | Electrical conductivity; precision |
| Heat sinks | Metal inserts | Thermal management |
| Shielded enclosures | Metal plates | EMI/RFI protection |
Aerospace Industry
Weight reduction drives insert molding use in aerospace.
| Application | Inserts | Benefits |
|---|---|---|
| Interior panels | Aluminum inserts | Lightweight; structural integrity |
| Seat components | Metal reinforcements | Strength; weight savings |
| Cabin fixtures | Threaded inserts | Assembly points; durability |
How Do You Ensure Quality in Insert Molding?
Quality control covers inserts, process, and finished parts.
Insert Quality
- Dimensional inspection – Verify insert dimensions before molding
- Surface condition – Clean; free from oil, oxidation, or contamination
- Material verification – Confirm correct alloy or material grade
Process Monitoring
| Parameter | Monitoring Method | Control Limits |
|---|---|---|
| Melt temperature | Thermocouples | ±3°C |
| Mold temperature | Thermal sensors | ±5°C |
| Injection pressure | Machine sensors | ±5% |
| Cavity pressure | Piezoelectric sensors | ±10% |
| Insert position | Vision systems (automated) | ±0.05 mm |
Finished Part Inspection
- Visual – Check for flash, surface defects, insert visibility
- Dimensional – CMM or gauges; verify critical dimensions
- Pull-out strength – Test insert retention
- Electrical – Continuity for conductive inserts
- Non-destructive – X-ray or ultrasound for critical applications
Conclusion
Insert molding design requires a systematic approach integrating material selection, part geometry, mold design, and process control. Success depends on:
- Material compatibility – Matching thermal expansion; ensuring bond strength
- Insert design – Symmetric shapes; knurling; adequate distances to walls
- Mold design – Accurate positioning; proper gating; adequate venting
- Process control – Temperature; pressure; speed; insert pre-heating
- Quality assurance – In-process monitoring; dimensional verification
When executed correctly, insert molding delivers parts that combine the best properties of multiple materials—metal strength with plastic design flexibility—in a single, reliable component. From automotive interiors to medical devices to electronics, this technology enables products that perform better, last longer, and cost less to assemble.
Frequently Asked Questions (FAQ)
What are the common materials used for inserts in insert molding?
Common insert materials include brass (corrosion-resistant; machinable; good conductivity), aluminum (lightweight; thermal conductivity), steel (high strength; wear resistance), stainless steel (corrosion resistance; high strength), and copper (excellent electrical conductivity). Selection depends on mechanical, electrical, thermal, and cost requirements. For threaded applications, brass is preferred for its machinability and corrosion resistance.
How do you prevent insert movement or deformation during molding?
Prevent movement through proper mold design—use insert holders, locating pins, or threaded holes to position inserts precisely. Fixation methods include mechanical clamps, magnetic holders (for ferrous materials), and vacuum suction. Process control—avoid excessive injection pressure and speed that could displace inserts. Pre-heating reduces thermal shock and associated movement. For automated production, use robotic placement with vision verification for consistent accuracy.
What are the main factors affecting insert-molded product quality?
Key factors are material selection (compatibility; thermal expansion matching), mold design (insert positioning; gating; venting), process parameters (temperature; pressure; speed; pre-heating), and insert preparation (cleanliness; surface condition). A large difference in thermal expansion coefficients between insert and plastic creates internal stress, risking cracking or warpage. Incorrect process settings cause incomplete filling, insert displacement, or voids.
What is the minimum plastic wall thickness around an insert?
For small inserts (diameter under 5 mm), minimum wall thickness is typically 1–2 mm. For larger inserts, thickness should be proportional—generally 0.5–1 times the insert diameter depending on load requirements. Thicker walls provide better encapsulation and strength but increase cycle time and material use. The distance from insert to outer wall should be at least 1–2 times the insert diameter to ensure adequate structural integrity.
When should inserts be pre-heated, and to what temperature?
Pre-heat inserts when there is a significant thermal expansion mismatch between insert and plastic, or when the insert is large enough to create thermal stress. Typical pre-heat temperatures are 80–120°C for metals (below plastic melt temperature). Pre-heating reduces the temperature differential between insert and plastic, minimizing stress, improving bond strength, and reducing the risk of cracking around the insert.
Contact Yigu Technology for Custom Manufacturing
At Yigu Technology, we specialize in insert molding for demanding applications across automotive, medical, electronics, and industrial sectors. Our expertise covers material selection, mold design, process optimization, and quality assurance.
Our insert molding capabilities include:
- Precision insert placement – Manual and automated systems; accuracy to ±0.05 mm
- Wide material range – Brass, aluminum, steel, stainless steel, copper inserts
- Plastic material expertise – Engineering thermoplastics; compatibility management
- Advanced mold design – Optimized gating; venting; insert retention
- Process control – Pre-heating; cavity pressure monitoring; SPC
- Quality verification – Pull-out testing; dimensional inspection; non-destructive testing
We work with clients from design through production, ensuring your insert-molded components meet functional requirements and reliability standards.
Contact us today to discuss your insert molding project. Let our expertise help you combine materials for stronger, more efficient products.