you've got a brilliant idea for a plastic part. Maybe it's a component for your latest invention, a durable housing for electronics, or a consumer product ready for mass production. How do you get from that idea to thousands of perfectly identical, high-quality items? For millions of parts, the answer is injection moulding. This guide cuts through the jargon to explain the core principles of injection moulding from the ground up. We'll walk through how the process actually works, piece by piece, demystify the key machinery involved, and provide the practical knowledge you need to understand this transformative manufacturing method. Whether you're an entrepreneur, designer, or engineer, understanding these fundamentals is the first step toward successfully bringing your product to life.
What is Injection Moulding, Really?
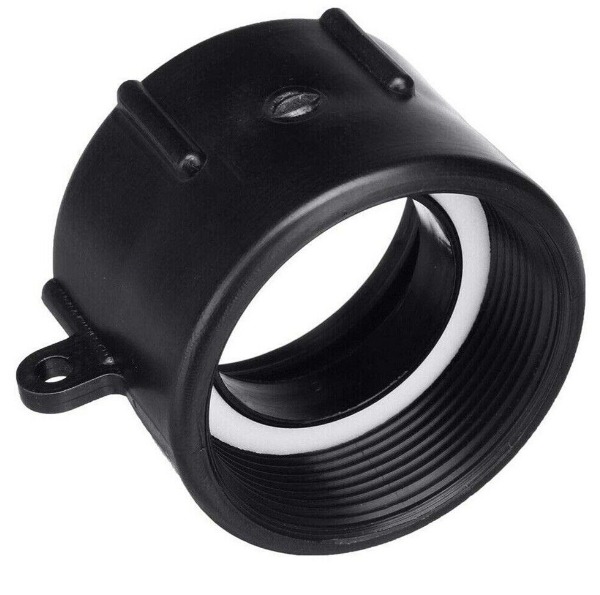
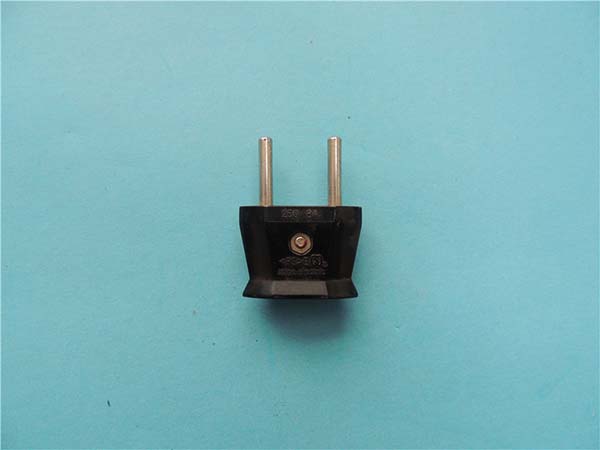
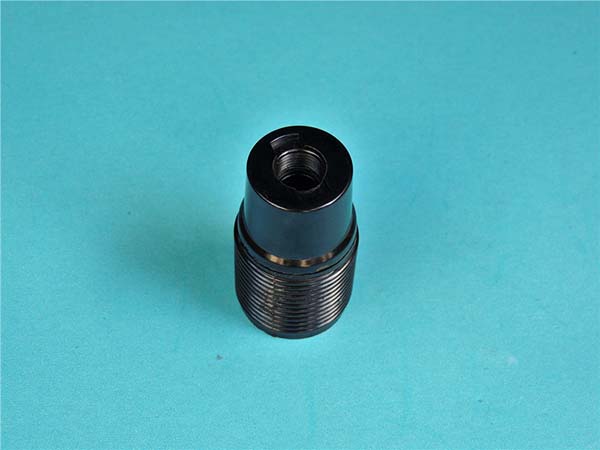
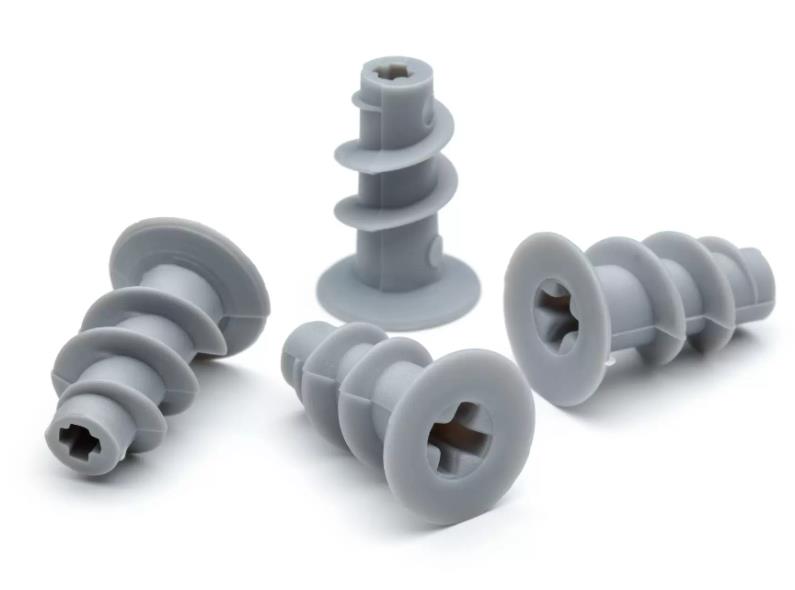
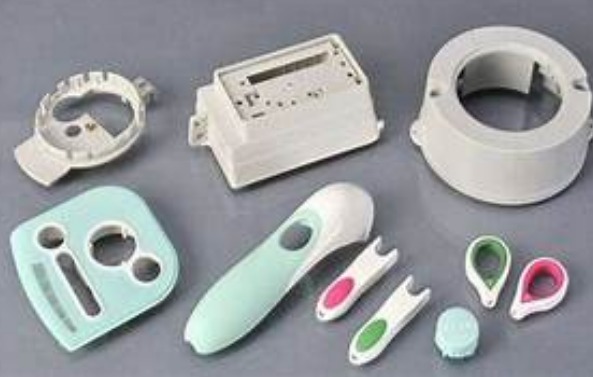
At its heart, injection moulding is a high-volume manufacturing process for producing intricately shaped plastic parts with incredible consistency. Think of it like a high-precision, industrial-scale waffle iron for plastic. You melt plastic material, inject it under high pressure into a precisely machined metal mould (or tool), let it cool and solidify, and then pop out a finished part. The beauty of this process lies in its repeatability and efficiency. Once the initial mould is created—which is a significant investment in both cost and time—you can produce part after part, cycle after cycle, with minimal variation. This makes it the go-to method for everything from tiny medical device components and automotive dashboards to LEGO bricks and plastic chairs. It's the backbone of modern mass production for plastic goods.
How Does an Injection Moulding Machine Actually Work? A Step-by-Step Breakdown.
The magic of creating a complex part in seconds hinges on a meticulously choreographed cycle. Understanding this cycle—the fundamental working principle of injection moulding—is key. Let's break down the five critical stages.
1. Material Feeding: Where Does the Plastic Start?
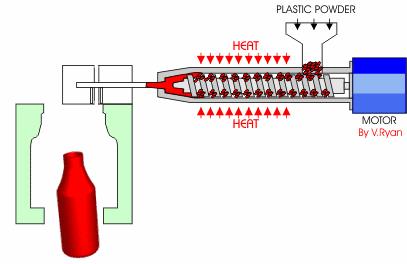
The process begins with raw plastic material, typically in the form of small pellets or granules, known as resin. These pellets are fed from a hopper (a large container on top of the machine) into the barrel of the injection unit. For consistent colour or material properties, additives like colourants or reinforcing fibers can be blended at this stage. Modern systems often use gravimetric or volumetric blenders to ensure an exact, automated mix, eliminating human error and ensuring every shot has the same recipe.
2. Melting and Plasticizing: Turning Solids into a Moldable Flow
Inside the barrel, a reciprocating screw (think of a giant, precision Archimedes' screw) does the heavy lifting. As the screw rotates, it conveys the pellets forward. The barrel is surrounded by heater bands, which gradually melt the plastic as it travels. The combination of frictional heat from screw rotation and conductive heat from the bands transforms the solid pellets into a uniform, molten "melt." The screw also acts as a plunger, accumulating a precise volume or "shot" of this melt at its front, ready for injection. This stage is crucial for achieving proper material viscosity and homogeneity; inconsistent melting leads to weak or defective parts.
3. Injection: The High-Pressure Moment of Truth
Once the exact amount of melt is prepared, the injection phase begins. The screw stops rotating and acts as a ram. It moves forward hydraulically or electrically with immense force, injecting the molten plastic through a nozzle and into the closed mould cavity. This happens under very high pressure—often thousands of pounds per square inch (psi). This pressure is essential to force the material into every intricate detail of the mould quickly, before it starts to cool. The speed and pressure profiles during injection must be carefully controlled to prevent defects like air traps (bubbles) or incomplete filling.
Case in Point: When moulding a thin-walled smartphone case, the injection speed must be extremely fast to fill the entire cavity before the plastic freezes in the narrow channels. A miscalculation here results in a "short shot"—an incomplete, unusable part.
4. Cooling and Solidification: The Patient Wait
After the cavity is packed full, the plastic must cool and solidify into its final shape. The mould itself is not just a block of metal; it has an internal network of cooling channels through which water (or another coolant) circulates. This actively draws heat out of the plastic. Cooling time typically accounts for over half of the total cycle time. It's a delicate balance: cooling too quickly can cause internal stresses and warping; cooling too slowly kills productivity. Engineers spend significant time optimizing cooling line layout and temperature to minimize cycle time while ensuring dimensional stability.
5. Ejection: Releasing the Finished Product
Once the part has solidified enough to hold its shape, the mould opens. Ejector pins, plates, or sleeves built into the mould half then gently but firmly push the part out of the cavity. The part falls into a bin or onto a conveyor, and the mould closes again to start the next cycle. The design and placement of the ejection system are critical to avoid marks on visible surfaces or damage to delicate part features.
What Are the Key Components That Make It All Possible?
Understanding the machine and the mould separately clarifies the division of labor in this process.
The Injection Moulding Machine: The Powerhouse
The machine, or "press," is the system that executes the cycle. Its two main units are:
- The Injection Unit: This is the "melting and shooting" end. Its core components are the hopper, barrel, heater bands, and reciprocating screw. It's responsible for material preparation, plasticizing, and injection.
- The Clamping Unit: This is the "holding and opening" end. It contains the stationary and moving platens that the mould halves are bolted to. Its primary job is to open and close the mould with immense force. The clamping force, measured in tons, must be high enough to keep the mould tightly sealed against the high injection pressure, preventing plastic from leaking out as flash.
Professional Insight: Machine Types
A key professional choice is between hydraulic, electric, and hybrid machines. Hydraulic machines use fluid power, offering great force and durability but higher energy consumption. All-electric machines use servo motors for each function, providing superior precision, speed, and energy efficiency (often 50-70% less power), making them ideal for high-precision medical or optical parts. Hybrids combine both, offering a balance of power and efficiency.
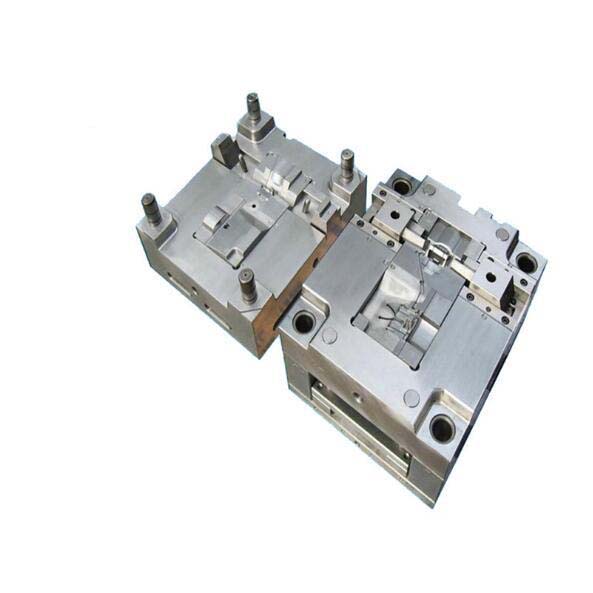
The Injection Mould: The Brain of the Operation
The mould (or tool, or die) is the custom-made, high-value asset that defines the part's geometry. It's where your part design becomes reality. Key mould components include:
- Cavity and Core: These are the negative impressions that form the part's outer and inner shapes.
- Runner System: The channels that guide the molten plastic from the machine nozzle to the cavities.
- Gates: The small, controlled entry points from the runner into the cavity. Gate design (location, type, size) is an art that dramatically affects part quality and appearance.
- Cooling Channels: The drilled passages for coolant flow.
- Ejection System: The pins, sleeves, and plates that remove the part.
- Vents: Tiny grooves that allow trapped air to escape during injection.
Moulds are complex, precision-engineered assets. A mould for a simple part might cost a few thousand dollars, while a multi-cavity, hot-runner mould for a complex automotive component can exceed $100,000. Its design and construction quality directly determine part quality, cycle time, and long-term production cost.
Table: Quick Comparison of Common Mould Steel Types
| Steel Type | Key Characteristics | Typical Use Cases |
|---|---|---|
| P20 (Pre-Hardened) | Good polishability, readily available. Moderate wear resistance. | Prototype moulds, lower-volume production (10k-100k cycles). |
| H13 (Hot-Work Tool Steel) | Excellent toughness, thermal fatigue resistance, and polishability. | High-volume production moulds, parts requiring a glossy finish. Industry standard for durability. |
| S7 (Shock-Resisting) | High impact strength and toughness. Good machinability. | Moulds for parts with intricate, fragile cores or inserts. |
| Stainless Steel (e.g., 420) | High corrosion resistance, excellent polishability. | Moulding medical, optical, or corrosive materials (like PVC). |
Frequently Asked Questions (FAQ)
What are the main advantages of injection moulding?
The primary advantages are its ability to produce high volumes of complex parts with exceptional dimensional consistency and repeatability at a very low per-part cost after the initial tooling investment. It also offers vast material selection, excellent surface finish straight from the mould, and the ability to incorporate inserts (like metal threads) during the moulding process.
What are common defects in injection moulding and their causes?
Common defects include:
- Sink Marks: Indentations often caused by insufficient packing pressure or cooling in thick sections.
- Warping: Distortion caused by uneven cooling or internal stresses.
- Short Shots: Incomplete filling due to insufficient material, injection speed, or pressure.
- Flash: Thin plastic leaking out of the mould parting line due to excessive injection pressure, worn mould, or insufficient clamp force.
How long does it take to make an injection mould?
Lead time varies dramatically with complexity. A simple, single-cavity mould for a prototype might take 4-6 weeks. A complex, multi-cavity production mould with advanced features like hot runners can take 12-20 weeks or more for design, machining, heat treatment, polishing, and testing.
What is the difference between a prototype mould and a production mould?
A prototype mould is often made from softer aluminum or mild steel (like P20) to save cost and time. It's designed for a limited number of cycles (hundreds to a few thousand) to validate design and function. A production mould is built from hardened tool steels (like H13) with superior cooling, robust ejection, and often multi-cavity layouts. It's engineered for durability over hundreds of thousands to millions of cycles.
Contact Yigu technology for custom manufacturing.
Ready to transform your product concept into reality? At Yigu Technology, we combine deep expertise in the principles of injection moulding with practical engineering experience to guide your project from design to high-volume production. We specialize in designing for manufacturability (DFM), precision mould making, and establishing optimized production processes. Contact us today for a consultation to discuss your custom manufacturing needs and receive a comprehensive project analysis. Let's build something great together.