Standard milling is the foundational pillar of CNC machining and manual machining operations. It refers to the most common and widely applicable peripheral milling process where the cutter’s teeth engage the workpiece on its circumference to produce a flat surface, a slot, or a precise contour. Unlike specialized high-speed or hard milling, standard milling operations prioritize versatility, predictability, and ease of setup for a broad range of materials, from aluminum and mild steel to plastics. This guide will provide a comprehensive, experience-backed walkthrough from defining the basics to executing a flawless finish, ensuring you have the practical knowledge for everyday milling tasks.
Introduction
Every great machinist and manufacturing engineer builds their expertise on a solid grasp of standard milling. It's the go-to method for transforming a raw block into a precision part. Yet, achieving consistent efficiency, surface quality, and tool life isn't automatic. It requires a deliberate understanding of the interplay between tool selection, machine parameters, and technique. This article demystifies standard milling, moving beyond textbook definitions to deliver actionable insights drawn from real-world shop floor experience. We'll tackle the key questions you face when programming or operating a mill, providing clear, authoritative guidance to optimize your process.
What is Standard Milling?
At its core, standard milling is a material removal process using a rotating multi-tooth cutter. The axis of the cutter's rotation is parallel to the workpiece surface being machined. Its primary objective is efficient stock removal to achieve specific dimensions and surface finishes. The "standard" designation implies using common tooling, moderate speeds and feeds, and proven techniques suitable for general-purpose work.
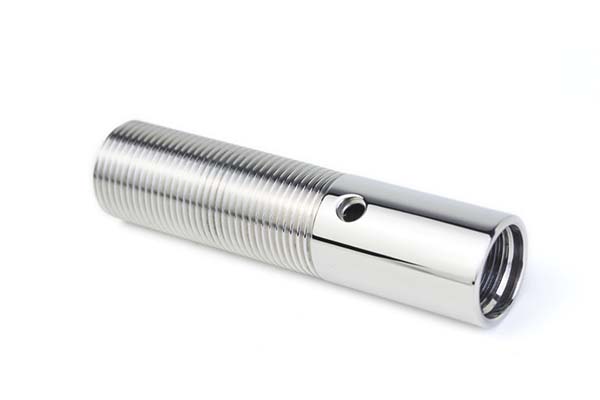
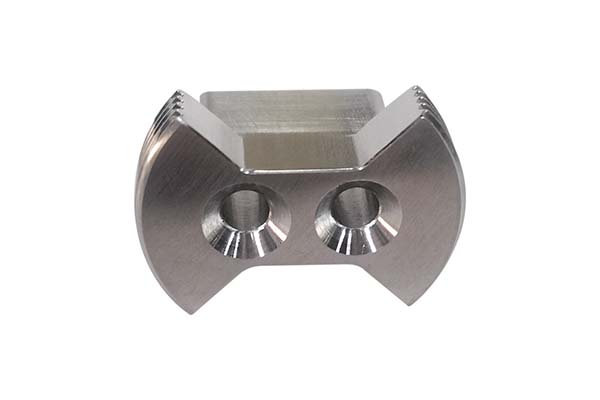
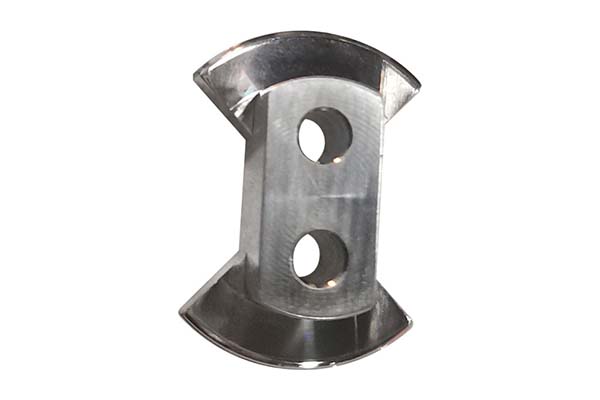
Think of it as the daily workhorse of the machine shop. When you need to face mill a block square, end mill a peripheral profile, or cut a standard-width slot, you are engaging in standard milling. It contrasts with more aggressive roughing (which prioritizes maximum volume removal) or fine finishing (which focuses solely on surface integrity). Standard milling achieves a balance, often combining a semi-finishing pass with a quality finish in a reliable, controlled manner. A classic example is using a 4-flute carbide end mill to machine the contour of a 6061 aluminum bracket, leaving a clean, ready-to-use surface without requiring a secondary finishing operation.
Which Cutters Suit Standard Milling?
Tool selection is the first critical decision. The right cutter balances material, geometry, and cost.
- End Mills: The undisputed champion. For standard milling:
- Material: Solid carbide end mills offer the best balance of rigidity and wear resistance for most applications. Cobalt HSS end mills are a cost-effective option for softer materials or lower-volume shops.
- Geometry: 4-flute end mills are the versatile default choice for side milling and finishing in materials like steel and aluminum. 3-flute end mills are often preferred for non-ferrous materials as they provide better chip evacuation. 2-flute end mills are essential for slotting and plunging in all materials.
- Coatings: A Titanium Nitride (TiN) or Aluminum Titanium Nitride (AlTiN) coating significantly enhances lubricity and heat resistance, extending tool life in steel and cast iron.
- Face Mills: For creating large, flat surfaces.
- Modular face mills with indexable inserts are standard. They allow for quick, economical edge replacement. A 45-degree lead angle face mill is a common choice, providing a good compromise between strength and a smooth finish.
- Slot Drills & Keyseat Cutters: For specific feature creation.
The table below summarizes the primary choices:
| Cutter Type | Primary Use in Standard Milling | Key Selection Tip |
|---|---|---|
| 4-Flute End Mill | Peripheral contouring, side milling, finishing. | Default choice for steel; use variable helix for stability. |
| 3-Flute End Mill | Efficient roughing and finishing of aluminum/copper. | Large gullet for chip clearance prevents re-cutting. |
| 2-Flute End Mill | Slotting, plunging, machining in gummy materials. | Ensures central chip ejection in full-width cuts. |
| Indexable Face Mill | Facing large surfaces, creating a datum plane. | Choose a lead angle (45° or 90°) based on required edge strength vs. cutting force direction. |
How Do Feed and Speed Differ?
Cutting speed (SFM) and feed rate (IPM) are the heartbeat of the milling process. They are distinct but inseparable.
- Cutting Speed (SFM): The speed at which the cutter's tooth moves past the workpiece. It's a function of material hardness and tool material. For standard milling of 6061 aluminum with a carbide end mill, a starting speed of 600-800 SFM is typical. For mild steel, it drops to 300-500 SFM. This value calculates the spindle RPM.
- Feed Rate (IPM): How fast the tool travels through the part. The critical link is Chip Load (IPT) – the thickness of material each tooth removes per revolution. Correct chip load is non-negotiable. Too small causes rubbing and heat; too large causes tool breakage.
Professional Insight: A common mistake is running a tool at the correct RPM but with a too-low feed, causing the tool to rub and overheat instead of shearing. Always calculate feed from chip load. For a 0.5" 4-flute carbide end mill in aluminum, a chip load of 0.004" per tooth is a safe standard start. Feed (IPM) = RPM × # of Flutes × Chip Load (IPT).
When Climb or Conventional Cut?
This choice fundamentally affects tool life, power consumption, and surface finish.
- Climb Milling (Down Milling): The cutter tooth engages at maximum thickness and exits at zero. This produces a cleaner shearing action, generates less heat, typically yields a better surface finish, and extends tool life. It is the preferred method for modern CNC machines with low backlash.
- Conventional Milling (Up Milling): The tooth starts at zero thickness, requiring it to rub and work-harden the surface before cutting. This creates more heat, upward forces that can lift the workpiece, and a poorer finish.
Rule of Thumb: Always use climb milling for standard operations on rigid CNC setups. Use conventional milling only on very old machines with excessive backlash, when machining hardened surfaces, or in certain thin-wall scenarios to reduce deflection.
Why Check Tool Run-Out?
Tool run-out – the deviation of the tool tip from the true axis of rotation – is a silent killer of tool life and part quality. Even 0.001" (0.025mm) of run-out can be significant. It causes:
- Uneven Load: One flute does most of the work, wearing out rapidly.
- Poor Surface Finish: Creates vibration and inconsistent chip loads.
- Reduced Accuracy: Affects slot dimensions and wall straightness.
Experience-Based Case: We once investigated premature tool wear on a finishing pass. The tools were lasting only 50 parts instead of 200. Checking run-out revealed a worn collet causing 0.003" TIR at the tool tip. Replacing the collet and implementing a regular run-out check protocol immediately restored the expected tool life and surface finish. Use a dial indicator or a dedicated run-out gauge. Ensure your tool holder (preferably a precision shrink-fit or hydraulic holder), collet, and spindle taper are clean and undamaged.
How to Pick Step-Over and Depth?
Step-over (radial depth of cut) and step-down (axial depth of cut) determine the engagement geometry.
- For Roughing: Use a high step-down (up to 1x tool diameter) and a moderate step-over (40-50% of tool diameter) to remove material efficiently while maintaining stability.
- For Semi-Finishing/Standard Machining: A step-down of 0.5-1x tool diameter and a step-over of 20-35% of tool diameter is a robust, general-purpose strategy. This balances material removal rate with manageable cutting forces.
- For Finishing: Use a very light step-down (0.005-0.020") and a high step-over (50-80%) to "skim" the surface for the final pass.
Depth of Cut Strategy:
- Adaptive or Trochoidal toolpaths allow for a full tool diameter depth of cut with a very small step-over (5-15%), directing forces axially into the rigid part of the tool. This is excellent for deep pockets.
- Traditional toolpaths use the moderate step-down/step-over approach described above.
What Coolant Strategy Works Best?
The goal is to manage heat and evacuate chips.
- Flood Coolant: The standard solution for most shops. It effectively cools the tool/workpiece and flushes chips. Use a well-maintained, properly mixed emulsion. For aluminum, a coolant with good lubricity is key to prevent material adhesion (BUE).
- Mist Coolant/Air Blast: Excellent for non-ferrous materials and finishing operations. It provides cooling and chip clearance without drenching the part, which is ideal for manual mills or when flood coolant is impractical.
- Dry Machining: Sometimes used in high-speed machining of aluminum where heat is carried away by the chips. Requires optimized toolpaths and sharp tools. Not generally recommended for standard milling of steels.
Key Principle: The chip is the primary carrier of heat. Therefore, effective chip evacuation is often more critical than cooling alone. Ensure your coolant nozzles are aimed correctly to wash chips out of the cut zone.
How to Measure Milled Accuracy?
Verification closes the loop. Standard milling accuracy is typically measured in thousandths of an inch (mils) or hundredths of a millimeter.
- Dimensional Accuracy: Use calipers for general dimensions and micrometers for critical diameters/thicknesses. For hole locations, a coordinate measuring machine (CMM) or a height gauge with an indicator on a surface plate provides the highest precision.
- Geometric Accuracy: Squareness, flatness, and parallelism are checked with precision squares, dial indicators on a surface plate, or a CMM.
- Surface Finish: Measured with a portable surface roughness tester (e.g., profilometer) in units of micro-inches (µin) or micrometers (µm). A standard milled finish might range from 32 to 125 µin Ra, depending on tool, parameters, and material. Visually, a good finish should be uniform and free of visible feed marks, chatter, or tearing.
Conclusion
Mastering standard milling is about synthesizing fundamental principles into a reliable, repeatable process. It begins with selecting the right cutter for the material, setting speeds and feeds based on chip load, and employing climb milling where possible. Attention to often-overlooked details like minimizing tool run-out and choosing a logical step-over and depth strategy separates adequate work from excellent work. Finally, pairing this with an effective coolant strategy and rigorous measurement for verification ensures the part in the vise matches the part on the print. By internalizing this workflow, you turn standard milling from a routine task into a demonstration of manufacturing expertise.
FAQ
What is the most common mistake in standard milling?
Using a feed rate that is too low, resulting in the tool rubbing instead of cutting. This quickly dulls the tool and generates excessive heat. Always calculate feed rate from a recommended chip load.
Can I use the same end mill for roughing and finishing?
Yes, for many standard milling jobs, especially in softer materials. However, for optimal results and efficiency in production, it's better to use a dedicated rougher (with a serrated edge for chip breaking) and a dedicated finisher (with a sharp, polished edge).
How often should I check tool run-out?
Formally, check a new tool holder when it's first set up and then periodically—perhaps monthly in a high-use environment. Practically, be vigilant. If you notice degraded finish, unusual noise, or shortened tool life, run-out is one of the first things to check.
Is climb milling always better?
On any machine with a ball screw and negligible backlash (which includes virtually all modern CNC mills), yes, climb milling is superior for tool life and finish. Only default to conventional milling on very old equipment or for specific material conditions as noted.
Contact Yigu for Custom Manufacturing.
At Yigu Technology, we view standard milling not as a basic operation, but as the critical foundation upon which precision and reliability are built. Our philosophy is that mastering these fundamentals is what allows us to consistently deliver high-quality custom machined components. Every end mill we select, every parameter we program, and every cut we make is informed by the deep, experiential knowledge of how material, tool, and machine interact. We don't just run parts; we engineer the manufacturing process to be robust, efficient, and predictable. For your projects that demand more than just a standard quote—but a standard of excellence—partner with Yigu. Let's discuss how our foundational expertise in processes like standard milling can bring precision and value to your next custom manufacturing requirement.