Understanding 3D Printing Basics
At its core, 3D printing, also known as additive manufacturing, is a revolutionary technology that transforms digital 3D models into tangible, three - dimensional objects. This process is a far cry from traditional manufacturing methods which often involve subtractive processes like cutting, milling, or carving away materials from a larger block.
The fundamental principle of 3D printing is based on layer - by - layer construction. First, you need a 3D model. This can be created using computer - aided design (CAD) software, where you can precisely define the shape, size, and details of the object you want to print. For example, if you're designing a small figurine, you can use CAD tools to sculpt every curve and feature in a virtual space. Another way to obtain a 3D model is through 3D scanning. A 3D scanner can capture the shape of a physical object, converting it into a digital model that can be used for 3D printing.
Once you have the 3D model, it is sliced into numerous thin cross - sectional layers by specialized software. These layers are like the individual pages of a book, each representing a thin slice of the final object. The thickness of these layers can vary depending on the desired level of detail and the capabilities of your 3D printer, typically ranging from 0.1mm to 0.3mm for consumer - grade printers.
The 3D printer then reads these sliced files and starts the printing process. It deposits materials, layer upon layer, following the precise instructions from the digital model. For instance, in the popular Fused Deposition Modeling (FDM) 3D printing method, a plastic filament is heated and extruded through a nozzle. The nozzle moves in a predefined path, depositing the melted plastic layer by layer. As the layers build up, the 3D object gradually takes shape, just like building a tower brick by brick.
Types of 3D Printing Technologies
There are several 3D printing technologies available, each with its own set of characteristics, advantages, and limitations. Here are two of the most common ones for beginners to get familiar with.
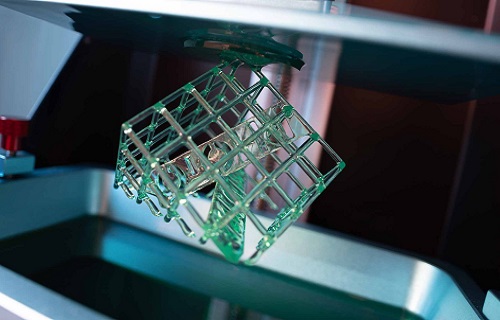
SLA (Stereolithography)
SLA is another well - known 3D printing technology. How it works: SLA printers use a vat of liquid photopolymer resin. A high - precision ultraviolet (UV) laser is used to trace the cross - sectional shape of each layer of the 3D model onto the surface of the resin. When the UV laser hits the resin, it cures (hardens) the resin, solidifying it into the desired shape. After each layer is cured, the build platform moves down slightly, and a new layer of resin is spread over the previously cured layer. This process continues until the entire 3D object is formed.
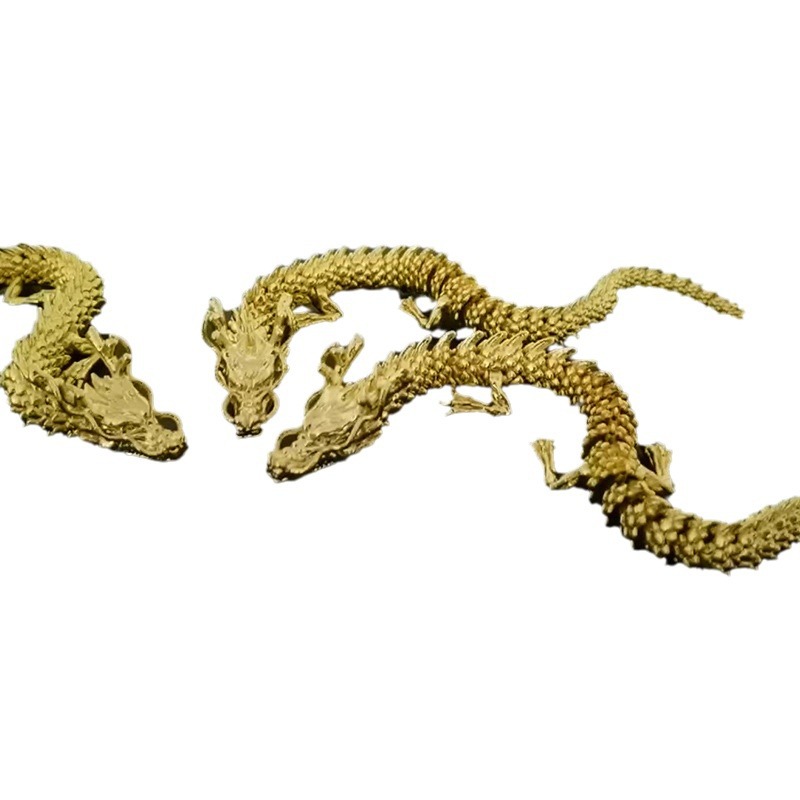
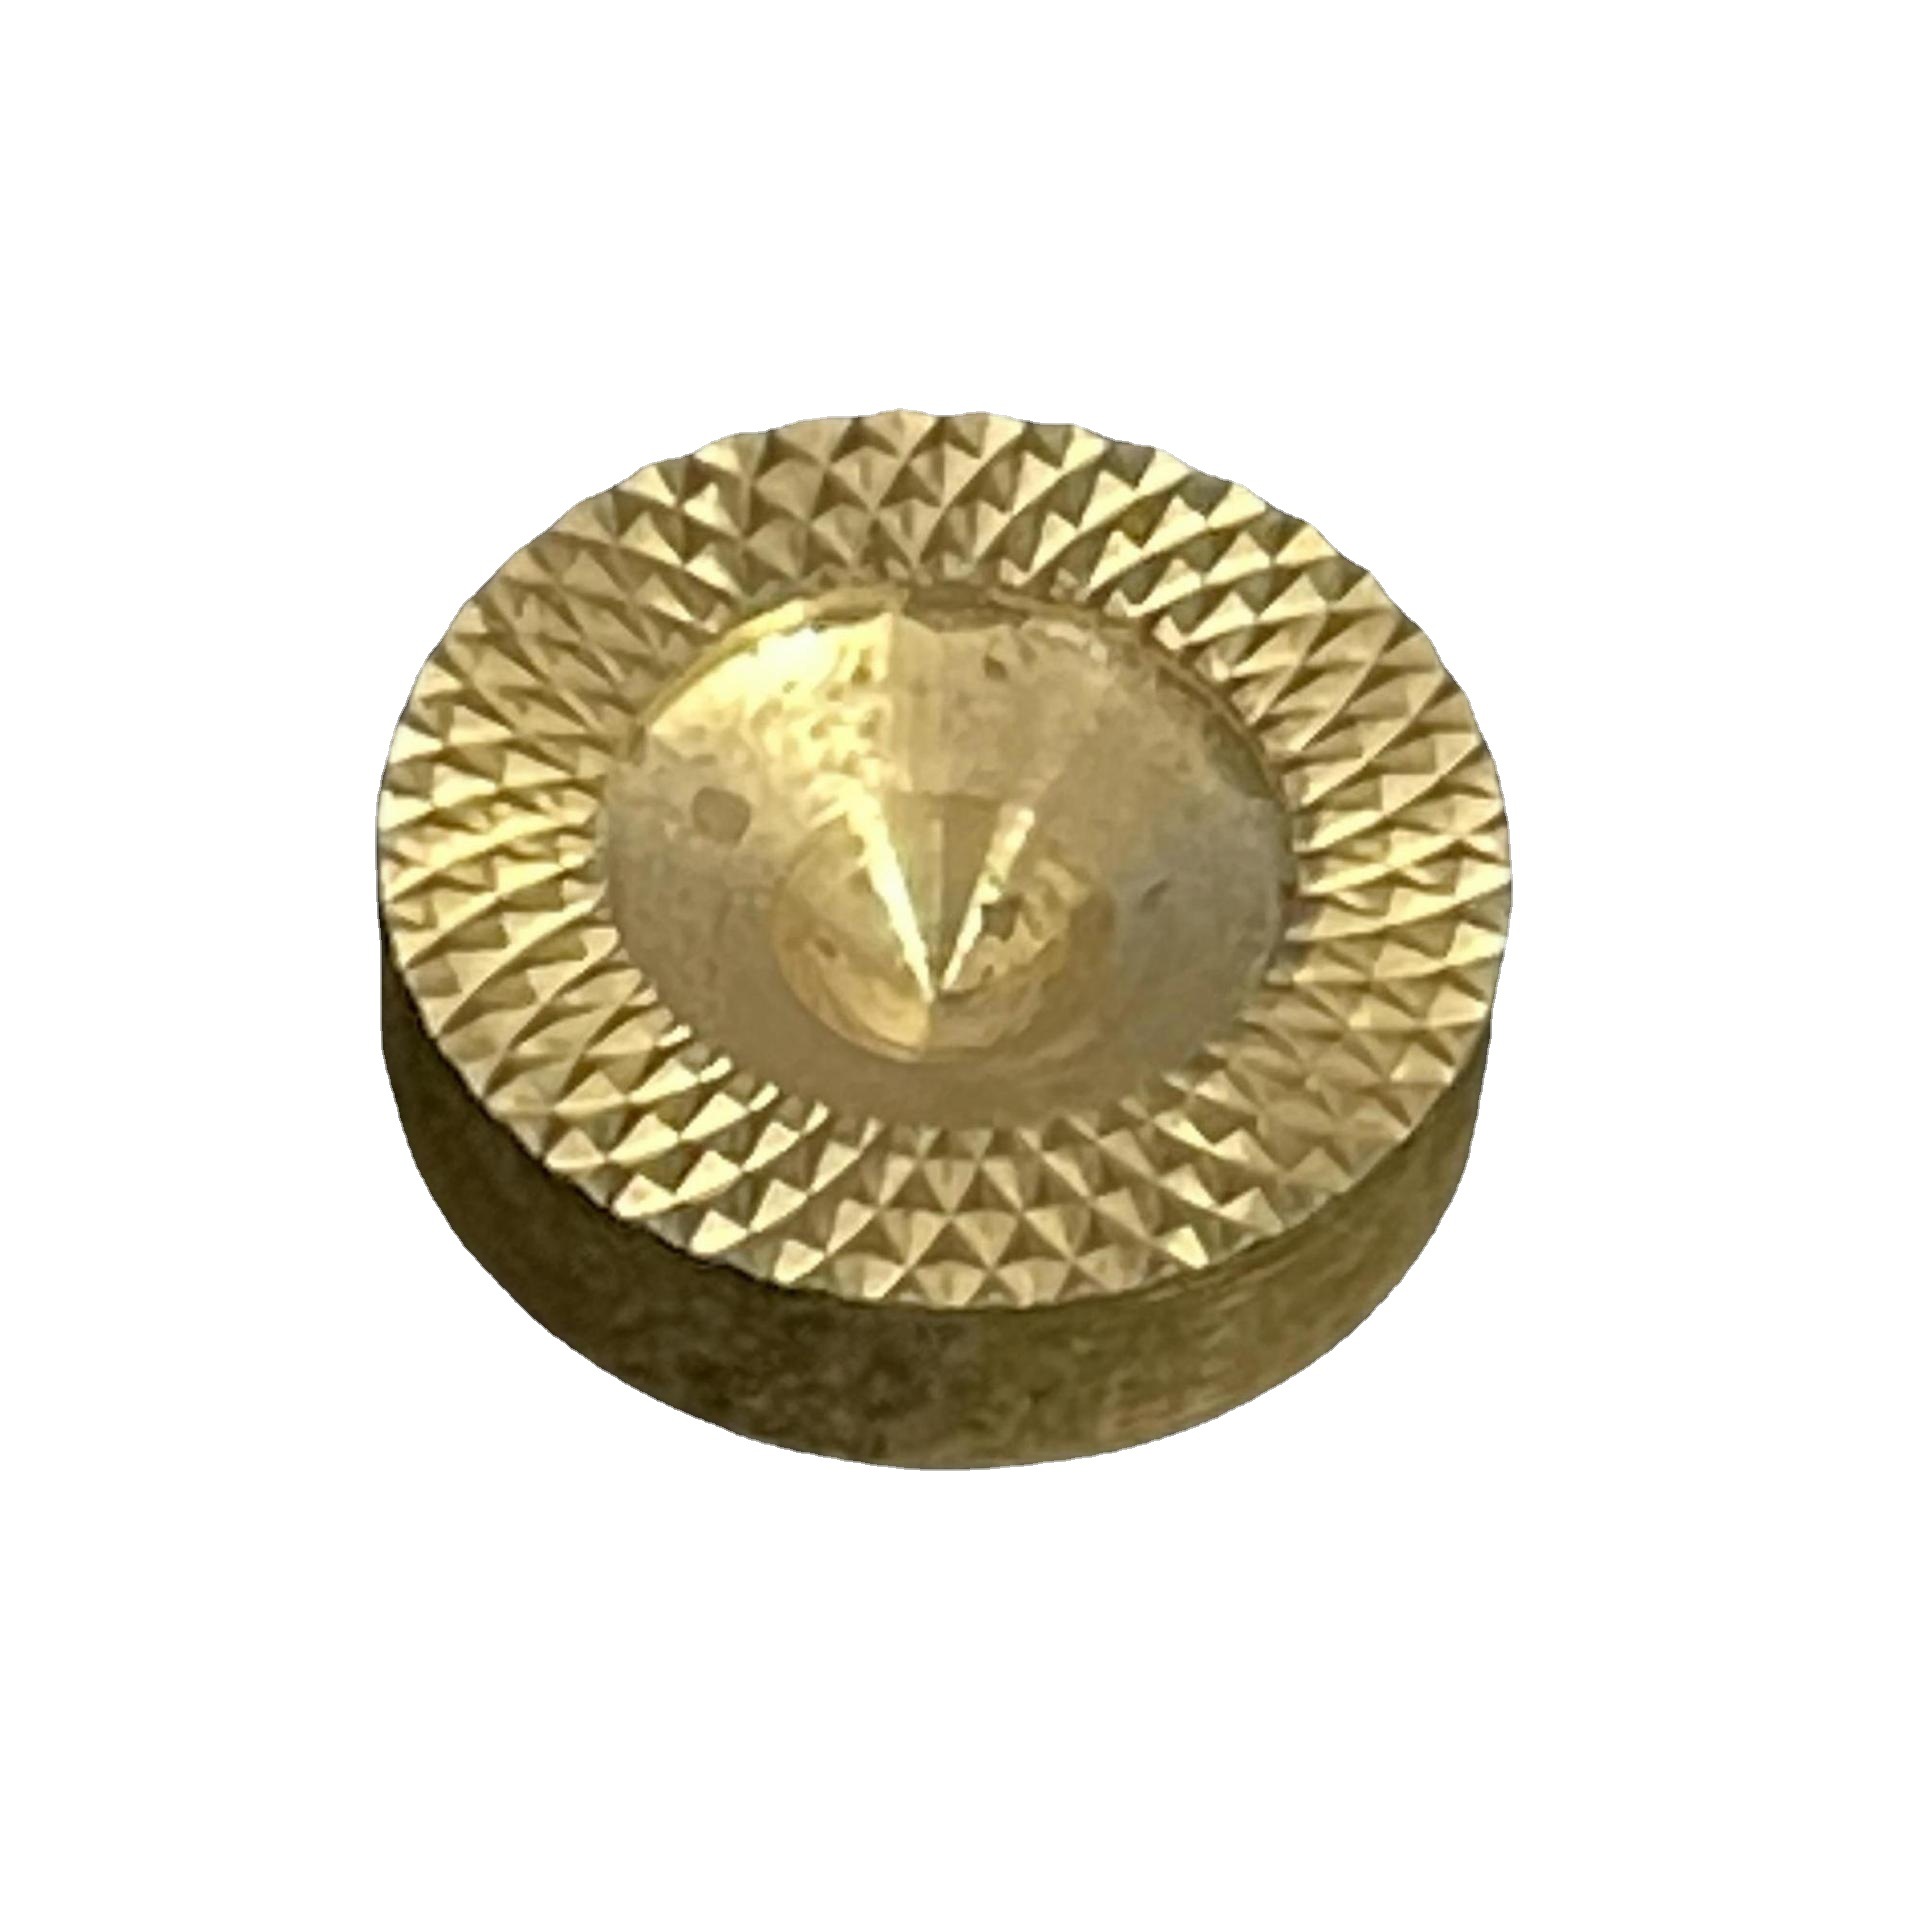
Suitable applications: SLA is ideal for creating highly detailed models, such as jewelry prototypes, dental models, and small, intricate figurines. Its high precision allows for the reproduction of fine details and smooth surfaces. For example, in the jewelry industry, SLA can be used to create detailed wax - like models that can later be used in the lost - wax casting process to produce high - quality metal jewelry.
Material and cost characteristics:
- Materials: The photopolymer resins used in SLA are specifically formulated to be sensitive to UV light. These resins come in different types, some with different mechanical properties like flexibility or hardness. However, they are generally more expensive than FDM filaments.
- Equipment cost: SLA printers are often more expensive than FDM printers, especially professional - grade models. Additionally, they require more maintenance and a controlled environment to ensure accurate results, which can add to the overall cost.
Comparing Different Technologies in a Table
| Technology | Cost (Printer & Materials) | Precision | Speed | Material Types |
| FDM | Lower - cost printers (starting from a few hundred dollars) and relatively inexpensive filaments | Lower precision, visible layer lines, larger minimum feature size | Slower, as it extrudes and cools plastic layer by layer | Many types of thermoplastic filaments (PLA, ABS, etc.) |
| SLA | Higher - cost printers and more expensive photopolymer resins | High precision, suitable for fine details and smooth surfaces | Faster in some cases as the resin cures quickly under UV light, but overall can still be time - consuming for large models | Specific photopolymer resins |
Step - by - Step 3D Printing Process
File Preparation
The first step in the 3D printing process is file preparation. To get a 3D model file, you have several options. Online model libraries are a great resource. Platforms like Thingiverse, MyMiniFactory, and TurboSquid offer a vast collection of free and paid 3D models. For example, if you want to print a small mechanical gear, you can search on Thingiverse and find numerous designs contributed by the community. These models are usually available in common file formats such as STL (Stereolithography), OBJ (Object File Format), and 3MF (3D Manufacturing Format).
Starting the Print
Before starting the print, there are a few important preparatory tasks, especially for FDM printers. Print bed leveling is crucial. Most 3D printers require the print bed to be perfectly level so that the first layer of the print adheres evenly. Some printers have an automatic bed - leveling feature, while others require manual adjustment. To manually level the bed, you can use a piece of paper or a feeler gauge. Adjust the screws or knobs on the print bed until there is a consistent and slight resistance when you slide the paper or feeler gauge between the nozzle and the bed at different points.
Once the bed is leveled and the printer is loaded with the appropriate filament, you can start the print. During the printing process, it's important to monitor it closely. You can do this by watching the printer physically or, if your printer has a webcam or a connected software, you can monitor it remotely. Some common issues to watch out for include nozzle clogging. If the nozzle clogs, the filament will not extrude properly, and you may see gaps in the printed layers or the print may stop altogether. To fix a clogged nozzle, you can try heating the nozzle to a high temperature and manually pushing the filament through with a small tool like a needle. Another issue could be print bed adhesion problems. If the first layer doesn't stick well to the bed, the print may warp or detach during printing. You can use adhesives like glue sticks or hairspray on the print bed to improve adhesion.
Post - Processing
After the 3D print is complete, post - processing is often necessary to achieve the desired final product. Sanding and polishing are used to smooth the surface of the printed object. For FDM prints, the layer lines can be visible, and sanding with fine - grit sandpaper can help to reduce their appearance. Start with a relatively coarse - grit sandpaper, like 220 - grit, to remove any large imperfections or rough areas. Then, gradually move to finer - grit sandpapers, such as 400 - grit, 600 - grit, and even 1000 - grit for a very smooth finish. Polishing compounds can be used after sanding to give the object a shiny, smooth surface.
Painting is another common post - processing step. It can enhance the appearance of the 3D printed object and add color. You can use acrylic paints, which are easy to work with and widely available. Make sure to prime the printed object first, especially if it's made of a plastic material like PLA or ABS. The primer helps the paint adhere better. For example, if you printed a white 3D - model of a toy car, you can paint it red, add some black details for the tires, and use silver paint for the rims to make it look more realistic. Post - processing not only improves the aesthetics but also can enhance the functionality of the 3D printed object in some cases.
Yigu Technology's View
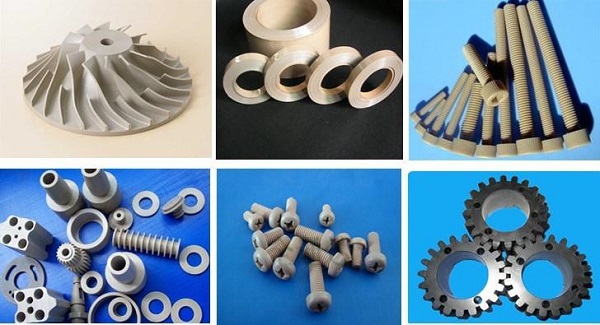
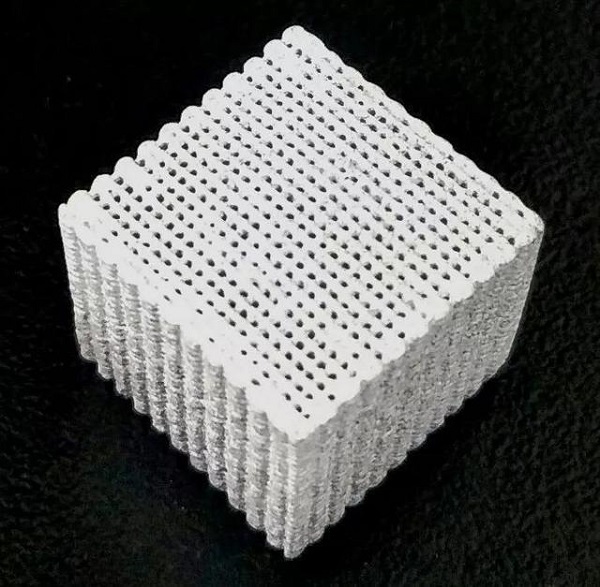
As a non - standard plastic metal products custom Supplier, Yigu Technology has witnessed firsthand the profound impact of 3D printing on the customization industry. One of the most significant advantages of 3D printing in this context is its ability to manufacture products with complex structures. Traditional manufacturing methods often face challenges when dealing with intricate designs, but 3D printing can bring these complex ideas to life with relative ease. For example, in the production of some custom - designed mechanical parts with internal cavities and irregular shapes, 3D printing allows for seamless creation without the need for multiple assembly steps.
With years of experience, Yigu Technology has integrated 3D printing into its customization process. We are proficient in using various 3D printing technologies and materials to meet different customer requirements. Our team of experts can take a customer's concept, transform it into a detailed 3D model, and then use 3D printing to quickly produce prototypes for verification. This not only shortens the product development cycle but also reduces costs, enabling us to provide high - quality custom products more efficiently.
FAQ
What is the cheapest 3D printing technology?
The cheapest 3D printing technology is often Fused Deposition Modeling (FDM). FDM printers are generally more affordable, with some entry - level models available for as low as a few hundred dollars. Additionally, the filaments used in FDM printing, such as PLA and ABS, are relatively inexpensive compared to the materials used in other technologies like SLA. For example, a roll of PLA filament might cost around \(20 - \)30, while SLA resins are much pricier per unit volume.
How long does a typical 3D print take?
The time it takes for a 3D print to complete depends on several factors, including the size and complexity of the model, the layer height, and the printing speed. For a small, simple object like a keychain, it might take only 30 minutes to an hour. However, a large, complex model such as a detailed 3D - printed bust could take 10 - 20 hours or even longer. As a general rule, slower printing speeds and smaller layer heights, which result in better - quality prints, will increase the overall printing time.
Can I use any 3D model for printing?
Not all 3D models are suitable for direct 3D printing. For example, a model with very thin walls might break during the printing process, and a model without proper support structures might collapse. You need to ensure that the model has a reasonable wall thickness (usually at least 1 - 2mm for FDM prints), and if there are overhangs or complex geometries, appropriate support structures should be added, either manually in the CAD software or automatically by the slicing software.