Introduction
A prototype is not just a model. It is your first chance to see if an idea works in the physical world. But the path from a CAD file to a finished prototype is full of potential pitfalls. Misaligned parts, wrong materials, and assembly errors can waste weeks and thousands of dollars. A smooth prototype production process requires planning, the right methods, and a clear understanding of what you are trying to achieve. At Yigu Technology, we have guided hundreds of projects through this phase. This article walks you through each stage—from concept to testing—so you can avoid common mistakes and get reliable results.
What Is Prototype Production?
Prototype production is the process of turning a digital design into a physical model. That model is used to test form, fit, and function before mass production begins.
A prototype can look like the final product, but its purpose is different. It exists to reveal problems early. For example, when an automotive company develops a new engine component, they build a prototype to test thermal expansion and vibration. When a consumer electronics firm designs a new wearable device, they prototype to check ergonomics and button feel. In both cases, the goal is to learn before committing to expensive tooling.
Why Does a Smooth Process Matter?
A chaotic prototyping process creates delays, cost overruns, and unreliable test results. Worse, it can hide design flaws that later become production disasters.
A smooth process, by contrast, gives you:
- Reliable data for design decisions
- Predictable timelines for project planning
- Lower costs by avoiding rework
- Confidence before moving to production
What Are the Key Stages?
A successful prototype production process follows five stages. Skipping or rushing any of them invites risk.
1. Conceptualization and Design
This is where ideas become structured designs. It starts with brainstorming. Teams gather to explore possibilities without judgment. In one recent project at Yigu Technology, a medical device startup wanted a handheld diagnostic tool. Early ideas ranged from a pen-shaped device to a tablet-like form. Sketching helped narrow the options quickly.
After brainstorming comes sketching. These rough drawings capture basic shapes, button placements, and user interactions. Sketches are fast and inexpensive. They allow designers to explore ten ideas in the time it would take to model one in CAD.
The final step is 3D modeling using CAD software. This creates a precise digital definition of every dimension, feature, and interface. CAD also enables early simulations. In a robotic arm project, we used CAD to simulate range of motion and interference before any physical parts were made. This caught a collision issue that would have required a full rebuild if discovered later.
2. Material Selection
Materials determine how a prototype behaves. Choose incorrectly, and test results become meaningless.
The table below compares common prototype materials.
| Material | Strength | Flexibility | Cost | Typical Use |
|---|---|---|---|---|
| Aluminum | High strength-to-weight | Rigid | Moderate | Drone frames, aerospace brackets |
| Steel | Very high strength | Rigid | Moderate-high | Heavy-duty mechanisms, tooling |
| ABS Plastic | Good impact resistance | Moderate | Low | Consumer electronics housings |
| Polycarbonate | Exceptional impact resistance | Moderate | Moderate | Safety equipment, transparent parts |
| Nylon (SLS) | High strength, wear-resistant | Moderate | Moderate | Functional gears, living hinges |
A real example: a startup developing a portable power bank chose ABS for early prototypes. It was affordable and easy to modify. But when they tested heat dissipation, ABS showed limitations. They switched to polycarbonate for the final prototype to better simulate the production material. This gave them accurate thermal data before tooling.
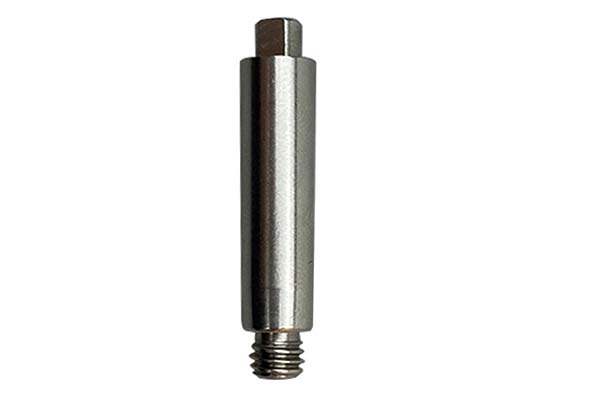
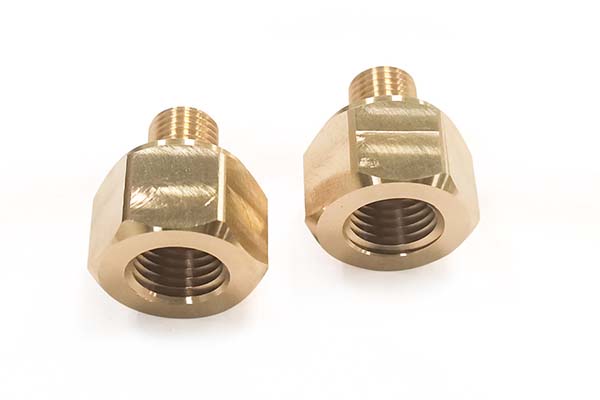
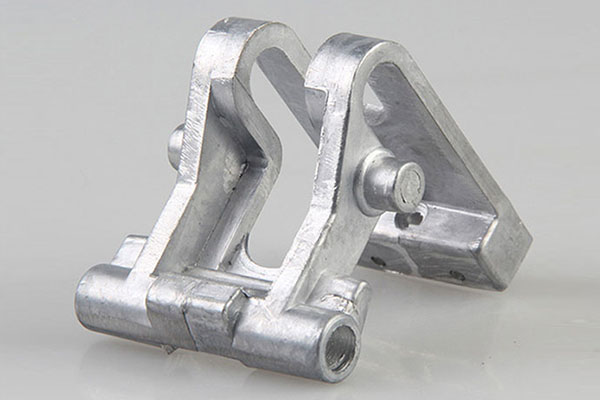
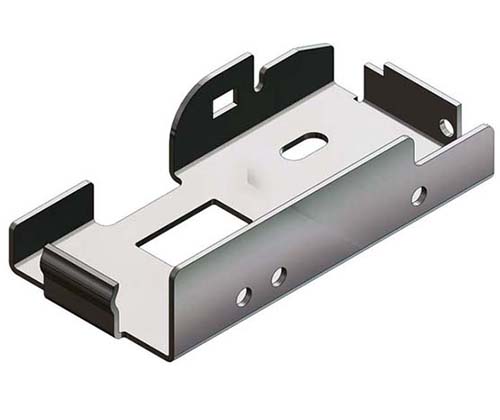
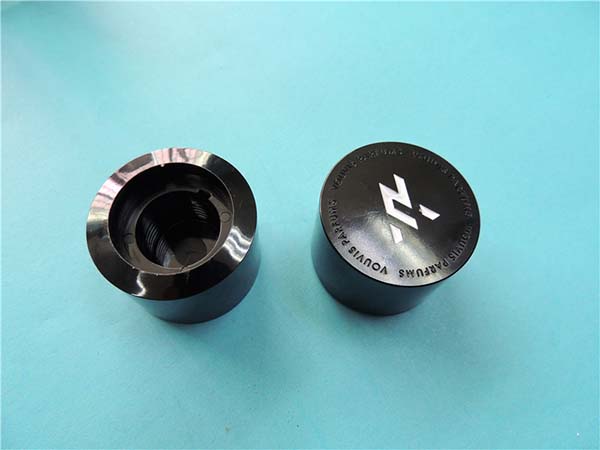
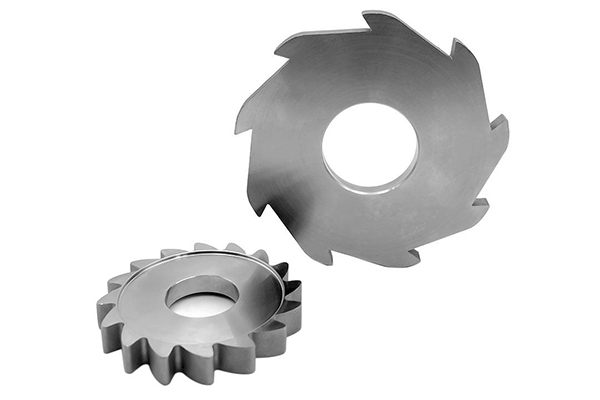
3. Manufacturing and Assembly
This stage turns digital files into physical parts. The method you choose affects speed, accuracy, and cost.
| Method | Best For | Speed | Accuracy | Cost per Part (Low Volume) |
|---|---|---|---|---|
| 3D Printing (FDM) | Concept models, form testing | Fast | Moderate | Low |
| 3D Printing (SLA/SLS) | Functional testing, complex shapes | Moderate | High | Moderate |
| CNC Machining | Precision metal or plastic parts | Moderate-slow | Very high | Moderate-high |
| Injection Molding | Large quantities | Slow setup, fast per part | High | High setup, low per part |
A common mistake is choosing the wrong method for the goal. If you need to test a snap-fit feature, SLS nylon is a good choice because it mimics production-grade strength. If you only need to check overall shape and size, FDM is faster and cheaper.
Assembly Challenges
Assembly is where small errors become big problems. Two issues appear most often:
- Misalignment: Parts that fit perfectly in CAD may not align in reality due to tolerance stack-up. Using alignment pins or jigs during assembly ensures correct positioning.
- Improper fastening: Under-tightened screws loosen during testing. Over-tightened screws crack plastic bosses. Following torque specifications prevents both.
In one project, a consumer electronics prototype had intermittent button failure. The issue traced to a screw that was 0.5 mm too long, pressing against a flex cable. The fix was simple once identified—but it required careful assembly observation to catch.
4. Testing and Validation
Testing is why you built the prototype. Without it, you have a model, not a learning tool.
Types of Tests
| Test Type | What It Checks | Example |
|---|---|---|
| Functionality | Does it perform all intended tasks? | Does the coffee maker brew at the correct temperature? |
| Durability | How long does it last under use? | Opening and closing a laptop hinge 10,000 times |
| Safety | Does it pose any hazard? | Electrical insulation in a power tool |
| Environmental | How does it handle heat, cold, or moisture? | A drone battery operating at -10°C |
| Fit and Finish | Does it look and feel as intended? | Gap consistency between mating parts |
A study by a product development research firm found that products with comprehensive prototype testing had a 30% lower market failure rate than those with minimal testing.
One medical device company we worked with discovered through thermal testing that a critical component overheated after 20 minutes of continuous use. The fix—adding a small heat sink—cost $1.20 per unit. If discovered after production tooling, the redesign would have delayed launch by four months and cost over $150,000.
5. Iteration and Refinement
A single prototype is rarely enough. The goal is to learn, adjust, and build again.
Each iteration should have a clear purpose. For example:
- Iteration 1: Validate basic geometry and assembly
- Iteration 2: Test functionality and ergonomics
- Iteration 3: Verify durability and thermal performance
- Iteration 4: Final pre-production validation
A startup developing a wearable fitness tracker went through six prototype iterations. The first three focused on fit and comfort. The fourth added electronics. The fifth tested waterproofing. The sixth was a pre-production validation unit. Each iteration built on learnings from the previous one. The final product passed all regulatory tests on the first attempt.
What Are Common Pitfalls to Avoid?
Even experienced teams encounter issues. Being aware of common pitfalls helps you avoid them.
| Pitfall | Consequence | Prevention |
|---|---|---|
| Unclear goals | Prototype doesn't answer the right questions | Define what you need to learn before starting |
| Wrong material | Test results don't reflect production reality | Select materials that match testing objectives |
| Skipping assembly validation | Flaws discovered only after full build | Assemble early samples to verify fit |
| Over-testing | Wasted time and budget | Focus tests on highest-risk areas |
| Under-testing | Hidden flaws reach production | Create a test plan based on product requirements |
How Do You Plan for Success?
A smooth prototype production process starts with a plan. Here is a simple framework.
- Define objectives: What specific questions must this prototype answer?
- Select methods: Choose manufacturing and assembly approaches based on objectives.
- Source materials: Order materials early to avoid delays.
- Build and assemble: Document every step for repeatability.
- Test methodically: Follow a written test plan.
- Document findings: Capture what worked and what did not.
- Plan next iteration: Use findings to prioritize next steps.
Conclusion
A smooth prototype production process is not luck. It is the result of clear objectives, careful material selection, the right manufacturing methods, and disciplined testing. Each stage builds on the previous one. Skipping steps or rushing decisions creates risk.
When done well, prototype production transforms an uncertain concept into a validated design. It reveals problems when they are still cheap to fix. It aligns teams around a shared understanding of the product. And ultimately, it increases the chances of a successful launch.
Whether you are building your first prototype or your tenth, the principles remain the same: plan carefully, test honestly, and iterate relentlessly.
Frequently Asked Questions
How long does prototype production typically take?
Timelines vary based on complexity and method. A simple 3D-printed part can be ready in 1 to 3 days. A multi-part CNC-machined assembly may take 2 to 4 weeks. At Yigu Technology, we provide estimated lead times during the quoting process based on your specific requirements.
What is the difference between a prototype and a pilot run?
A prototype is built to test design concepts. A pilot run is a small production batch using final manufacturing methods to validate the production process itself. Prototypes come first; pilot runs follow.
How many prototypes should I build?
There is no fixed number. Build enough to answer your questions. Some projects need one or two iterations. Complex products may require five or more. The key is to learn from each and avoid repeating the same tests.
Can I use prototype parts for regulatory testing?
Sometimes, but with caution. Regulatory tests often require parts made from final materials and processes. Check with your testing lab early to understand requirements. In many cases, a pre-production prototype made with production-equivalent materials is acceptable.
What should I prepare before contacting a prototyping partner?
Provide a CAD file (STEP format is preferred), a clear description of the prototype's purpose, material preferences if known, and any critical dimensions or tolerances. The more context you share, the more accurate the quote and timeline will be.
Contact Yigu Technology for Custom Manufacturing
At Yigu Technology, we specialize in turning designs into reliable prototypes. Our capabilities include CNC machining, SLA and SLS 3D printing, and sheet metal fabrication. We work with startups, medical device companies, automotive suppliers, and aerospace firms to deliver precision parts with fast lead times.
Whether you need a single concept model or a batch of functional test units, our engineering team is ready to help. Contact us to discuss your project requirements. Let us help you move from design to reality with confidence.