Introduction
You have a forged component—strong, durable, with superior grain structure. But to achieve final precision, you need machining. Forging machining combines the strength of forged parts with the accuracy of machining. However, inconsistent blanks, hard spots, and tool wear can derail your process. This guide breaks down the workflow, key benefits, common challenges, and practical solutions—helping you master forging machining.
What Is the Forging-to-Machining Workflow?
Every successful forging machining project starts with a clear process. Think of it as building a house: a solid foundation (forged blank) and a blueprint (process planning).
Typical Workflow
| Step | Description | Key Consideration |
|---|---|---|
| Near-Net Shape Forging | Create blank 90% close to final part | Cuts material waste by 30%+ vs. traditional forging |
| Stock Allowance Setting | Leave 0.5–2 mm material for machining | Critical for correcting forging variations |
| Rough Machining | Remove excess material | Turning for cylindrical parts |
| Semi-Finishing | Refine key surfaces | Milling for flat areas |
| Datum Surfaces Establishment | Mark reference points | Essential for precise finish work |
| Finish Machining | Achieve tight tolerances | Grinding or broaching—often ±0.005 mm |
Real case: A flange manufacturer redesigned their workflow using near-net shape forging and automated transfer between stations. Machining time dropped from 15 minutes to 45 seconds per part; material waste fell by 30% .
Why Machine Forged Components? Key Benefits
Forged parts have superior grain structure—but machining unlocks their full potential.
| Benefit | Definition | Real-World Impact |
|---|---|---|
| Superior Grain Structure Utilization | Forging aligns metal grains, boosting strength 20–30% vs. cast parts | Aerospace landing gear handles 5x more stress without failure |
| Dimensional Accuracy | Machining corrects forging inconsistencies | Automobile crankshafts achieve ±0.01 mm tolerance—reducing engine vibration |
| Improved Surface Finish | Grinding or honing creates Ra ≤ 0.8 μm surfaces | Hydraulic valves avoid leaks, extending equipment life by 2 years |
| Critical Feature Creation | Tapping or drilling adds precise holes/threads | Oil and gas flanges get leak-proof threaded ports (tested to 10,000 psi) |
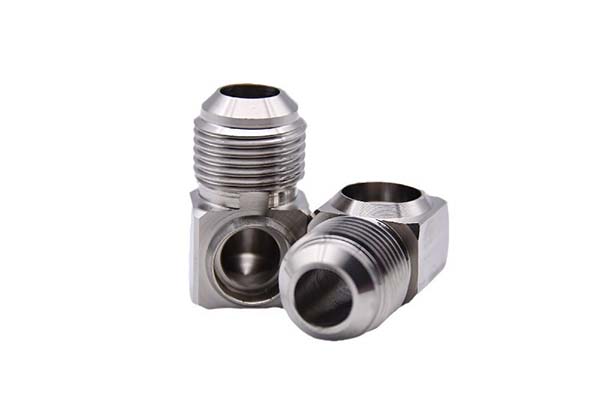
What Are Common Challenges in Machining Forgings? (And How to Fix Them)
Forgings aren’t perfect. Here are top challenges and solutions.
Challenge 1: Hard Spots & Work-Hardened Surfaces
Problem: Localized high hardness (50+ HRC) damages tools.
Solution: Use carbide inserts with TiAlN coating. A rotor manufacturer switched to these tools and cut tool wear by 40% .
Challenge 2: Inconsistent Stock Allowance
Problem: Uneven material left after forging (varies by 3+ mm).
Solution: Implement 3D scanning before machining. One shop reduced scrap from 15% to 3% with this step.
Challenge 3: Scale & Decarburization
Problem: Oxide layers (scale) and soft surface layers ruin finishes.
Solution: Add a shot blasting step pre-machining. This removed 99% of scale for a valve manufacturer.
Challenge 4: Internal Stresses
Problem: Machining releases stress, causing warping.
Solution: Use stress-relieving heat treatment (600–650°C for 2–4 hours). A titanium forging shop eliminated 80% of warping with this method.
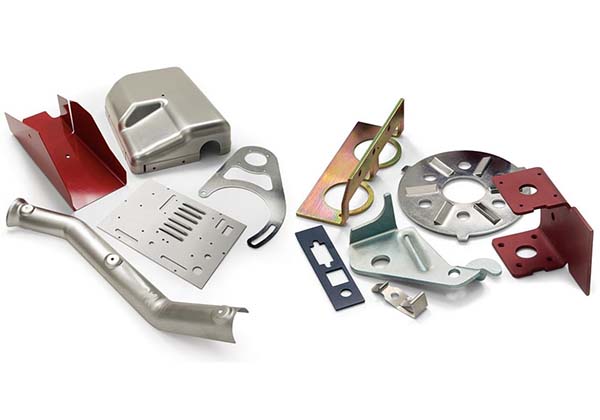
What Essential Machining Operations Are Used for Forgings?
Not all operations work for every forging. Use based on geometry and requirements.
| Operation | Best For | Example |
|---|---|---|
| Facing/Turning | Flat or cylindrical surfaces | Axle ends |
| Milling | Complex shapes | Gear teeth |
| Drilling/Tapping | Holes and threads | Flange ports |
| Grinding | Final surface finish | Bearing races |
| Deburring | Safety, sharp edges | Automotive parts |
Pro Tip: For interrupted cuts (e.g., machining gears), use rigid tool holders to reduce vibration. A gear manufacturer increased tool life by 50% with this tweak.
What Material and Process Considerations Matter?
Material dictates approach. Here’s how to handle common options.
| Material | Machining Tips | Heat Treatment Needs | Fixturing Notes |
|---|---|---|---|
| Forged Steel | Use HSS tools; cut at 150–200 m/min | Quenching & Tempering (QT) for hardness (30–45 HRC) | 3-jaw chucks for round parts |
| Aluminum Forgings | Use carbide tools; cut at 300–500 m/min (fast, avoid chatter) | Stress relieving (150–200°C) to prevent warping | Soft jaws to avoid marring surfaces |
| Titanium Forgings | Use cobalt alloys; cut at 20–50 m/min (slow, due to low thermal conductivity) | Normalizing (700–800°C) for grain structure | Custom fixtures for irregular shapes (aerospace brackets) |
Case Study: A titanium aerospace part manufacturer used these tips to reduce machining time by 25% while meeting strict aviation standards.
How Much Stock Allowance Should You Leave?
| Material | Standard Allowance | Notes |
|---|---|---|
| Steel/Aluminum | 1–2 mm | Near-net shape forging needs less |
| Titanium | 2–3 mm | Harder to machine; requires more allowance |
Can You Machine a Forging Without Heat Treatment?
Rarely. Heat treatment—stress relieving—prevents warping. For high-strength parts, quenching and tempering is mandatory.
What Tools Work Best for Machining Hard Forged Steel?
| Material Hardness | Recommended Tool |
|---|---|
| Standard steel | Carbide inserts with TiN or TiAlN coating |
| HRC 50+ | Cubic Boron Nitride (CBN) tools |
How Do You Fix Tool Wear from Interrupted Cuts?
- Use tools with strong edge geometry (negative rake angles)
- Increase coolant flow to 10–15 L/min
- Use rigid tool holders to reduce vibration
How Does Yigu Technology Approach Forging Machining?
As a non-standard plastic and metal products custom supplier, Yigu Technology integrates forging and machining expertise to deliver precision components.
We Optimize Workflows
From near-net shape forging to finish machining, we design processes that minimize waste, reduce cycle times, and ensure accuracy.
We Solve Challenges
Our engineers address hard spots with advanced tooling, correct inconsistent stock allowance with 3D scanning, and prevent warping with stress-relieving heat treatment.
We Stay Current
We leverage trends: integration of near-net shape forging with automated machining (cuts waste by 40%+), AI-driven process planning (optimizes tool paths for hard-to-machine materials like titanium), and in-line metrology (real-time checks reduce scrap).
Conclusion
Forging machining combines the strength of forged components with the precision of machining. By mastering workflows—near-net shape forging, stock allowance setting, rough machining, semi-finishing, datum establishment, and finish machining—you achieve superior results.
Understanding benefits: superior grain structure, dimensional accuracy, improved surface finish, and critical feature creation. Addressing challenges: hard spots, inconsistent stock allowance, scale, and internal stresses with proven solutions.
With the right approach—material-specific machining, proper heat treatment, and advanced tooling—you can produce forged machined components that meet the highest standards.
Frequently Asked Questions
How much stock allowance should I leave for forging machining?
For steel and aluminum, 1–2 mm is standard. For titanium (harder to machine), leave 2–3 mm. Adjust based on forging precision—near-net shape forging requires less allowance.
Can I machine a forging without heat treatment?
Rarely. Stress-relieving heat treatment (600–650°C for 2–4 hours) prevents warping. For high-strength parts, quenching and tempering is mandatory to achieve required hardness (30–45 HRC).
What tools work best for machining hard forged steel?
Use carbide inserts with TiN or TiAlN coating for standard hardness. For HRC 50+, use cubic boron nitride (CBN) tools. These withstand high temperatures and resist wear.
How do I fix tool wear from interrupted cuts?
Use tools with strong edge geometry (negative rake angles), increase coolant flow to 10–15 L/min, and use rigid tool holders to reduce vibration. A gear manufacturer increased tool life by 50% with these adjustments.
What is near-net shape forging and why does it matter?
Near-net shape forging creates blanks that are 90% close to final part geometry. It cuts material waste by 30%+ compared to traditional forging and reduces machining time by minimizing stock removal.
Contact Yigu Technology for Custom Manufacturing
Ready to optimize your forging machining process? Yigu Technology offers integrated forging and machining services for steel, aluminum, and titanium components. Our engineers help you select the right materials, processes, and tooling for your application. Contact us today to discuss your project.