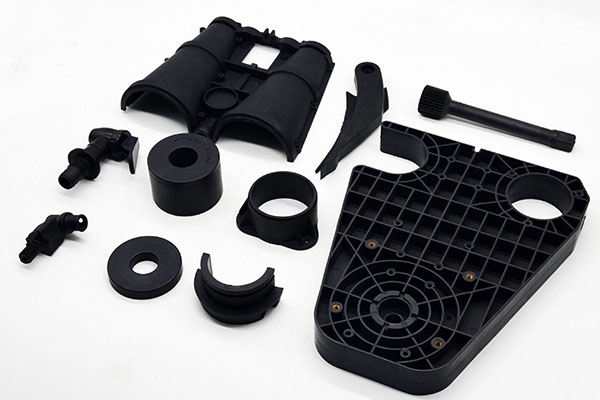
Understanding the injection molding cycle is fundamental to manufacturing high-quality plastic parts efficiently and profitably. This guide provides a complete breakdown of the process, moving beyond basic definitions to deliver actionable insights. We’ll start by defining the cycle itself, then dissect its four core stages—clamping, injection, cooling, and ejection—explaining the physics and practical considerations at each step. Crucially, we’ll analyze the key factors that affect cycle time, such as material properties and mold design, providing specific examples and data points. By the end, you'll have a thorough understanding of how to analyze and potentially optimize the cycle for your projects, ultimately reducing costs and improving part quality.
What Exactly is the Injection Molding Cycle?
Think of the injection molding cycle as the heartbeat of the production line. It’s the complete, repetitive sequence of operations required to produce one set of plastic parts. This cycle begins the moment the mold closes and ends the moment it closes again, ready for the next shot. The primary goal is to achieve this sequence as quickly as possible without compromising the integrity, dimensions, or appearance of the part. Optimizing this cycle is a direct path to lowering cost-per-part, as it maximizes machine output and energy efficiency. Every second shaved off the cycle time translates to significant savings over a production run of thousands or millions of parts.
What Are the Key Stages of the Injection Molding Cycle?
The cycle can be systematically broken down into four distinct, sequential stages. Each stage has a specific function and presents unique opportunities for optimization.
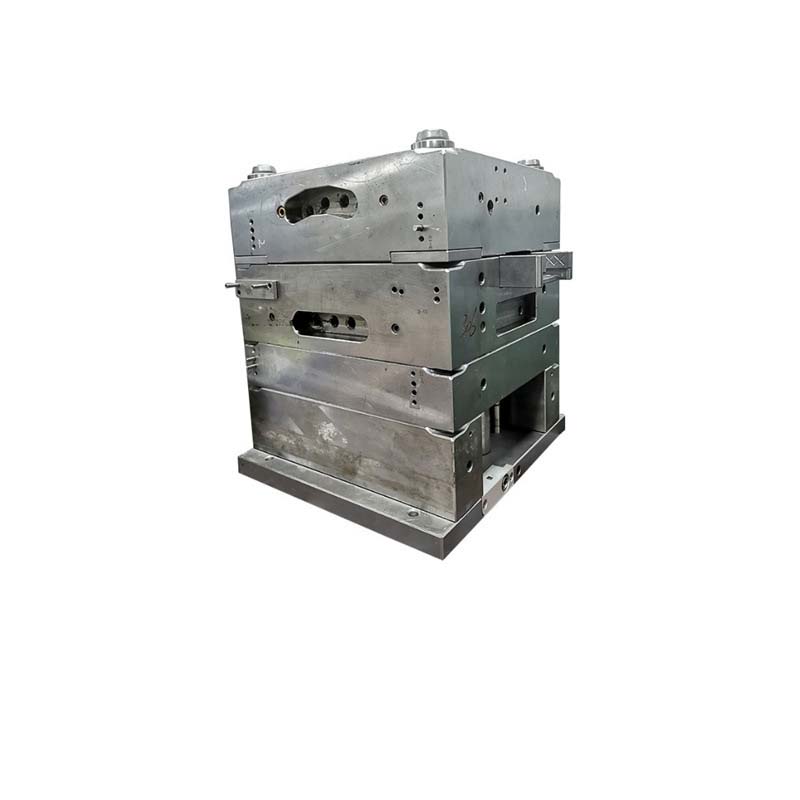
1. The Clamping Stage: How is the Mold Secured?
Before any plastic flows, the two halves of the mold must be securely closed and held together under immense pressure. This happens in the clamping unit. A hydraulic or electric mechanism drives the moving platen to close the mold. Once closed, a tonnage force—often measured in tons—is applied to keep it shut against the intense internal pressure of the injected molten plastic. For instance, molding a large automotive dashboard might require a clamp force of 3,500 tons to prevent "flash" (excess plastic leaking out of the mold seams). An under-tonnaged mold will flash, creating defective parts and requiring costly post-processing, while excessive tonnage wastes energy and can prematurely wear the mold.
2. The Injection Stage: How is the Plastic Injected and Packed?
This is where raw material is transformed into a shaped part. Plastic resin granules are melted in the barrel via heated bands and shear from a rotating screw. Once the mold is clamped, the screw acts as a plunger, injecting this molten plastic at high speed and pressure into the mold cavity. This phase has two critical sub-phases:
- Fill Phase: The cavity is filled rapidly. The speed must be high enough to prevent the material from freezing prematurely but controlled to avoid defects.
- Packing Phase: Immediately after filling, additional material is packed into the cavity to compensate for material shrinkage as it begins to cool. This holding pressure is crucial for achieving precise part dimensions and avoiding sink marks.
A Real-World Example: When molding a polycarbonate lens for eyewear, the injection speed and pressure are meticulously controlled. Too fast, and turbulent flow causes visible streaks; too slow, and the material cools unevenly, creating optical distortions. The pack pressure must be sustained long enough to ensure the thickest sections are dense and clear.
3. The Cooling Stage: Why is This the Longest Part of the Cycle?
After the gate (the entry point to the cavity) solidifies, the holding phase ends, and the dedicated cooling stage begins. The part must solidify enough to be ejected without distorting. Cooling accounts for roughly 70-80% of the total cycle time. Efficient cooling is achieved through a network of channels drilled into the mold plates, through which a temperature-controlled coolant (usually water or oil) circulates. The cooling time is dictated by the thickest wall section of the part—this is a fundamental principle. A part with a 2mm wall might cool in 10 seconds, while a 4mm rib could require 40 seconds (cooling time increases with the square of the thickness).
4. The Ejection Stage: How is the Finished Part Removed Safely?
Once sufficiently cool and solid, the mold opens. Ejector pins, driven by a plate behind the mold, extend into the cavity to push the finished part(s) off the core and onto a conveyor or into a bin. The system must be designed to apply force evenly to avoid bending or damaging the part. For complex parts, additional mechanisms like stripper plates or air blasts may be used. After ejection, the mold closes, and the cycle repeats. Any delay in smooth ejection directly adds to cycle time.
What Factors Most Significantly Impact the Injection Molding Cycle Time?
Cycle time isn't a fixed number; it's a variable influenced by several interconnected factors. Understanding these allows for targeted optimization.
1. How Do Material Properties Dictate the Cycle?
The choice of plastic resin is perhaps the single biggest driver of cycle time. Key properties include:
- Thermal Properties: A material's melt temperature and, more importantly, its heat deflection temperature (HDT) determine how much heat must be added and removed. A semi-crystalline material like Nylon (PA6) has a sharp melting point and high latent heat, requiring significant cooling time. An amorphous material like ABS softens over a range and generally cools faster.
- Shrinkage Rate: Materials with high shrinkage (like Polypropylene) often require longer pack/hold times and higher pressures to fill out the cavity fully before the gate seals, impacting the injection stage.
- Flow Rate (Melt Index): A material with a high melt index flows more easily, potentially allowing for lower injection pressures and faster fill times.
Comparison of Common Materials:
| Material Type | Example | Typical Cycle Characteristic | Key Reason |
|---|---|---|---|
| Amorphous | ABS, PC, PS | Moderate to Fast | Broad softening range, less latent heat to remove. |
| Semi-Crystalline | Nylon (PA), PP, PEEK | Slower | Distinct melting point, high latent heat, requires precise cooling. |
| Engineered/High-Temp | PEEK, PPS | Very Slow | Extremely high melt and mold temperatures required. |
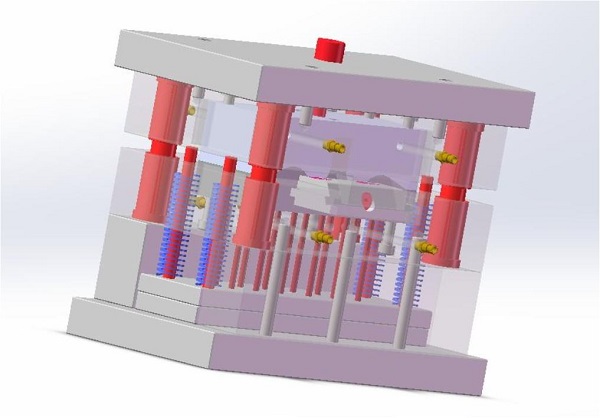
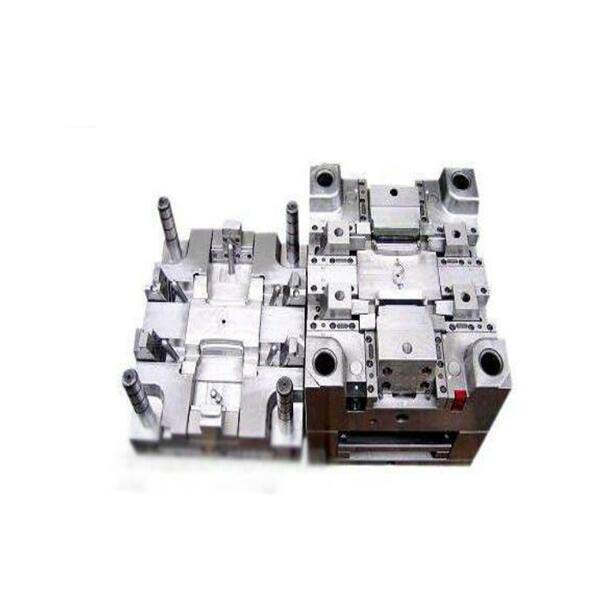
2. How Can Mold Design Be Optimized for a Faster Cycle?
The mold is the custom-engineered heart of the process. Its design directly limits how fast you can run.
- Cooling Channel Design: This is the #1 area for cycle time optimization. Conformal cooling channels that follow the contour of the part can reduce cooling time by 30% or more compared to straight drilled channels by providing uniform heat extraction.
- Wall Thickness: Uniform and minimal wall thickness is paramount. As noted, cooling time is governed by the thickest section. Reducing a wall from 3mm to 2.5mm can cut cooling time significantly.
- Gate Design & Location: A larger gate allows faster filling but leaves a bigger mark and may require longer cooling to seal. A well-placed gate ensures balanced filling, preventing over-packing in some areas and under-filling in others, which allows for lower, more consistent pressures and faster cycles.
- Ejection System: A reliable, well-designed ejection system with sufficient pins and proper draft angles ensures the part releases instantly without hesitation or damage, minimizing downtime between cycles.
Case in Point: A client was producing a complex medical connector with a cycle time of 45 seconds. Analysis revealed inefficient cooling in a thick mounting boss. By redesigning the mold to include a baffle cooling circuit targeted directly at that boss and adjusting the wall thickness, the cooling stage was reduced by 11 seconds, yielding a 24% cycle time improvement and massive cost savings over the product's lifecycle.
Frequently Asked Questions (FAQ)
- What is the single biggest bottleneck in the injection molding cycle?
For the vast majority of parts, the cooling stage is the longest segment. Optimizing cooling channel layout and efficiency is the most effective way to reduce overall cycle time. - Can you have a cycle time that is too fast?
Absolutely. Excessively fast cycles, often driven by high melt temperatures or insufficient cooling, lead to defective parts. Common issues include sink marks (from under-packing), warping (from uneven cooling/internal stresses), and brittleness (from the polymer not being properly annealed in the mold). - How does part size relate to cycle time?
While larger parts generally take longer, wall thickness is a more critical factor. A small part with a thick, chunky section will often have a longer cycle time than a large, thin-walled shell. - What role does the injection molding machine play in cycle time?
A modern, all-electric machine typically offers faster, more precise, and more repeatable cycle times than a hydraulic machine due to quicker screw response, faster clamp movement, and more energy-efficient operation, which reduces cooling system load.
Contact Yigu Technology for Custom Manufacturing.
At Yigu Technology, we don't just run cycles—we engineer them. Our expertise lies in analyzing every variable, from material science to advanced mold design, to develop an optimized injection molding process tailored to your specific part. We leverage industry best practices, conformal cooling simulations, and real-world production experience to ensure your project achieves the shortest possible, most reliable cycle time, delivering superior part quality at the lowest unit cost.
Ready to optimize your production? Reach out to our engineering team for a consultation on your next custom manufacturing project.