Introduction
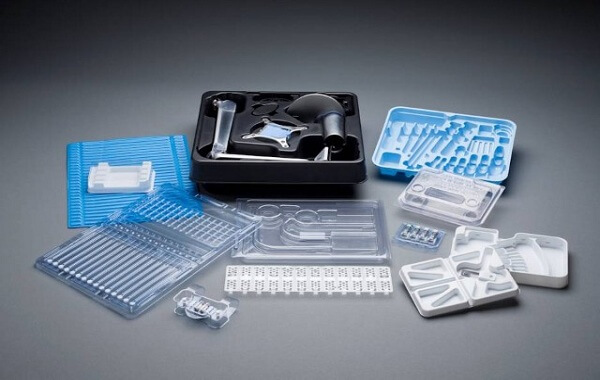
Injection molding is one of the most widely used manufacturing processes in the world. It transforms raw plastic pellets into finished products—from tiny electronic components to large automotive parts—with remarkable speed, precision, and consistency. The process is highly automated, cost-effective at scale, and capable of producing complex geometries with tight tolerances.
Understanding the injection molding process steps is essential for engineers, designers, and manufacturers. Each step—from material preparation to ejection—affects the final product’s quality, dimensions, and performance. This guide provides a comprehensive overview of the injection molding process, breaking it down into clear, sequential steps. You will learn what happens at each stage, why it matters, and how to optimize for superior results.
What Is Injection Molding?
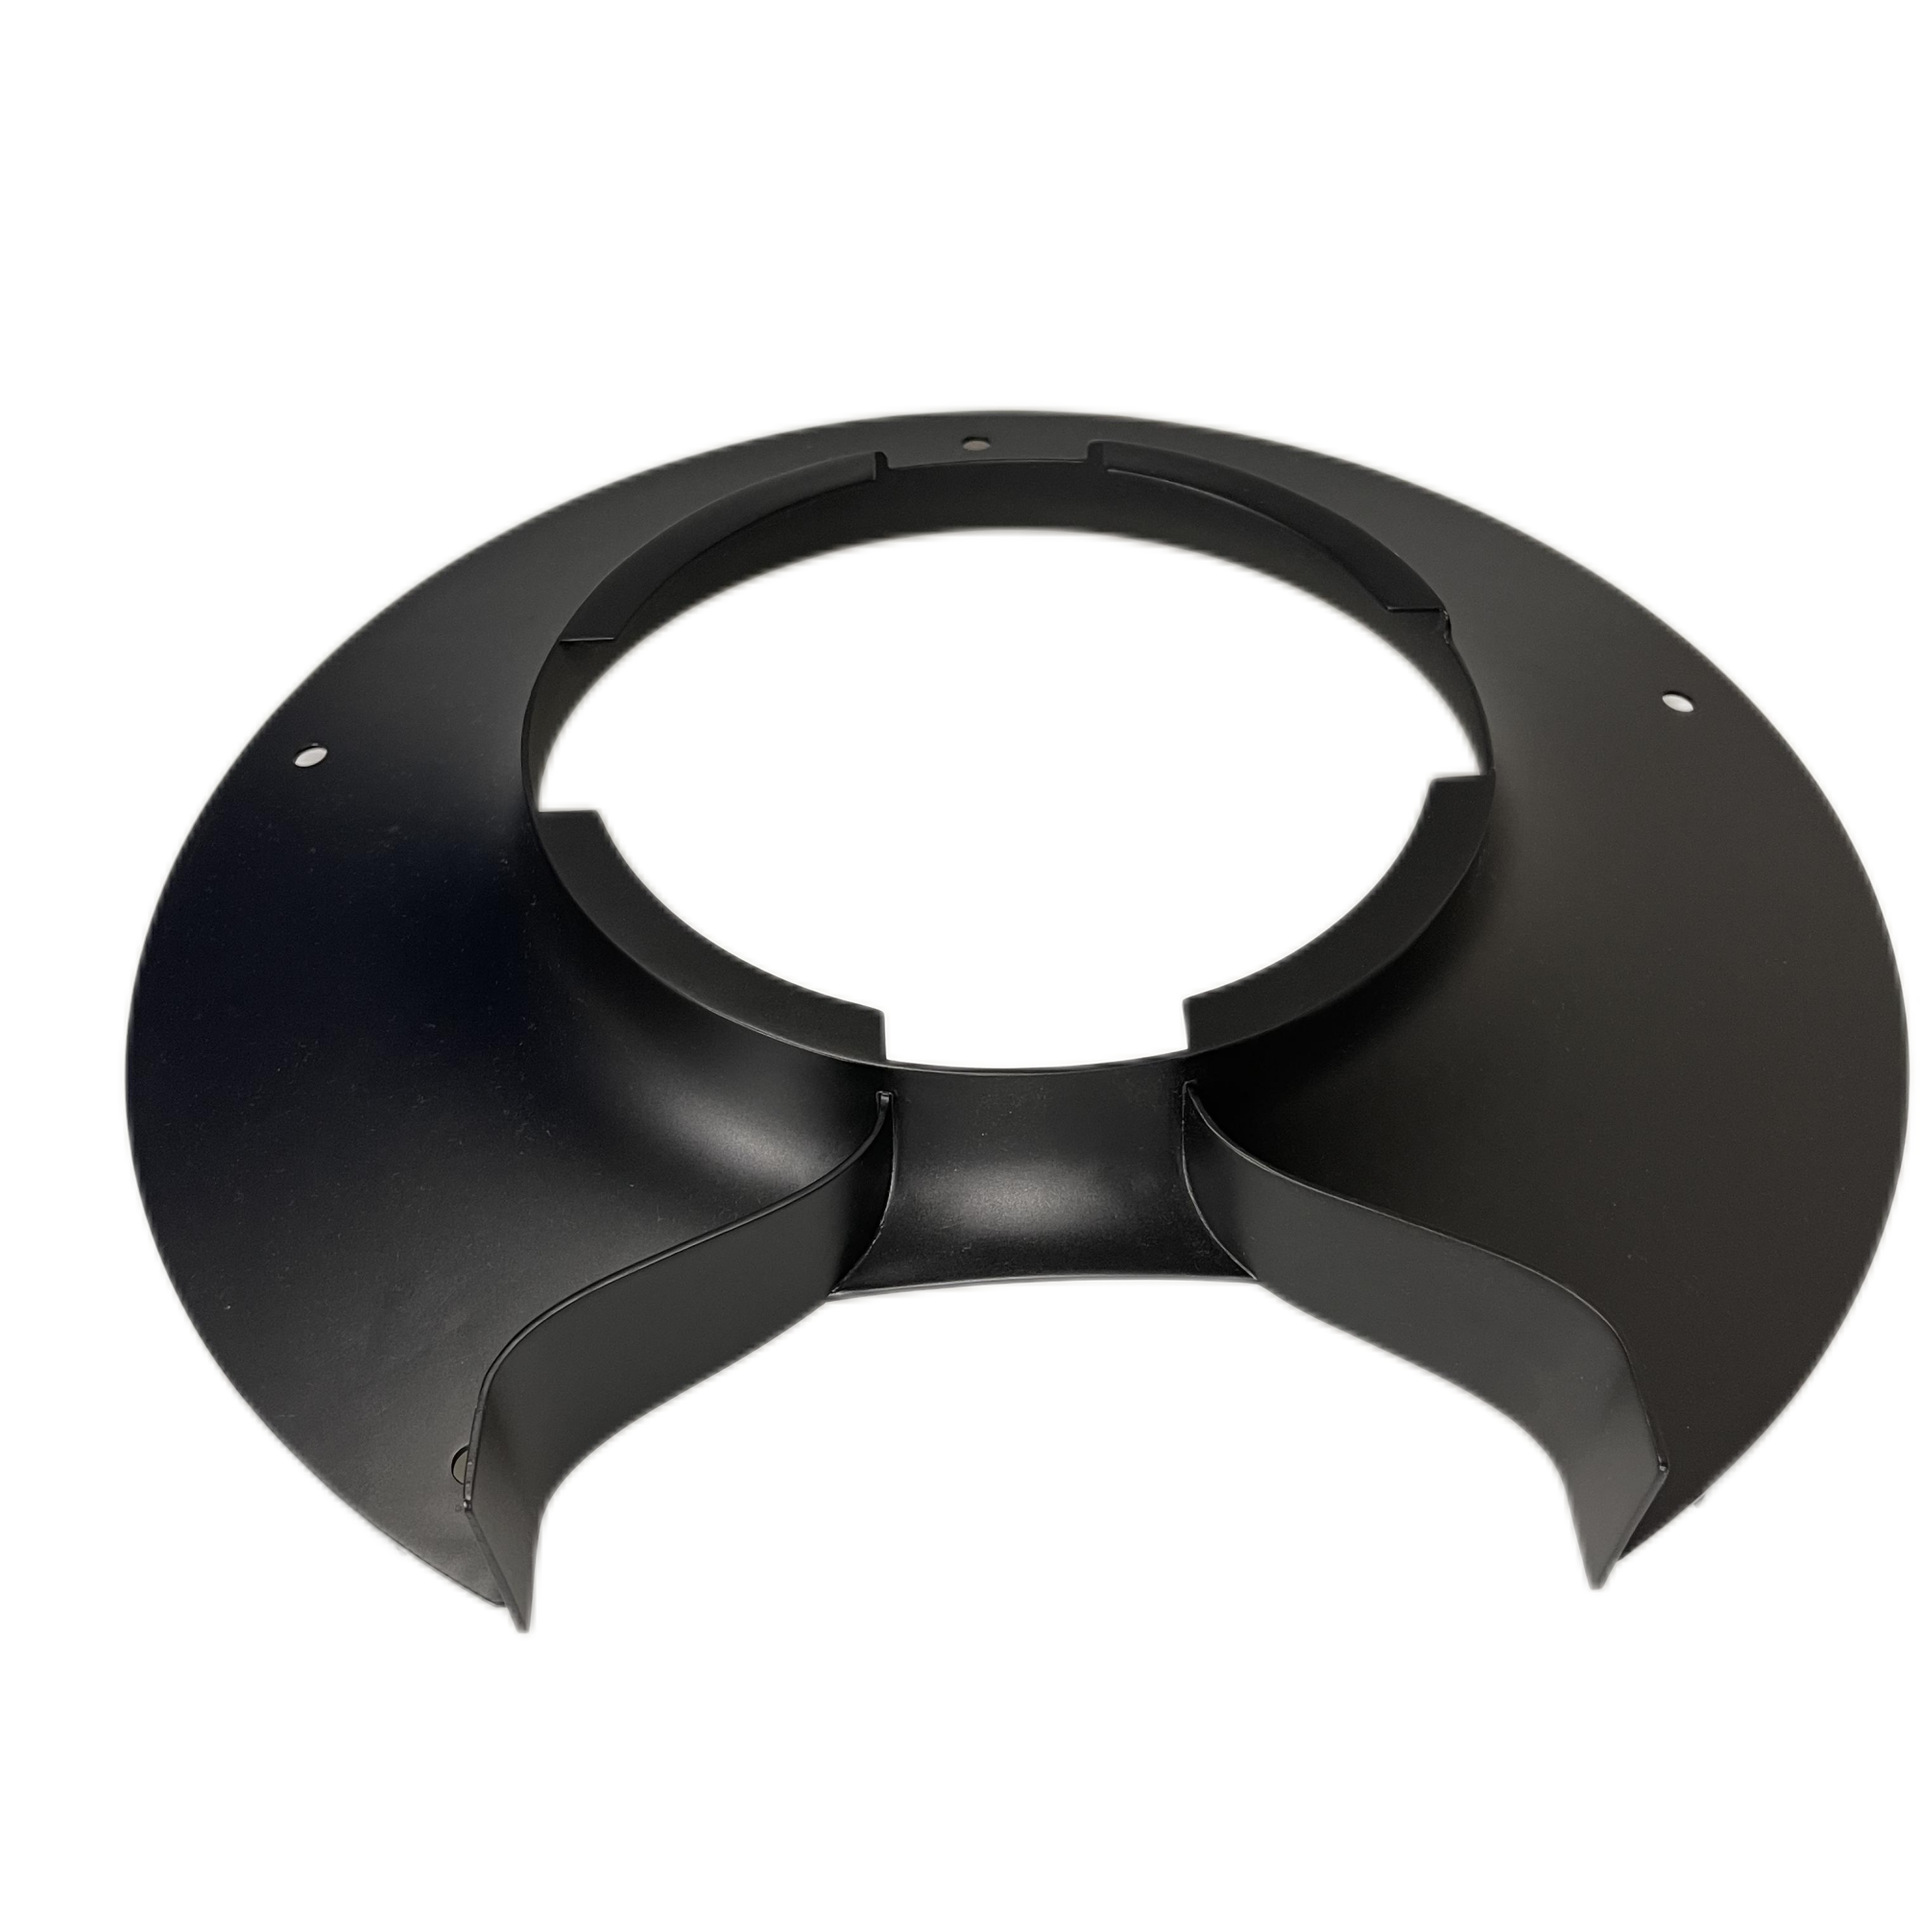
Injection molding is a manufacturing process where molten plastic is injected into a mold cavity under high pressure. The plastic cools and solidifies, taking the shape of the cavity. The mold opens, and the finished part is ejected.
Why It Matters
| Advantage | Explanation |
|---|---|
| High precision | Tolerances as tight as ±0.01 mm |
| Complex geometries | Intricate shapes with fine details |
| High volume | Cost-effective for thousands to millions of parts |
| Automation | Minimal labor; consistent quality |
| Material versatility | Wide range of thermoplastics and some thermosets |
Limitations
| Limitation | Explanation |
|---|---|
| High tooling cost | Molds are expensive ($10,000–$100,000+) |
| Long lead time | Mold fabrication takes weeks to months |
| Not economical for low volumes | Tooling cost amortized over high volumes |
What Are the Key Injection Molding Process Steps?
The injection molding process consists of five main steps: material preparation, mold preparation, injection, cooling, and ejection.
Step 1: Material Preparation
Material preparation ensures the plastic is in optimal condition for molding.
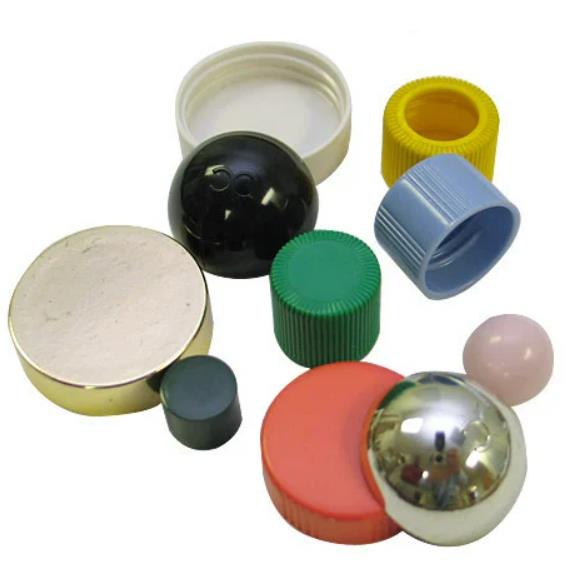
Plastic Material Selection
The choice of plastic determines the final product’s properties.
| Material | Key Properties | Applications |
|---|---|---|
| ABS | Impact resistance; good surface finish | Electronics housings; toys |
| Polypropylene (PP) | Chemical resistance; flexibility | Food containers; automotive parts |
| Polycarbonate (PC) | High strength; clarity; heat resistance | Lenses; medical devices |
| Nylon (PA) | Strength; wear resistance | Gears; structural parts |
| PEEK | High temperature; chemical resistance | Aerospace; medical implants |
Selection factors:
- Mechanical requirements (strength; impact; flexibility)
- Thermal requirements (operating temperature)
- Chemical exposure
- Cost
- Regulatory compliance (food contact; medical)
Pre-Treatment
| Operation | Purpose | Example |
|---|---|---|
| Drying | Remove moisture; prevent voids and surface defects | Nylon dried at 80–100°C for 4–6 hours; moisture <0.1% |
| Mixing additives | Add colorants, UV stabilizers, flame retardants | Masterbatches mixed with base resin |
Critical: Moisture in hygroscopic plastics (nylon, ABS, PC) causes voids, bubbles, and degraded properties. Drying is essential.
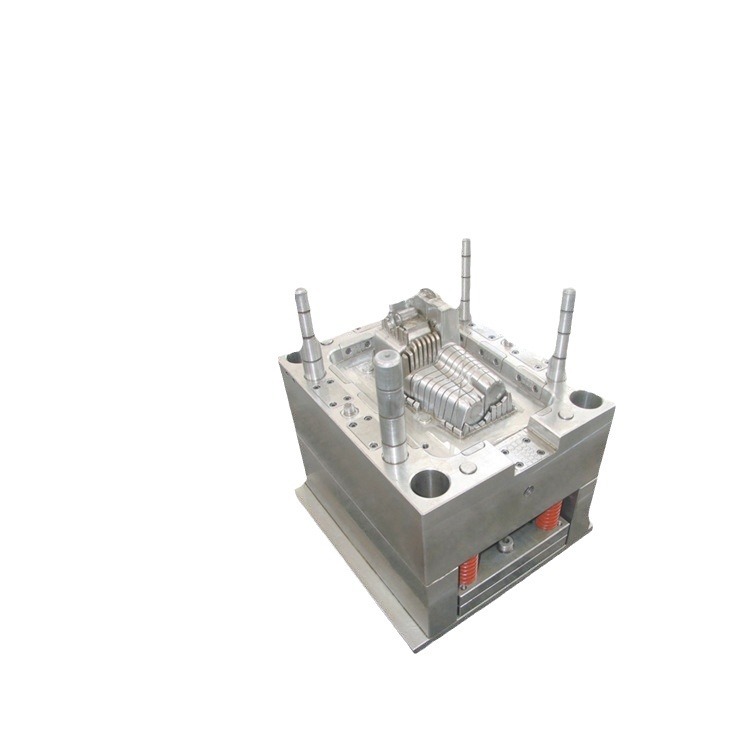
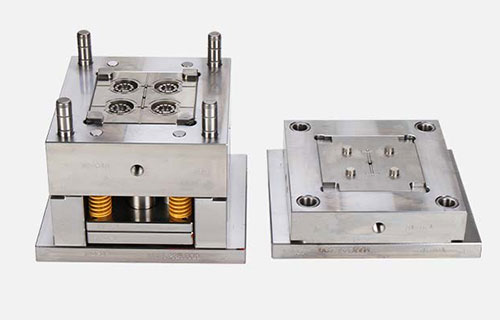
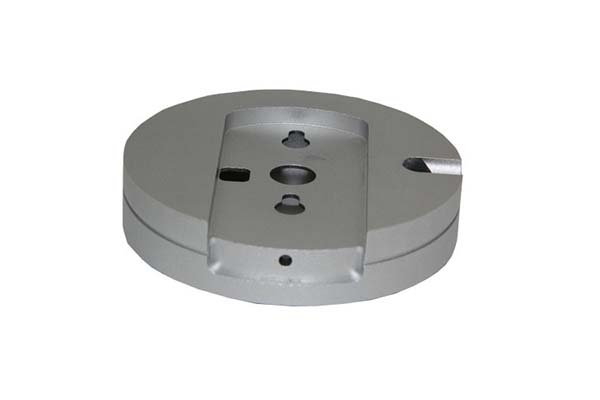
Step 2: Mold Preparation
The mold must be properly prepared before each production run.
Mold Design Considerations
| Consideration | Impact |
|---|---|
| Product shape | Complex shapes require intricate molds (slides; lifters for undercuts) |
| Dimensional accuracy | Tight tolerances (±0.05–0.1 mm) require precision machining |
| Demolding method | Ejector pins for simple parts; ejector plates for larger or delicate parts |
Mold Preparation Process
| Step | Action |
|---|---|
| Cleaning | Remove residue from previous cycles (solvents; ultrasonic cleaners; high-pressure air) |
| Lubrication | Apply mold release agent to facilitate ejection |
| Installation and debugging | Mount mold; check alignment; test run for smooth operation |
Step 3: Injection
The injection stage transforms prepared plastic into a filled mold cavity.
Melting Process
Plastic pellets are fed into the heated barrel. A rotating screw conveys, melts, and mixes the plastic.
| Material | Barrel Temperature Range |
|---|---|
| Polyethylene (PE) | 150–250°C |
| Polypropylene (PP) | 180–250°C |
| ABS | 200–250°C |
| Polycarbonate (PC) | 250–320°C |
Key principle: The screw rotates, shearing and mixing the plastic, ensuring uniform melting and consistent melt temperature.
Injection Process
The screw moves forward, forcing molten plastic through the nozzle into the mold cavity.
| Parameter | Typical Range | Effect |
|---|---|---|
| Injection pressure | 50–200 MPa | Too low = short shots; too high = flash; over-packing |
| Injection speed | 20–100 mm/s | Too slow = flow marks; too fast = air entrapment |
| Injection time | Seconds to tens of seconds | Controlled to fill cavity completely |
Critical: High pressure fills complex parts; excessive pressure causes flash (plastic leakage at parting line) and internal stress.
Step 4: Cooling
Cooling solidifies the plastic, allowing it to maintain its shape after ejection.
Cooling Principle
Heat transfers from the molten plastic to the cooler mold walls. The plastic solidifies from the outside inward.
Cooling System Design
| Feature | Purpose |
|---|---|
| Cooling channels | Drilled into mold plates; circulate cooling medium |
| Cooling medium | Water or water-glycol mixture (typically 20–40°C) |
| Flow rate | Higher flow = more efficient heat transfer |
Cooling Time
| Factor | Impact |
|---|---|
| Part thickness | Thicker parts require longer cooling (double thickness = quadruple cooling time) |
| Material | Crystalline plastics (PP, PE) release additional heat; longer cooling |
| Cooling system efficiency | Well-designed channels reduce cooling time |
Example: A 3–5 mm polypropylene part may require 10–20 seconds cooling. Cooling accounts for 70–80% of total cycle time.
Critical: Insufficient cooling = part deformation during ejection. Excessive cooling = longer cycle time; reduced productivity.
Step 5: Ejection
The finished part is removed from the mold.
Ejection Principle
After cooling, the mold opens. The ejection system pushes the part out.
| Ejection Component | Function |
|---|---|
| Ejector pins | Most common; located at thick sections or areas with sufficient strength |
| Ejector plate | Evenly distributes ejection force for larger or delicate parts |
| Air ejection | Uses compressed air for delicate parts |
Ejection Parameters
| Parameter | Importance |
|---|---|
| Ejection location | Improper placement causes cosmetic defects or part damage |
| Ejection force | Too low = part sticks; too high = part deformation or breakage |
Critical: Ejector pins must be strategically placed to avoid damaging thin sections or visible surfaces.
What Factors Affect Product Quality?
Mold Design
| Factor | Impact |
|---|---|
| Gate location | Affects flow pattern; weld lines; stress distribution |
| Cooling channels | Uniform cooling prevents warpage |
| Venting | Prevents air traps; burns; incomplete filling |
| Draft angles | Facilitates ejection; prevents surface scratches |
Material Selection
| Factor | Consideration |
|---|---|
| Viscosity | Affects flow; required injection pressure |
| Shrinkage | Must be compensated in mold design |
| Moisture sensitivity | Requires drying to prevent defects |
| Mechanical properties | Must match application requirements |
Processing Parameters
| Parameter | Effect |
|---|---|
| Temperature | Affects melt viscosity; flow; cooling rate |
| Pressure | Affects filling; packing; internal stress |
| Time | Affects cycle time; part quality |
How Does Yigu Technology Control the Injection Molding Process?
At Yigu Technology, we apply rigorous control to every step of the injection molding process.
Our Approach
| Step | Our Method |
|---|---|
| Material preparation | Expert material selection; advanced drying and mixing equipment |
| Mold preparation | High-precision mold design and manufacturing; careful cleaning; lubrication; debugging |
| Injection | Advanced machines; real-time monitoring of pressure, speed, and temperature |
| Cooling | Optimized cooling channel design; precise temperature control |
| Ejection | Properly designed ejection systems; smooth part removal without damage |
Quality Assurance
- In-process monitoring – Sensors track temperature, pressure, and cycle time
- Dimensional inspection – CMM and precision gauges verify tolerances
- Mechanical testing – Tensile, impact, and other tests as required
What Are Common Problems and Solutions?
| Problem | Cause | Solution |
|---|---|---|
| Flash | Excessive pressure; mold misalignment | Reduce pressure; realign mold; increase clamp force |
| Short shots | Low pressure; low temperature; insufficient material | Increase pressure/temperature; verify shot size |
| Sink marks | Insufficient packing; thick sections | Increase holding pressure/time; add ribs |
| Warpage | Uneven cooling | Balance cooling channels; optimize mold temperature |
| Surface defects | Poor flow; contamination | Adjust temperature; clean mold |
| Sticking | Insufficient draft; no release agent | Increase draft; apply release agent |
How Can You Improve Process Efficiency?
Optimize Process Parameters
| Parameter | Optimization |
|---|---|
| Injection pressure | Use only what’s needed for complete fill |
| Injection speed | Balance fill time with quality |
| Cooling time | Minimize while maintaining part stability |
Maintain Equipment
- Regular cleaning of nozzles, barrels, and molds
- Check hydraulic systems for leaks
- Verify heating elements and sensors
- Replace worn components (screw; barrel; ejector pins)
Invest in Mold Design
- Efficient cooling channels reduce cycle time
- Proper gating minimizes pressure drop
- Balanced runners ensure uniform filling
Conclusion
The injection molding process consists of five key steps:
- Material preparation – Selecting and pre-treating plastic
- Mold preparation – Cleaning, lubricating, and setting up the mold
- Injection – Melting and injecting plastic into the cavity
- Cooling – Solidifying the plastic under controlled conditions
- Ejection – Removing the finished part
Each step requires careful control. Material selection affects properties and processability. Mold design determines fill quality and cooling uniformity. Processing parameters—temperature, pressure, time—must be optimized for each application.
When all steps are executed correctly, injection molding produces high-quality, consistent parts efficiently and cost-effectively.
Frequently Asked Questions (FAQ)
How do you choose the right plastic material for injection molding?
Consider product performance requirements—impact resistance (ABS), heat resistance (PC, PEEK), chemical resistance (PP). Cost—commodity plastics (PE, PP) are more affordable for large-scale production. Processing performance—materials with good flowability (PS) simplify injection. Regulatory requirements—food contact; medical. Test samples when possible to verify properties.
What are common problems in injection molding and how do you solve them?
Flash—plastic leakage at parting line. Solution: check mold alignment; increase clamp force; reduce injection pressure. Short shots—incomplete filling. Solution: increase injection pressure/temperature; verify shot size. Sink marks—surface depressions. Solution: increase holding pressure/time; add ribs. Warpage—part distortion. Solution: balance cooling channels; optimize mold temperature. Equipment issues—clogged nozzle; worn screw. Solution: regular cleaning; replace worn components.
How can you improve the efficiency of the injection molding process?
Optimize process parameters—find the right balance of injection pressure, speed, and cooling time. Regular equipment maintenance—prevent breakdowns; ensure consistent operation. Invest in well-designed molds—efficient cooling channels significantly reduce cycle time. Use automation—robotic part removal reduces cycle time and labor.
What is the most time-consuming step in injection molding?
Cooling accounts for 70–80% of total cycle time. Optimizing cooling channel design (conformal cooling) and ensuring uniform cooling are the most effective ways to reduce cycle time and increase productivity. Cooling time is proportional to the square of part thickness—double thickness = quadruple cooling time.
Why is drying important for some plastic materials?
Hygroscopic plastics (nylon, ABS, PC, PET) absorb moisture from the air. During injection molding, this moisture turns to steam at high temperatures, causing voids, bubbles, surface splay, and reduced mechanical properties. Drying removes moisture to safe levels (typically <0.1%), preventing these defects and ensuring consistent part quality.
Contact Yigu Technology for Custom Manufacturing
At Yigu Technology, we master every step of the injection molding process to deliver high-quality custom plastic parts. Our expertise spans material selection, precision mold design, process optimization, and quality control.
Our injection molding capabilities include:
- Material expertise – Commodity to engineering plastics
- Precision mold design – Optimized for filling, cooling, and ejection
- Process optimization – Scientific molding; real-time monitoring
- Quality assurance – Dimensional inspection; mechanical testing
- Volume flexibility – Prototypes to high-volume production
We help clients achieve consistent, high-quality results—efficiently and cost-effectively.
Contact us today to discuss your injection molding project. Let our expertise guide you through every step of the process.