Introduction
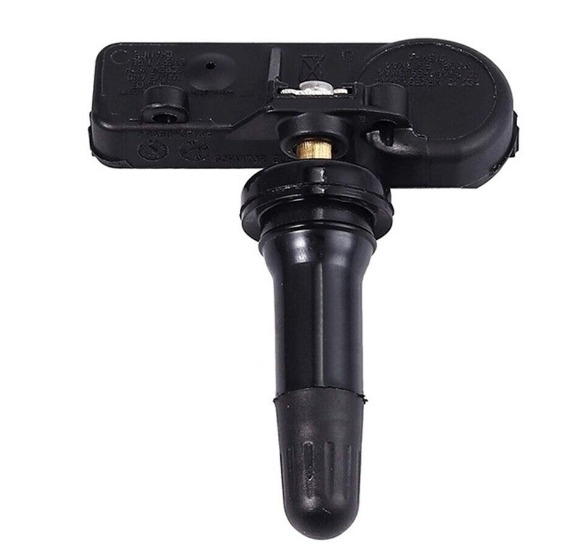
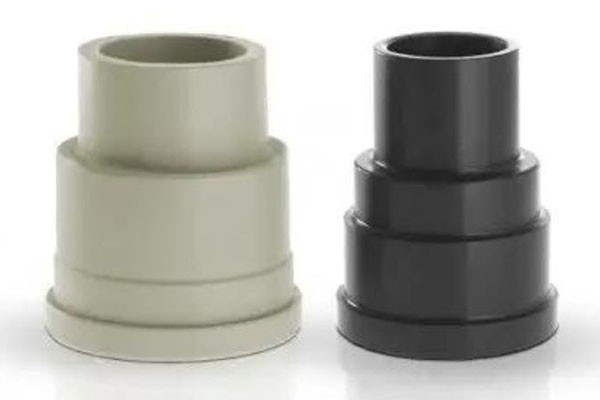
If you’ve ever held a plastic bottle cap, a car dashboard component, or a medical syringe, you’ve held the result of screw injection moulding. This process shapes more plastic parts than any other manufacturing method on earth.
But what actually happens inside those massive machines? How does a pile of plastic pellets become a precision component—often in under a minute?
Screw injection moulding combines heat, pressure, and precise mechanical action to melt plastic and force it into a mold cavity. The rotating screw does double duty: it melts the material and then acts as a plunger to inject it. The result is a process that delivers speed, consistency, and the ability to create incredibly complex shapes.
At Yigu Technology, we run these machines daily, producing custom parts for industries ranging from medical devices to automotive. In this guide, we’ll walk you through each stage of the process, explain what can go wrong, and show you how to get the best results.
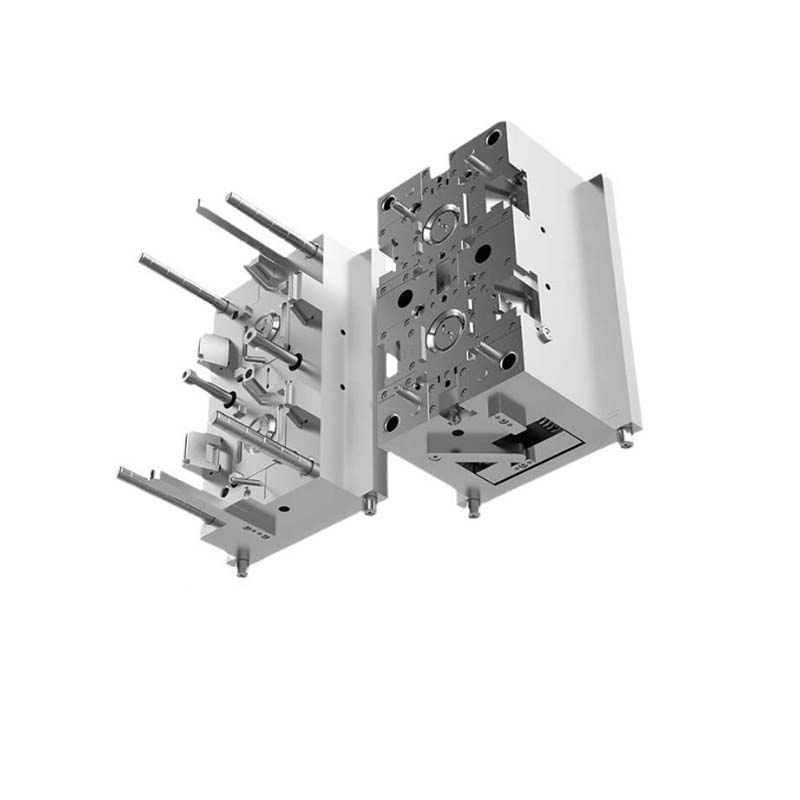
What Happens Inside the Machine?
The Three Main Stages
Every cycle follows the same rhythm. Understanding these stages helps you make better decisions about design, material selection, and quality control.
Stage 1: Plasticization
This is where solid plastic becomes liquid. Plastic pellets—called resin—pour from a hopper into a heated barrel. Inside, a rotating screw pushes them forward. The screw doesn’t just move material. It also generates heat through shear friction. External heating bands add more heat. Together, they melt the plastic into a uniform, viscous fluid.
For example, when processing polypropylene (PP), barrel temperatures typically range from 200°C to 270°C. Set it too low, and you get unmelted chunks that ruin the part. Set it too high, and the plastic degrades—turning yellow, losing strength, or releasing fumes.
Screw speed also matters. Most standard plastics run well at 100 to 150 RPM. Faster speeds melt material quicker but can overheat heat-sensitive plastics like PVC or certain nylons.
Stage 2: Injection
Once the plastic is fully melted, the screw stops rotating. Now it acts like a plunger. It moves forward with force, pushing the molten plastic through a nozzle and into the closed mold cavity.
Injection pressure typically ranges from 50 to 200 MPa (megapascals). High pressure is essential for filling thin walls or intricate details. Without enough pressure, the plastic cools before reaching the end of the cavity—a defect called short shot.
Injection speed—measured in millimeters per second—also matters. Fast speeds fill complex molds quickly. For small electronic components, speeds of 50 to 100 mm/s are common. But too fast, and air gets trapped, creating bubbles.
Stage 3: Cooling and Ejection
After the cavity fills, the machine holds pressure for a moment—this is called packing. It compensates for shrinkage as the plastic cools. Then cooling begins.
Cooling takes the longest. In fact, it accounts for 70 to 80% of the total cycle time. For a simple polyethylene part, cooling might take 10 to 20 seconds. For thick-walled parts, it can stretch to several minutes.
The mold itself has cooling channels running through it. Water or oil circulates to pull heat away. Mold temperatures are usually held between 30°C and 80°C, depending on the material.
Once the part is solid, the mold opens. Ejector pins push the part out. The cycle then repeats—sometimes every 15 to 60 seconds, thousands of times a day.
What Can Go Wrong?
Even with well-tuned machines, defects happen. Knowing what causes them helps you prevent them.
Common Quality Defects
| Defect | What It Looks Like | Common Causes |
|---|---|---|
| Flash | Thin excess material along parting lines | Injection pressure too high; mold not clamping fully |
| Sink Marks | Small depressions on thick sections | Insufficient packing; uneven cooling |
| Short Shots | Part doesn’t fully fill | Low injection pressure; cold material; blocked nozzle |
| Bubbles | Voids inside the part | Air entrapment; moisture in pellets; improper venting |
| Warpage | Part twists or bends after ejection | Uneven cooling; internal stresses |
Real-world example: A Yigu Technology client producing medical device housings encountered sink marks on thick wall sections. We traced the issue to cooling channel placement. The original mold design had channels only on one side. By adding conformal cooling channels—which follow the part shape—we reduced sink marks by 90% and cut cycle time by 15 seconds.
How Do You Keep the Machine Running?
Equipment maintenance isn’t glamorous, but it’s essential. Neglected machines produce bad parts—consistently.
The Screw
The screw takes the most abuse. Constant friction with glass-filled or abrasive materials wears it down. Grooves or scratches on the screw surface affect melt quality.
In high-volume production, screws should be inspected every 1,000 to 2,000 cycles. Replace them when wear exceeds 0.5mm in diameter reduction.
The Barrel
Barrel heating elements fail over time. When they do, temperature zones become uneven. One section might run cold, leaving unmelted pellets. Another might overheat, degrading the material.
Check temperature sensors monthly. Clean the barrel periodically to remove carbonized residue. In high-volume shops, a barrel cleaning schedule of once per month prevents contamination.
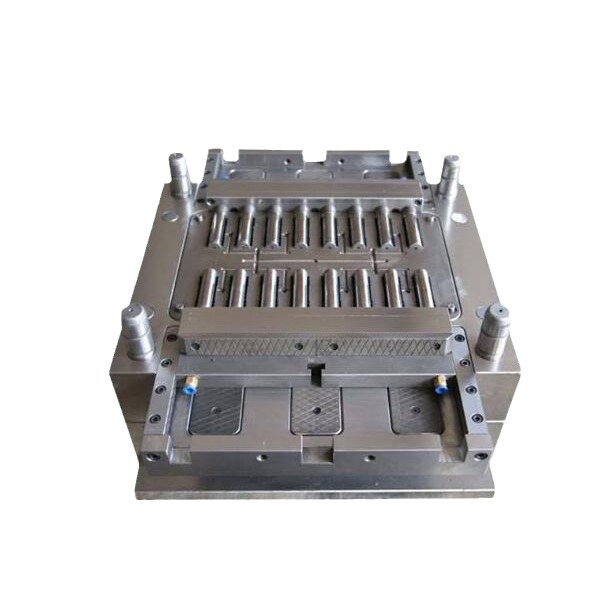
The Mold
Molds are precision tools. Even minor damage—a scratched cavity surface or worn ejector pin—shows up on every part. Inspect molds regularly for:
- Damaged parting lines (causes flash)
- Worn ejector pins (sticking parts)
- Clogged cooling channels (longer cycles)
Can You Optimize the Process?
Yes. Small adjustments often yield big improvements.
Tuning Parameters
Process optimization starts with data. Modern injection molding machines record every cycle. Use that data to identify drift.
For example, if barrel temperature drifts 5°C to 10°C from setpoint, melt viscosity changes. That affects fill patterns. Correcting it early prevents defects.
Injection speed profiling is another powerful tool. Instead of one speed, you can program a curve: fast at the start to fill thin sections, slower near the end to prevent flash.
Improving Mold Design
Mold design determines what’s possible. Two design choices have outsized impact:
Venting: Add vents—tiny channels along the parting line—to let air escape. Without vents, trapped air compresses, heats up, and can burn the plastic or create bubbles. A 0.02mm to 0.05mm vent depth is typical.
Gate placement: Where the plastic enters the cavity matters. A gate at the thickest section allows better packing. A poorly placed gate can cause flow marks or weld lines—visible seams where two flow fronts meet.
Conformal cooling: Traditional cooling channels are straight lines drilled through the mold. Conformal cooling channels follow the part contour. They cool more evenly and faster. For complex parts, conformal cooling can cut cycle time by 20–30%.
What Materials Work Best?
The screw injection moulding process handles hundreds of materials. Here’s how to think about selection.
Commodity Plastics
These are low-cost, high-volume materials.
| Material | Typical Melt Temp | Applications |
|---|---|---|
| Polyethylene (PE) | 180–250°C | Bottles, caps, toys, containers |
| Polypropylene (PP) | 200–270°C | Automotive parts, food containers, living hinges |
| Polystyrene (PS) | 180–240°C | Disposable cutlery, CD cases, insulation |
Engineering Plastics
These offer higher strength, heat resistance, or chemical resistance.
| Material | Typical Melt Temp | Applications |
|---|---|---|
| ABS | 200–250°C | Electronics housings, automotive trim |
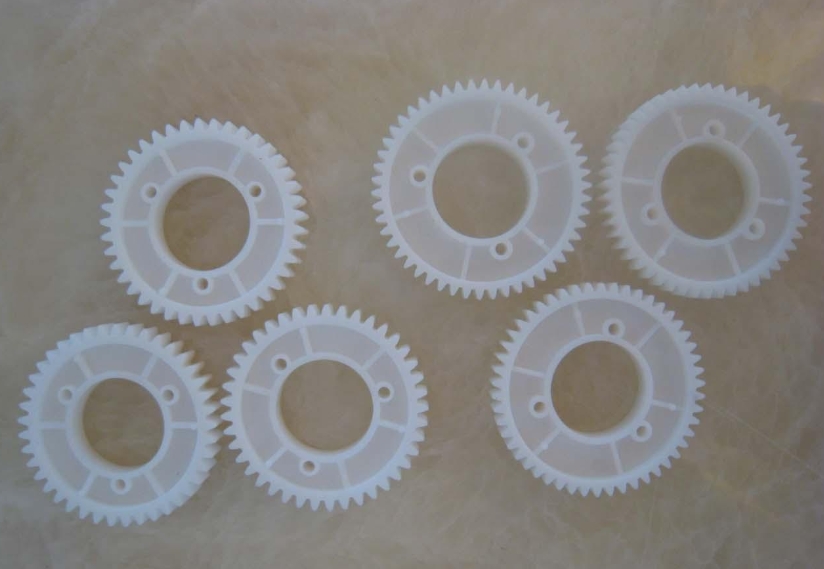
| Nylon (PA) | 240–290°C | Gears, bearings, under-hood components |
| Polycarbonate (PC) | 260–300°C | Safety glasses, headlamp lenses, medical devices |
High-Performance Plastics
These handle extreme conditions—and come with higher cost.
| Material | Typical Melt Temp | Applications |
|---|---|---|
| PEEK | 350–400°C | Aerospace, medical implants, high-temperature seals |
| PEI (Ultem) | 340–400°C | Electrical components, aircraft interiors |
How Does Yigu Technology Use This Process?
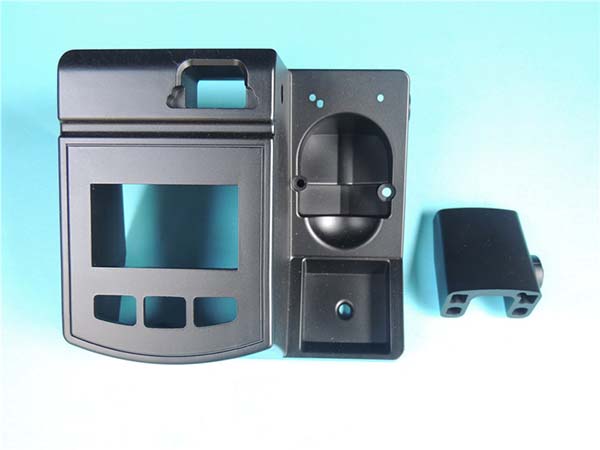
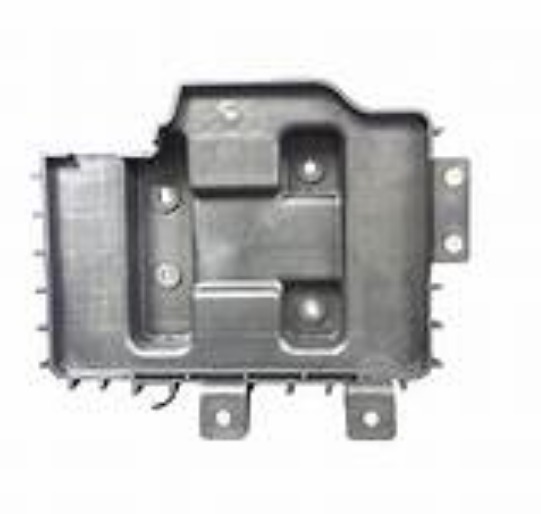
As a custom manufacturer of non-standard plastic and metal components, screw injection moulding is central to what we do. It gives us the flexibility to produce small, precision parts for medical devices and large, structural parts for automotive applications—often on the same floor.
Case example: A client needed a complex electronic housing with tight tolerances—±0.05mm on critical features. The part had thin walls and multiple internal ribs. Using standard injection parameters, we saw warpage and short shots.
We ran a design of experiments (DOE) to optimize parameters. We adjusted barrel temperatures, injection speed profiles, and packing pressure. The result: consistent parts with zero defects over a 50,000-unit production run. Cycle time dropped from 42 seconds to 34 seconds—a 19% improvement.
Quality control is built into every step. We use in-mold pressure sensors to monitor fill patterns in real time. If pressure deviates, the machine adjusts automatically. This kind of closed-loop control ensures every part meets spec—not just the first hundred.
Conclusion
Screw injection moulding is a mature process, but mastering it takes experience. The fundamentals—plasticization, injection, cooling, ejection—remain constant. But the variables within each stage determine whether you get scrap or premium parts.
Temperature, pressure, speed, cooling, and material choice all interact. Change one, and others shift. That’s why process optimization isn’t a one-time event. It’s ongoing.
When done right, injection moulding delivers parts with consistent quality, low per-unit cost, and high design freedom. It’s the reason this process has dominated plastic manufacturing for decades—and will continue to for decades more.
FAQ
What factors mainly affect the quality of screw injection moulding products?
Temperature is the biggest factor. Barrel temperature affects melt uniformity. Mold temperature affects cooling rate and surface finish. Pressure matters too—both injection pressure and packing pressure. Injection speed influences fill patterns. Material moisture content is critical; many plastics, like nylon and polycarbonate, must be dried before processing. Finally, mold design—gate location, venting, and cooling channels—sets the upper limit on achievable quality.
How to choose the right injection moulding machine for a specific production task?
Start with clamping force. Calculate it based on the projected area of the part (including runners) times a factor for the material’s viscosity. For example, a part with 100 cm² projected area using polycarbonate needs roughly 100 tons of clamp force. Next, consider shot size. The machine’s injection unit must be able to melt and inject the required volume in one cycle. Finally, look at platen size—the mold must physically fit between the tie bars. High-volume jobs also benefit from machines with fast dry-cycle times and automation integration.
Is it possible to use recycled plastics in screw injection moulding process?
Yes, but with precautions. Recycled plastics often have lower molecular weight, which reduces strength and impact resistance. They may also contain contaminants—dust, metal fragments, or mixed polymer types—that can clog nozzles or cause defects. To use recycled content successfully, you need consistent material sourcing, thorough screening, and often blending with virgin resin. Many manufacturers now run 30–50% recycled content in core layers or non-critical parts. For high-strength applications, limit recycled content or test thoroughly before production.
What’s the difference between screw injection molding and plunger injection molding?
Older plunger machines used a ram to push plastic through a heated cylinder. They lacked the mixing and shear heating that a rotating screw provides. As a result, melt quality was less uniform, and cycle times were longer. Modern reciprocating screw machines combine screw rotation for melting with forward movement for injection. This gives better mixing, faster cycles, and more consistent part quality. Today, screw injection moulding is the industry standard.
How long does an injection mold typically last?
Mold lifespan depends on material and maintenance. For abrasive materials like glass-filled nylon, a steel mold may last 300,000 to 500,000 cycles. For non-abrasive materials like polypropylene, a well-maintained steel mold can exceed 1 million cycles. Aluminum molds cost less but wear faster—typically 10,000 to 50,000 cycles. Proper maintenance—cleaning, lubrication, and regular inspection—extends life significantly.
Contact Yigu Technology for Custom Manufacturing
Ready to bring your plastic part to production? At Yigu Technology, we specialize in custom screw injection moulding for clients across medical, automotive, electronics, and industrial sectors.
Our team offers end-to-end support: material selection, mold design, process optimization, and high-volume manufacturing. We combine decades of hands-on experience with modern equipment to deliver parts that meet your specs—on time and on budget.
Contact us today to discuss your project. Let’s turn your design into reality.