What is SLA 3D Printing Process?
SLA, short for Stereolithography Apparatus, is one of the most well - known and widely used 3D printing technologies. The SLA 3D printing process is a form of additive manufacturing that creates three - dimensional objects by curing layers of liquid photopolymer resin with a focused ultraviolet (UV) light source.
Here's a step - by - step breakdown of how it works:
- Digital Model Creation: First, a 3D model of the object to be printed is created using computer - aided design (CAD) software or obtained from a 3D scanner. This digital model serves as the blueprint for the entire printing process. For example, if you want to print a small mechanical part, you would design it in CAD software, specifying all its dimensions, shapes, and details accurately.
- Slicing the Model: The 3D model is then sliced into thin cross - sectional layers using slicing software. Each layer represents a horizontal cut of the final object, and the thickness of these layers can range from as little as 0.025mm to 0.1mm, depending on the desired level of detail and the capabilities of the SLA printer. A smaller layer thickness results in a smoother surface finish and higher - resolution prints but also increases the printing time.
- Resin Preparation: The SLA printer is filled with a liquid photopolymer resin. This resin is a key component of the SLA process. It is formulated to react to UV light, changing from a liquid state to a solid state when exposed to the appropriate wavelengths. Different types of resins are available, each with its own properties such as strength, flexibility, and heat resistance. For instance, some resins are suitable for creating detailed prototypes, while others are better for functional parts that need to withstand certain mechanical stresses.
- Printing Process: The printing process begins. The build platform of the SLA printer is initially positioned just below the surface of the resin in the resin tank. A UV laser or a digital light processing (DLP) system projects a pattern of light onto the surface of the resin, corresponding to the shape of the first layer of the object. The resin in the areas where the light is projected cures and solidifies, forming the first layer of the 3D object. After the first layer is cured, the build platform is lowered by the thickness of one layer (e.g., 0.05mm). A recoater blade then spreads a fresh layer of resin over the previously cured layer, and the UV light source cures the next layer, bonding it to the previous one. This process of lowering the platform, spreading resin, and curing layers is repeated layer by layer until the entire 3D object is built.
- Post - Processing: Once the printing is complete, the printed object still needs some post - processing. This usually involves removing the object from the build platform, removing any support structures (which are added during the slicing process to hold the object in place during printing), cleaning the object to remove any uncured resin, and then further curing the object in a separate UV curing chamber to ensure that all the resin is fully hardened.
Key Components and Materials
3D Printer
A typical SLA 3D printer consists of several key components that work in harmony to create 3D objects.
- Light Source: The light source in an SLA printer is crucial as it provides the ultraviolet (UV) light required to cure the resin. In traditional SLA printers, a high - power UV laser is often used. For example, a 355nm wavelength laser can precisely focus on the resin surface, scanning layer by layer according to the digital model instructions. In some newer models, digital light processing (DLP) technology is employed, where a digital micromirror device (DMD) in a DLP projector is used to project an entire layer of UV light patterns at once, significantly speeding up the printing process.
- Resin Tank: This is where the liquid photopolymer resin is stored. It is usually made of a material that is transparent to UV light, such as certain types of plastics, to allow the light to penetrate and cure the resin. The tank needs to be sturdy and well - sealed to prevent resin leakage and maintain a stable working environment.
- Build Platform: Also known as the 升降平台 (lifting platform in Chinese), it is the surface on which the 3D object is built. At the beginning of the printing process, the platform is positioned just below the resin surface. As the printing progresses, the platform moves downwards in small increments, corresponding to the thickness of each printed layer. This downward movement is precisely controlled by a stepper motor or other precision motion control mechanisms to ensure accurate layer - by - layer deposition.
- Control System: This component manages all the operations of the printer. It receives the sliced 3D model data from the computer and controls the movement of the light source, the lowering of the build platform, and the recoating process. It also monitors the printing progress, adjusts parameters if necessary, and can alert the user in case of errors or issues during the printing process.
Photosensitive Resin
Photosensitive resin, also known as photopolymer resin, is the raw material for SLA 3D printing. It is a liquid material that solidifies when exposed to UV light.
- Curing Principle: The resin contains a photo - initiator. When UV light with the appropriate wavelength shines on the resin, the photo - initiator absorbs the photons and generates free radicals. These free radicals then initiate a polymerization reaction, causing the monomer molecules in the resin to link together and form a solid polymer network, thus curing the resin.
- Common Types and Their Characteristics:
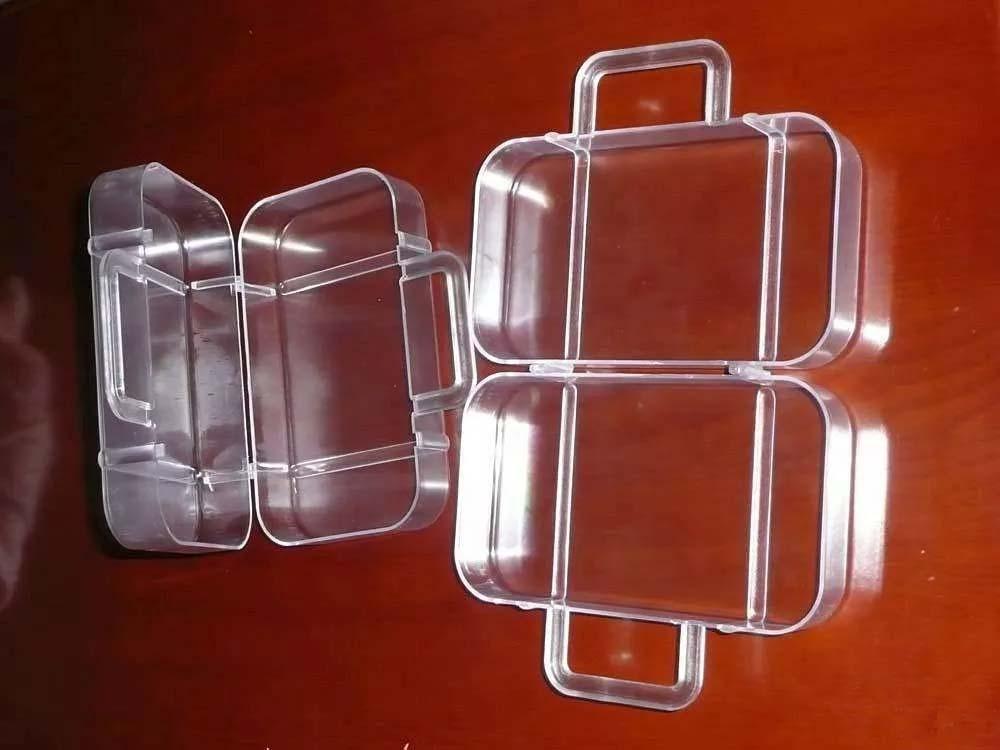
- General - Purpose Resin: This is the most commonly used type. It has a relatively low cost and offers good printability. It is suitable for creating general - purpose prototypes, such as simple product models or concept models. For example, it can be used to quickly print a rough - draft of a new product design to visualize its shape and structure. However, it may have limitations in terms of strength and heat resistance.
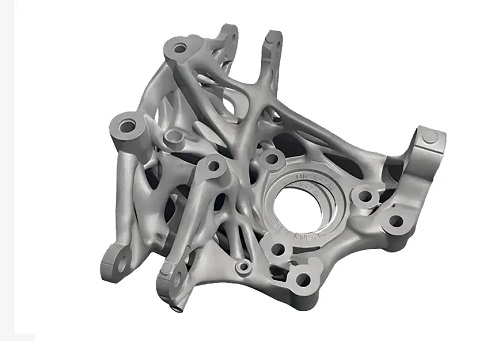
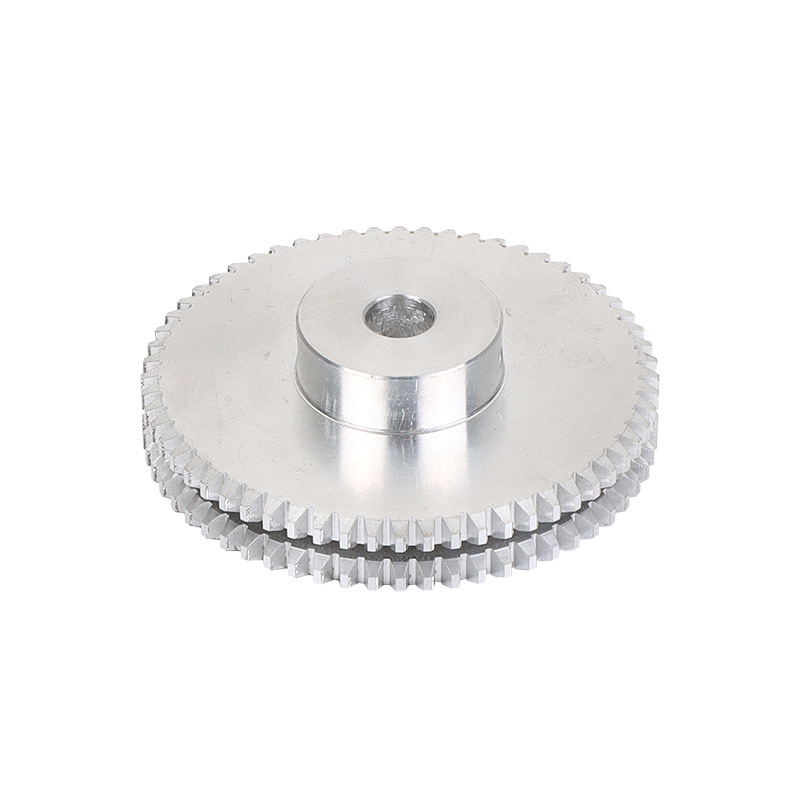
- High - Strength Resin: As the name implies, this type of resin offers higher mechanical strength after curing. It can withstand greater stress and is often used for functional parts in applications like automotive prototyping or small - scale manufacturing of mechanical components. For instance, it can be used to print gears or brackets that need to endure certain mechanical loads during operation.
- Flexible Resin: Resembling the properties of rubber or soft plastics, flexible resin is used for creating objects that require flexibility, such as soft grips, flexible joints, or shock - absorbing components. A flexible phone case or a bendable robotic gripper can be printed using this type of resin.
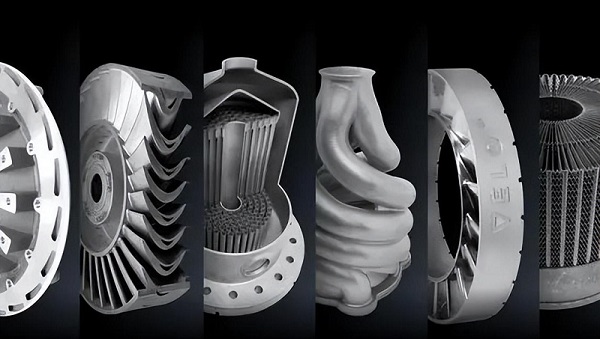
- High - Temperature Resistant Resin: This resin is designed to maintain its structural integrity and mechanical properties at elevated temperatures. It is ideal for applications in the aerospace or automotive industries where parts may be exposed to high - temperature environments, like engine components or heat - resistant brackets.
The Step - by - Step Process
Step 1: 3D Model Creation
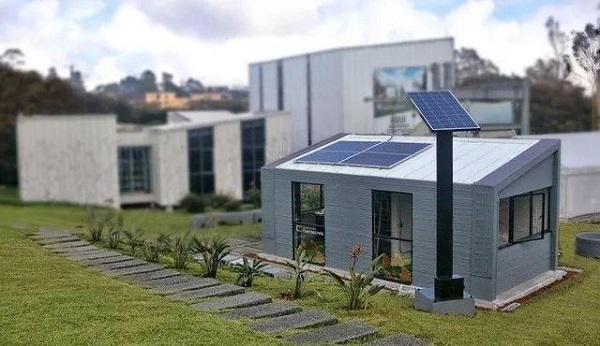
The journey of SLA 3D printing commences with 3D model creation. This is typically achieved using CAD (Computer - Aided Design) software like Autodesk Fusion 360, SolidWorks, or Blender. These software tools offer a wide range of features, from basic geometric shape creation to complex surface modeling. When designing a model for SLA 3D printing, it is crucial to pay attention to details. The model should have well - defined walls with a minimum thickness that is compatible with the printer's capabilities, usually around 0.8 - 1.5mm for most consumer - grade SLA printers. Sharp corners and fine details need to be carefully considered as they can be more challenging to print accurately. Another option to obtain a 3D model is through 3D scanning. 3D scanners capture the physical shape of an object and convert it into a digital 3D model. This is useful when you want to replicate an existing object or make modifications to it. For example, in the field of archaeology, 3D scanning can be used to create models of ancient artifacts for research or replication purposes.
Step 2: Slicing the Model
After the 3D model is ready, it is time to slice it. Slicing software, such as Chitubox, Lychee Slicer, or the software provided by the printer manufacturer, is used for this task. The slicing software divides the 3D model into numerous thin horizontal layers. The layer thickness is a critical parameter. As mentioned before, it can range from as low as 0.025mm to 0.1mm. A thinner layer thickness, say 0.025mm, will result in a smoother surface finish. For a highly detailed jewelry model, using a thinner layer thickness can capture the intricate patterns and curves more precisely. However, it also means more layers need to be printed, increasing the overall printing time. On the other hand, a thicker layer thickness like 0.1mm will speed up the printing process but may lead to a more visible layer - by - layer appearance on the printed object, which might not be suitable for objects that require a high - quality finish. During the slicing process, the software also generates G - code, which is a set of instructions that the SLA printer can understand to execute the printing operation.
Step 3: Printing Execution
Once the model is sliced and the G - code is generated, the actual printing begins. In an SLA printer, a light source, either a UV laser or a DLP - based system, is used to cure the resin. In a laser - based SLA printer, the laser beam scans the surface of the resin layer by layer, following the pattern defined by the G - code for each layer. For example, if the first layer of the object is a circular shape, the laser will trace the circumference and fill in the circular area, curing the resin in that shape. As the laser scans, the resin solidifies and adheres to the build platform. After the first layer is cured, the build platform is lowered by the thickness of one layer. A recoater blade then spreads a fresh layer of resin over the cured layer, preparing it for the next round of curing. In a DLP - based SLA printer, instead of scanning point - by - point, the entire layer pattern is projected onto the resin surface at once using a DMD. This makes the DLP - based printers generally faster than laser - based ones for large - area prints. The printing time varies greatly depending on the complexity and size of the model. A small, simple cube - shaped object might take only 30 minutes to an hour to print, while a large, highly detailed architectural model could take several hours or even days.
Step 4: Post - Processing
Post - processing is an essential part of achieving a high - quality final product. The first step in post - processing is usually cleaning. The printed object is removed from the build platform and then placed in a cleaning solution, often isopropyl alcohol. This helps to remove any uncured resin from the surface of the object. Next, the support structures, which were added during the slicing process to hold the object in place during printing, need to be removed. These supports can be gently broken off or cut using tools like pliers or a sharp blade. After that, the object is usually subjected to a secondary curing process. This can be done using a separate UV curing chamber, which ensures that all the resin is fully hardened. Secondary curing can improve the mechanical properties of the printed object, making it stronger and more durable. Finally, for objects that require a smooth surface finish, processes like 打磨 (sandblasting) and polishing can be carried out. Sandblasting can help to remove any remaining rough edges or marks, while polishing can give the object a mirror - like finish. Without proper post - processing, the printed object may have a rough appearance, reduced strength, or other quality issues.
Yigu Technology's View
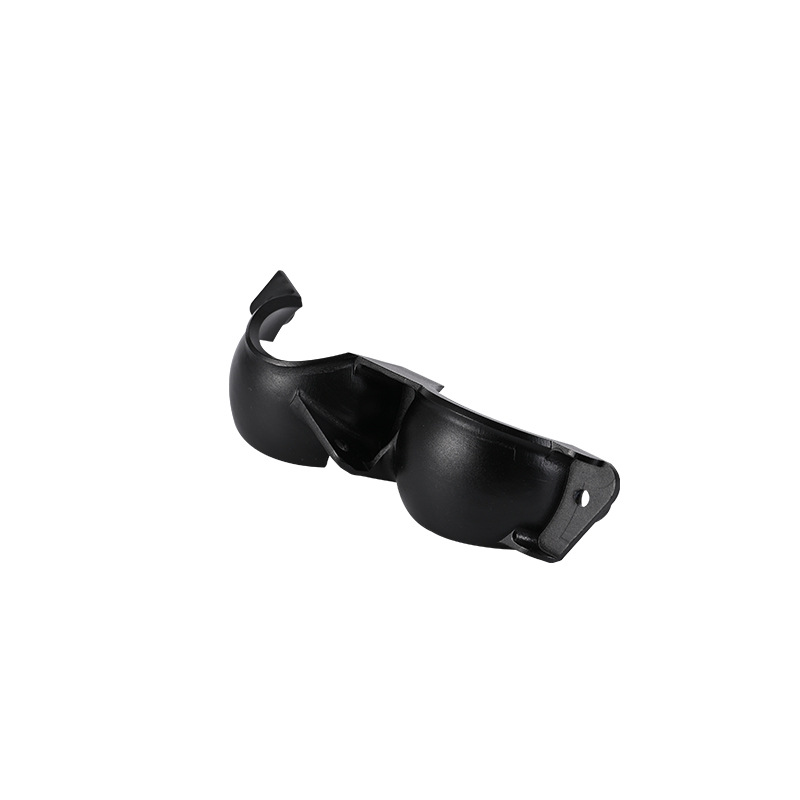
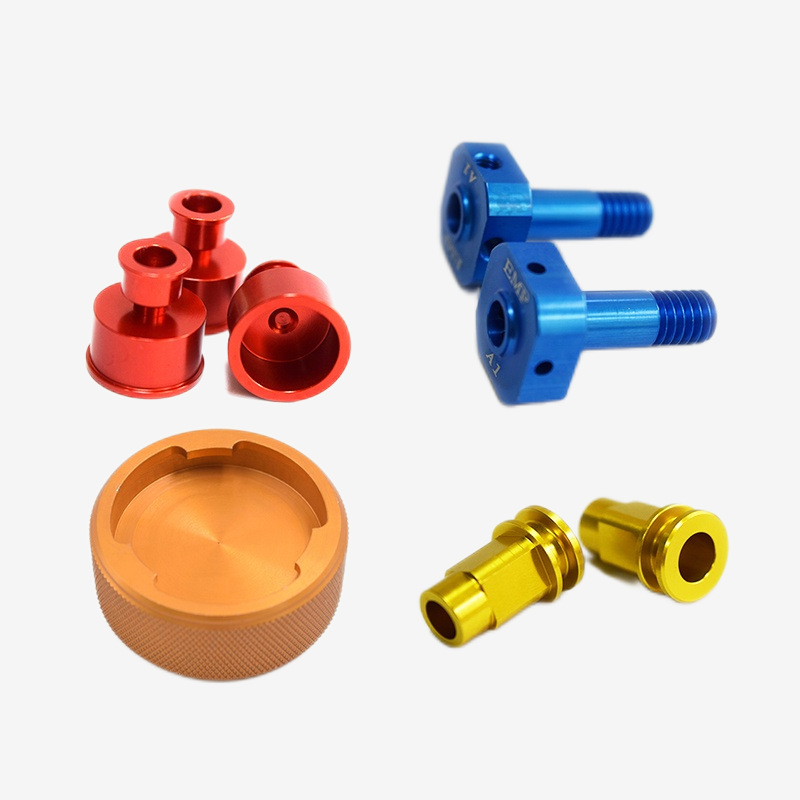
As a non - standard plastic metal products custom Supplier, Yigu Technology highly values the SLA 3D printing process. In custom product manufacturing, SLA offers distinct advantages. Its high - precision printing ability allows for the creation of intricate details, which is crucial for custom - designed parts. For example, when manufacturing custom - shaped plastic connectors, SLA can accurately replicate the complex geometries required.
However, challenges do exist. The limited choice of materials restricts the application scope to some extent, and the relatively high cost of equipment and materials can be a concern for cost - sensitive projects.
Looking ahead, SLA 3D printing has a promising future in the customization field. With the continuous development of technology, it will likely play an even more significant role in creating highly customized, one - of - a - kind products, further revolutionizing the non - standard plastic and metal products manufacturing industry.
FAQ
What types of materials are commonly used in SLA 3D printing?
Commonly used materials in SLA 3D printing are mainly photosensitive resins. General - purpose resin is cost - effective and suitable for basic prototypes. High - strength resin offers enhanced mechanical strength for functional parts. Flexible resin, resembling rubber, is used for flexible components. High - temperature resistant resin can withstand elevated temperatures, making it ideal for aerospace and automotive applications.
How accurate is SLA 3D printing?
SLA 3D printing can achieve high precision. The layer thickness can range from as little as 0.025mm to 0.1mm. In terms of dimensional accuracy, it can typically reach ±0.15mm. However, factors such as printer quality, model design (like large - scale or unsupported structures), material properties (resin shrinkage during curing), and environmental conditions (temperature and humidity) can affect the final accuracy.
What are the main costs associated with SLA 3D printing?
The main costs include equipment cost. SLA printers can range from a few thousand dollars for entry - level models to tens of thousands or more for high - end industrial ones. Material cost is another significant factor, as photosensitive resins are relatively expensive compared to some other 3D printing materials. Post - processing costs also add up, covering cleaning solvents, support removal tools, and additional curing equipment.