Introduction
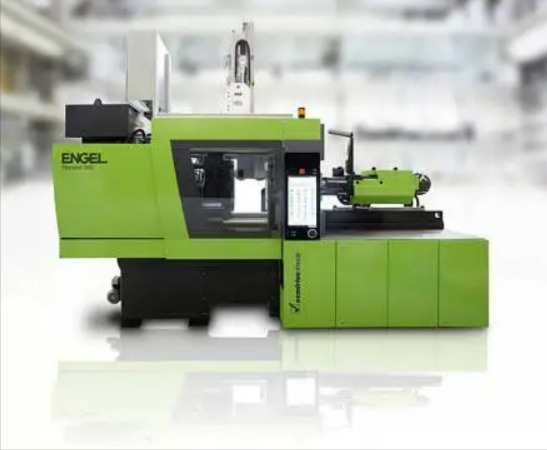
Injection molding machines are the workhorses of modern manufacturing. They produce over 80% of all plastic products —from tiny electronic components to large automotive bumpers. Understanding how these machines work is essential for manufacturers, engineers, and product designers.
A deep knowledge of the process enables businesses to optimize production, reduce waste, and improve product quality. For manufacturers, it means higher efficiency and lower costs. For engineers, it provides the foundation for innovation. For designers, it ensures that products are not just aesthetically pleasing but also manufacturable.
This guide walks you through the components of an injection molding machine and the step-by-step working process.
What Are the Key Components?
The Hopper
The hopper is the starting point. It is a storage container, usually funnel-shaped, that holds plastic granules or pellets. Its primary function is to supply a continuous, regulated flow of raw material to the barrel.
In high-volume production of plastic toys, the hopper ensures a steady supply of colored pellets so production runs without interruption. Well-designed hoppers prevent bridging —where granules clump together and block flow—through vibrating mechanisms or special internal geometries.
The Barrel and Screw
The barrel and screw are at the heart of the plasticizing process. The barrel is a long, hollow cylinder equipped with heating elements—electrical heating bands—that gradually raise the temperature of the plastic as it moves forward.
The screw is a helical-shaped rod that rotates inside the barrel. It performs multiple functions:
- Conveys plastic granules from the hopper toward the nozzle
- Compresses and shears the plastic between screw flights and barrel wall
- Melts the plastic through a combination of mechanical action and external heat
Different screws suit different plastics. A general-purpose screw works for polyethylene (PE) and polypropylene (PP). High-viscosity plastics like polycarbonate (PC) require screws with higher compression ratios or specialized flight geometries.
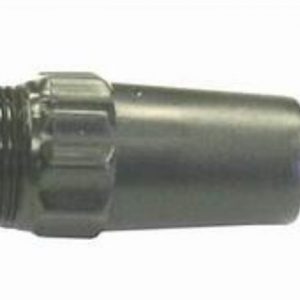
The Injection Nozzle
The injection nozzle connects the barrel to the mold. It directs molten plastic into the mold cavity with precision. Nozzle design influences flow rate, pressure, and distribution.
- Small-diameter nozzle: Creates high-pressure injection for small, intricate cavities
- Large-diameter nozzle: Handles high volume for large cavities like plastic containers
Nozzles may include shut-off valves to prevent backflow when injection pauses or completes, improving control over the amount of plastic injected.
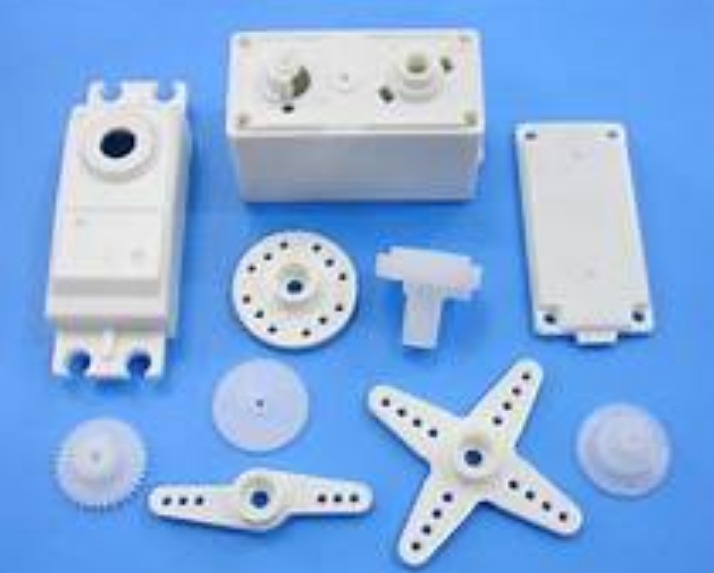
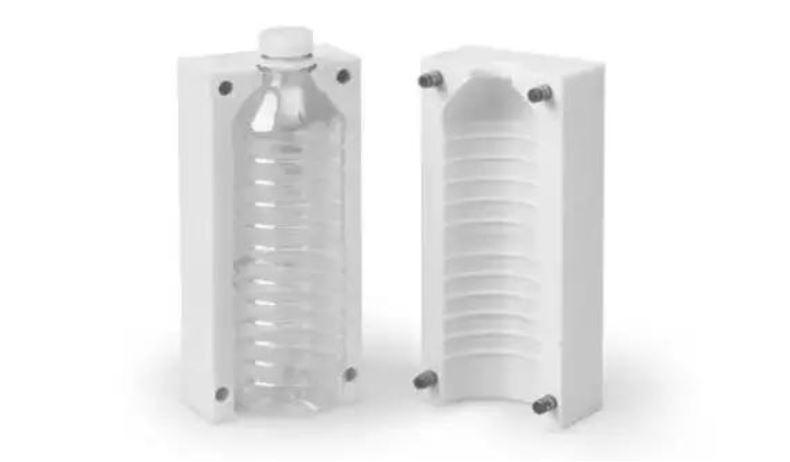
The Mold
The mold determines the final shape. It consists of two main parts:
| Component | Function |
|---|---|
| Cavity | Female part; negative impression of outer shape |
| Core | Male part; forms inner features—holes, recesses |
When closed, cavity and core create a cavity space matching the desired product.
Mold types:
| Type | Description |
|---|---|
| Single-cavity | One product per cycle; for high-value or prototype products |
| Multi-cavity | Multiple identical products per cycle; efficient for mass production (bottle caps, small components) |
| Family mold | Different but related products in the same cycle; optimizes production time |
Mold quality directly impacts product quality. Well-maintained, accurately machined molds produce tight tolerances, smooth surfaces, and consistent dimensions. Worn or poorly made molds cause flash, warping, or inaccurate shapes.
How Does the Working Process Work Step by Step?
Step 1: Feeding
Plastic granules are loaded into the hopper. Gravity—sometimes assisted by a vibrating mechanism—ensures smooth flow into the barrel. A metering device precisely controls the amount of plastic entering the barrel.
In small part production like buttons, consistent feed ensures consistent weight and quality. Too much plastic causes flash or over-packing. Too little causes incomplete products or poor finishes.
Step 2: Plasticization
Inside the barrel, the transformation begins. Heating elements raise the temperature. The screw rotates, conveying granules forward while compressing and shearing them.
Different plastics have different melting points:
| Material | Melting Point |
|---|---|
| Polyethylene (PE) | 110 – 130°C |
| Polycarbonate (PC) | 220 – 230°C |
The screw design—compression ratio, flight geometry—is optimized for the specific plastic. Plasticization must achieve a homogeneous, molten state with consistent temperature and viscosity. Variations cause defects: uneven wall thickness, surface imperfections, or internal stress concentrations.
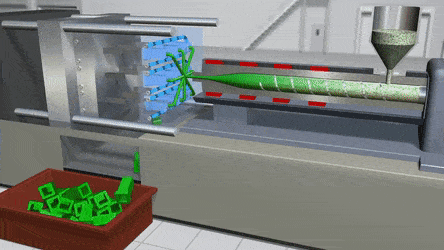
Step 3: Injection
The injection phase begins. A high-pressure system—hydraulic or electric—exerts force on the screw, pushing molten plastic forward through the nozzle into the closed mold cavity.
| Parameter | Range |
|---|---|
| Injection pressure | 50 – 300 MPa (higher for intricate parts) |
| Injection speed | Must be balanced—too fast entrains air; too slow causes incomplete filling |
For small, intricate parts, pressures may reach 200–300 MPa . For larger, less complex products, 50–100 MPa may suffice.
Step 4: Cooling and Solidification
Cooling channels integrated into the mold circulate coolant—water or specialized heat-transfer fluid. The coolant absorbs heat from the molten plastic, causing it to cool and solidify.
| Product Type | Cooling Time |
|---|---|
| Thin-walled cup | 5 – 10 seconds |
| Thick-walled bucket | 30 – 60 seconds |
Uniform cooling is essential. Uneven cooling causes warping—differential shrinkage during solidification distorts the product shape.
Step 5: Ejection
After solidification, the ejection system removes the product. Ejector pins push against the product, forcing it out of the mold cavity.
For products with undercuts (recesses that prevent straightforward ejection), additional mechanisms—lifters or slides—release the product from undercut areas before ejection.
Ejected products are collected manually or by automated conveyor systems for post-processing: trimming, finishing, quality inspection.
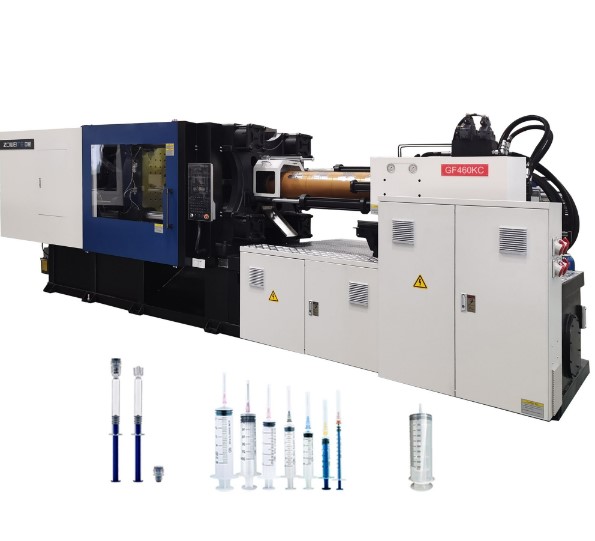
How Do Different Machine Models Compare?
Machine specifications affect production capability. The table below compares common models:
| Model | Clamping Force (tons) | Injection Volume (cm³) | Injection Pressure (MPa) | Suitable For |
|---|---|---|---|---|
| Model A | 80 | 163 | 156 | Small parts: toys, buttons |
| Model B | 120 | 221 | 138 | Medium parts: small appliance components |
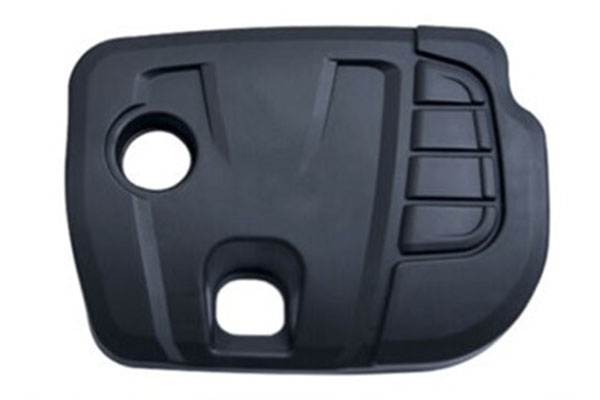
| Model C | 150 | 332 | 162 | Larger parts: automotive interior components |
| Model D | 180 | 488 | 166 | High-precision, medium-large parts: computer casings |
| Model E | 220 | 499 | 182 | High-volume, complex geometries: industrial equipment components |
Impact of Parameters
Clamping force: Keeps mold closed during injection. Insufficient force causes flash. Large molds (buckets) need high clamping force (Model E).
Injection volume: Maximum amount of plastic injected per cycle. Affects product size. Too small volume causes incomplete filling. Large products (chairs) need larger injection volume.
Injection pressure: Ensures plastic fills complex cavities. Intricate parts (detailed figurines) need higher pressure. Excessive pressure causes over-packing, internal stress, warping, or cracking.
What Does a Real-World Example Look Like?
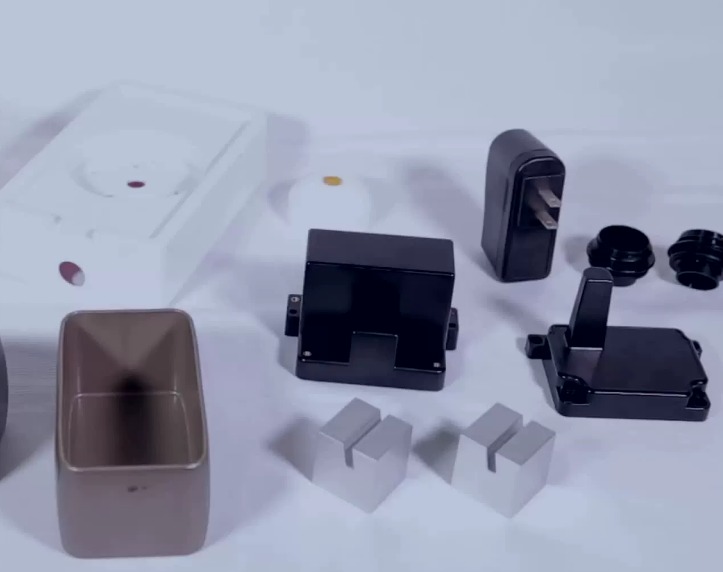
A manufacturer needed to produce custom-designed plastic-metal components for a high-end electronic device. The part required precision—the plastic had to adhere perfectly to a metal insert without delamination.
The injection molding process was optimized:
- Screw selection: High-compression screw for consistent plasticization
- Injection pressure: 180 MPa to ensure complete filling without over-packing
- Cooling time: 25 seconds for uniform solidification
- Ejection: Lifters used to release undercuts without damage
The result: consistent adhesion, zero delamination, and tight tolerances meeting electronic device specifications.
Conclusion
Injection molding machines transform raw plastic granules into finished products through a five-step process: feeding, plasticization, injection, cooling, and ejection.
Key components—hopper, barrel and screw, injection nozzle, and mold—each play critical roles. The hopper supplies material. The barrel and screw melt and plasticize. The nozzle directs flow. The mold shapes the final product.
Machine parameters—clamping force, injection volume, injection pressure—must be matched to product requirements. Insufficient clamping causes flash. Inadequate volume causes incomplete filling. Incorrect pressure causes defects.
Understanding this process enables manufacturers to optimize production, reduce waste, and improve quality. For engineers and designers, it provides the foundation for creating manufacturable, high-performance products.
FAQ
What is the difference between single-cavity and multi-cavity molds?
Single-cavity molds produce one product per cycle. They are used for high-value or prototype products. Multi-cavity molds produce multiple identical products per cycle, making them efficient for mass production—bottle caps, small electronic components.
Why is clamping force important in injection molding?
Clamping force keeps the mold closed during injection. If insufficient, the high-pressure molten plastic pushes the mold halves apart, causing flash—excess plastic around product edges. Clamping force must match projected part area and injection pressure.
How does injection pressure affect product quality?
Injection pressure must be high enough to fill the mold cavity completely, especially for parts with complex geometries or long flow paths. Insufficient pressure causes incomplete filling. Excessive pressure causes over-packing, internal stresses, warping, or cracking.
What is the role of the screw in the injection molding machine?
The screw conveys plastic granules forward, compresses and shears them, and generates heat through mechanical action. Combined with barrel heaters, it melts the plastic into a homogeneous, viscous fluid. Screw design—compression ratio, flight geometry—is optimized for specific plastic types.
Why is uniform cooling critical in injection molding?
Uneven cooling causes differential shrinkage. One area cools faster than another, creating internal stresses that distort the product shape—warping. Uniform cooling requires properly designed cooling channels and balanced coolant flow.
Contact Yigu Technology for Custom Manufacturing
At Yigu Technology , we understand the injection molding process in depth. We use this knowledge to produce high-quality non-standard plastic and metal custom products.
We fine-tune parameters—injection pressure, temperature, cooling time—for each unique product. For custom plastic-metal components, we ensure perfect adhesion between materials, avoiding delamination and other defects.
From design to production, we deliver precision and reliability.
Contact Yigu Technology today to discuss your injection molding project.