Introduction
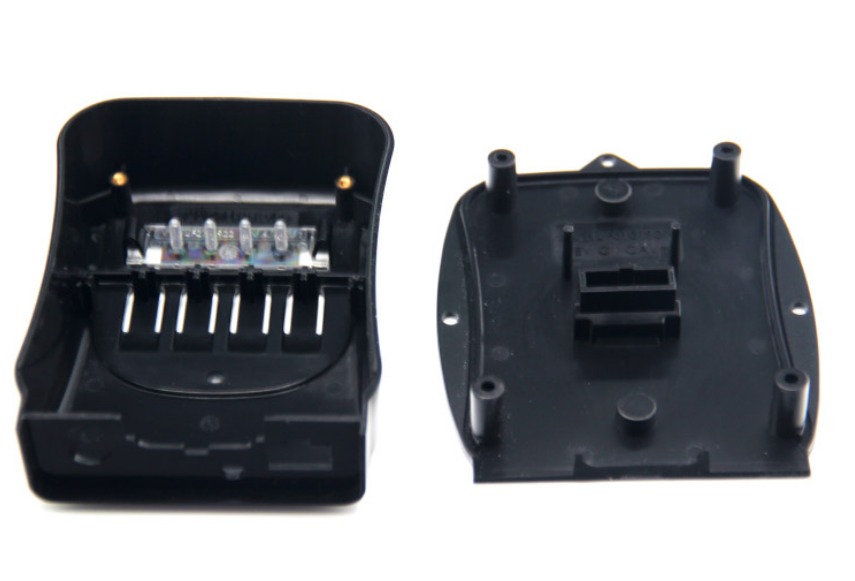
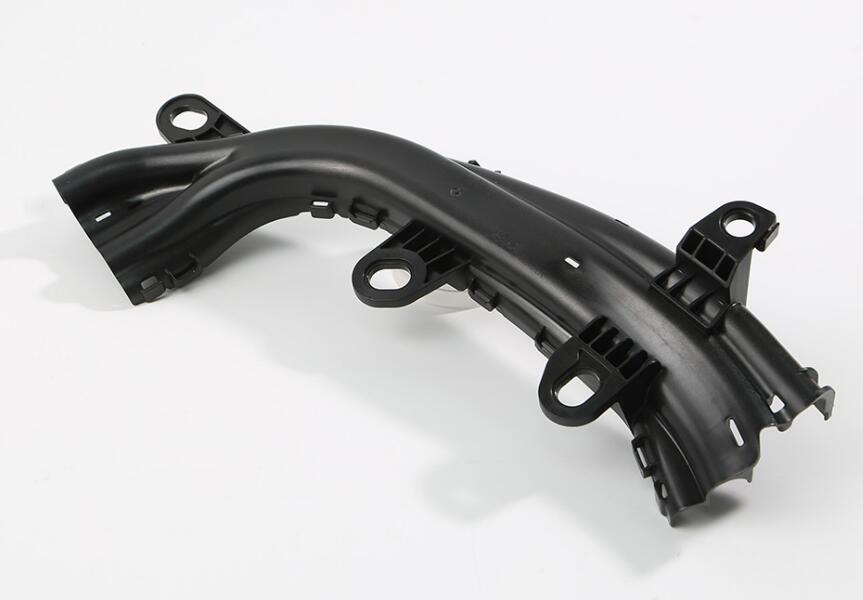
Every plastic product you see—from the simplest bottle cap to the most complex automotive dashboard—began as an idea. But transforming that idea into millions of identical, high-quality parts requires something extraordinary: a precision injection plastic mold.
The journey from design to manufacturing is complex. It demands engineering precision, material science knowledge, and advanced machining capabilities. The mold maker doesn’t just build a tool—they create the foundation for mass production.
This guide takes you through that journey. We’ll explore the design phase where concepts become technical drawings, the manufacturing phase where steel becomes precision components, and the testing that ensures every part meets specifications. Whether you’re a product designer, manufacturer, or simply curious about how things are made, you’ll understand what it takes to create the tools that shape our world.
The Design Phase: Laying the Foundation
Understanding Product Requirements
Before any design work begins, the mold maker must understand the product completely. Every detail matters.
| Factor | Why It Matters | Example |
|---|---|---|
| Function | Dictates shape, size, precision needed | Medical device: ±0.01 mm; toy: ±0.5 mm |
| Production volume | Determines mold materials and complexity | 100,000+ units: durable steel; 1,000 units: simpler tooling |
| Equipment constraints | Ensures mold fits the injection machine | Clamping force, injection volume compatibility |
Real example: A medical device manufacturer needed a component with tolerances of ±0.01 mm. The mold maker designed a high-precision tool with hardened steel inserts and multiple cooling channels to maintain dimensional stability across long runs.
Material Selection: Choosing the Right Steel
Selecting mold material impacts quality, cost, and mold life.
| Material | Hardness (HRC) | Best For | Cost |
|---|---|---|---|
| P20 | 28–32 | Medium-volume; general-purpose | Low |
| 718 | 32–36 | Higher-volume; precision | Medium |
| H13 | 48–54 | High-temperature; engineering plastics | High |
| NAK80 | 40–42 | High-gloss; optical parts | High |
| S136 (stainless) | 48–52 | Corrosive; food-grade; medical | Very high |
Selection criteria:
- Mold life: High volume demands wear-resistant materials
- Part complexity: Complex shapes need machinable steels
- Plastic type: High-temperature or abrasive plastics require tougher materials
- Cost: Balance performance with budget
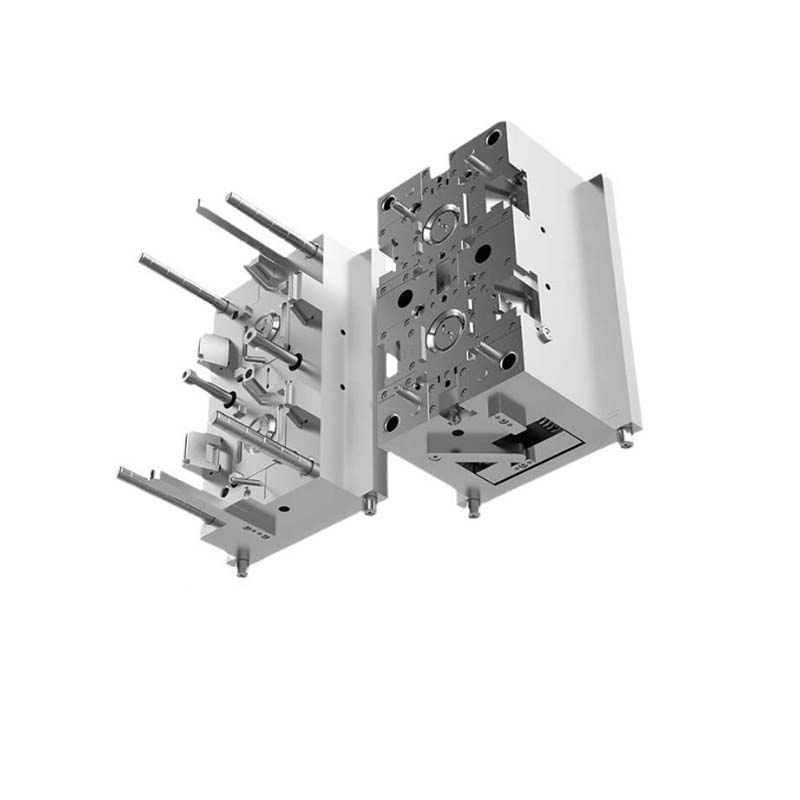
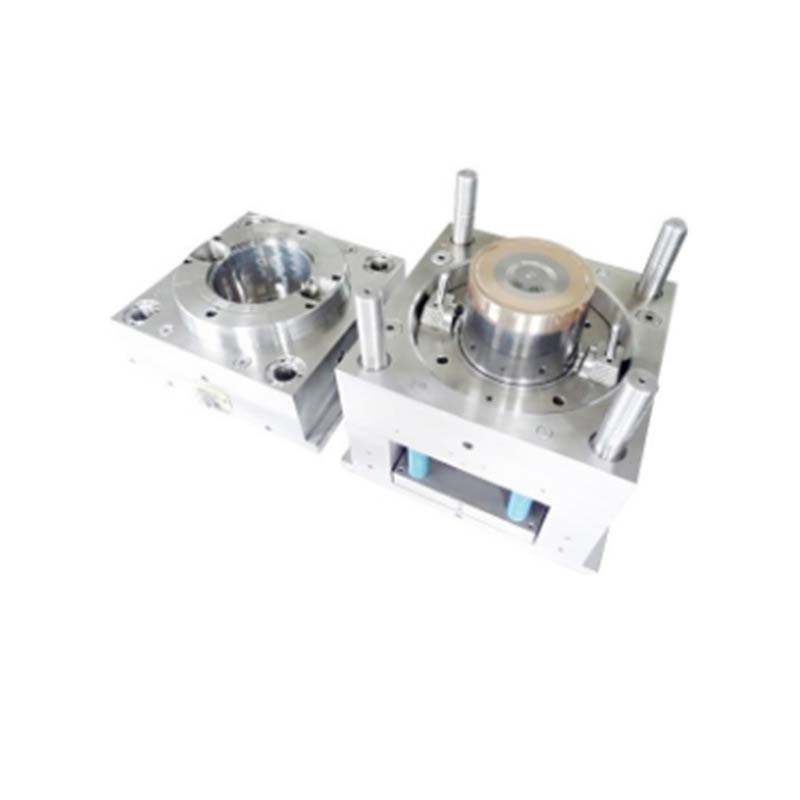
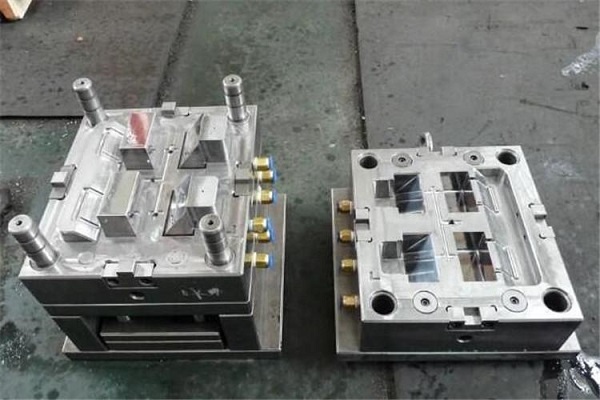
Designing the Mold Structure
Selection of Parting Surfaces
The parting surface determines where the mold halves separate. It affects part quality, ejection ease, and mold complexity.
- Simple shapes: Parting along center plane—easy, cost-effective
- Complex shapes with undercuts: May require multiple parting surfaces or side-action mechanisms
Key principle: The parting surface should allow easy part removal while minimizing flash and ensuring dimensional accuracy.
Design of Gating System
The gating system controls how molten plastic enters the cavity. Poor design causes short shots (incomplete filling) or flash (excess plastic).
| Component | Function | Design Consideration |
|---|---|---|
| Sprue | Main channel from machine nozzle | Large enough for initial flow |
| Runner | Distributes plastic to cavities | Balanced lengths for multi-cavity molds |
| Gate | Controls flow into cavity | Size and location based on part geometry |
Multi-cavity molds: Runners must be equal length to ensure all cavities fill simultaneously. Uneven filling causes inconsistent part quality.
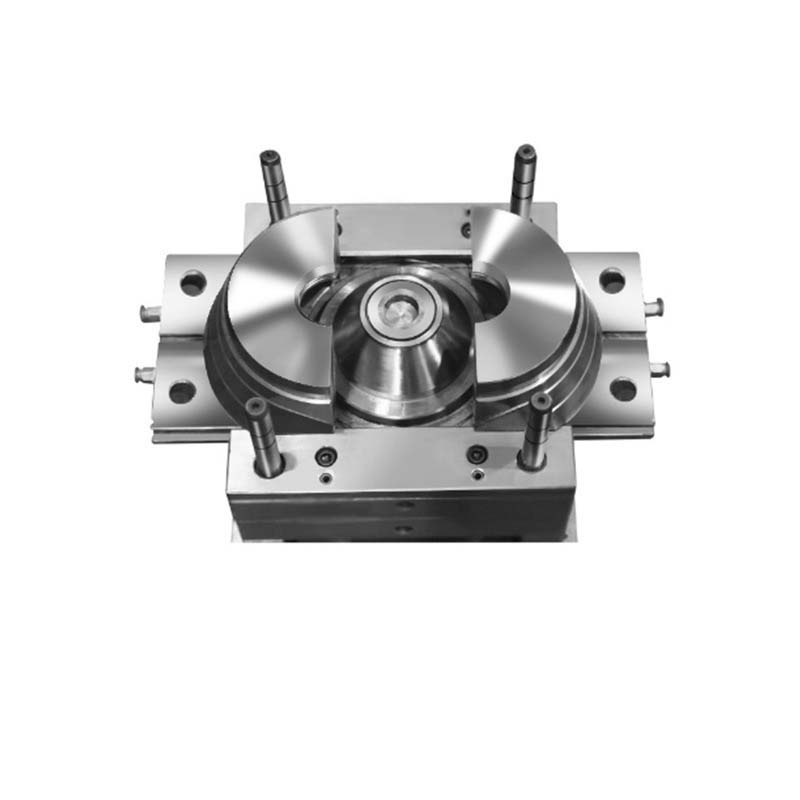
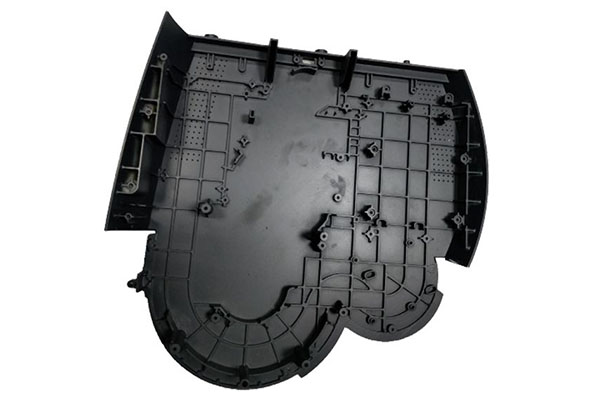
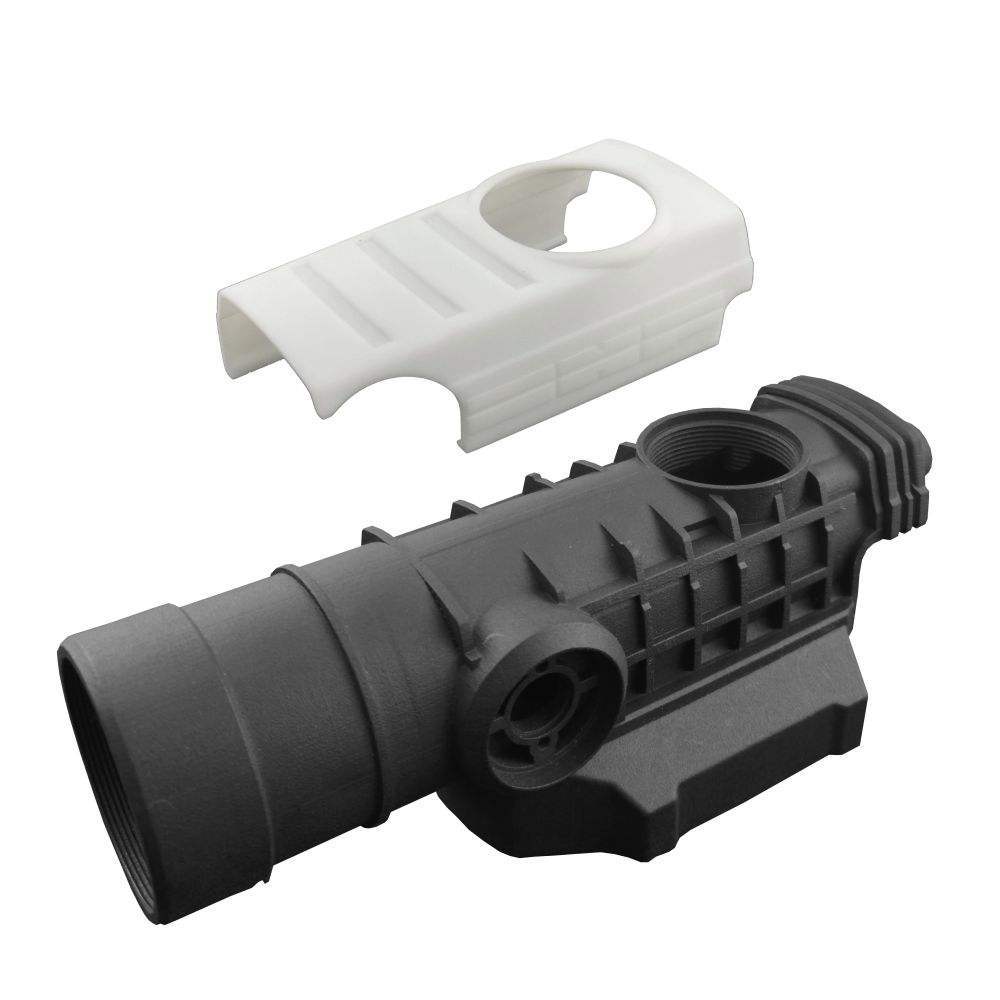
Design of Formed Parts (Core and Cavity)
The core and cavity determine the final part shape. Their design accounts for:
- Plastic shrinkage: Different plastics shrink at different rates. For a 1% shrinkage rate, cavity dimensions must be increased by 1% to achieve final part dimensions.
- Surface finish: A smooth core/cavity produces smooth parts. For high-gloss products, mirror-finish machining is required.
- Draft angles: Vertical walls need taper (typically 0.5–3°) to allow part ejection without damage.
Cooling System Design
Cooling consumes 50–80% of the injection cycle. Efficient cooling reduces cycle time and improves part quality.
Design principles:
- Place cooling channels close to cavity surfaces
- Position channels to provide uniform cooling (prevents warpage)
- For thick sections, add dedicated cooling channels
- Use conformal cooling (channels following part shape) for complex geometries
Real impact: A well-designed cooling system can reduce cycle time by 20–30% , directly increasing production output.
Design Calculations and Analysis
Mold design involves precise calculations:
| Calculation | Purpose |
|---|---|
| Molding part dimensions | Account for plastic shrinkage, mold wear, tolerances |
| Feeding cavity size | Ensure correct material volume per shot |
| Wall thickness | Ensure mold withstands injection pressure |
| Cooling system | Determine channel size, flow rate, heat transfer |
| Ejection system | Position and size ejector pins for even force distribution |
Software tools: CAD (Computer-Aided Design) creates 3D models. Mold flow analysis simulates plastic flow, identifying potential defects before steel is cut.
The Manufacturing Phase: Bringing the Design to Life
Machining Processes
CNC Machining
CNC (Computer Numerical Control) machining is the workhorse of mold making. Computer-controlled machines remove material to create precise shapes.
| Operation | Purpose | Tolerance |
|---|---|---|
| Roughing | Remove bulk material quickly | ±0.1–0.2 mm |
| Finishing | Achieve final dimensions and surface finish | ±0.001–0.005 mm |
Advantages:
- High precision—tolerances as low as ±0.001 mm
- Complex shapes through multi-axis machining
- Consistent, repeatable results
Applications: Mold bases, cavities, cores, cooling channels
Electrical Discharge Machining (EDM)
EDM uses electrical sparks to erode material. It’s essential for features CNC can’t reach.
How it works: A tool electrode and workpiece are submerged in dielectric fluid. Pulsed electrical discharges create sparks reaching 10,000°C, melting and vaporizing material.
| Type | Best For | Precision |
|---|---|---|
| Sinker EDM | 3D cavities; complex shapes | ±0.005–0.01 mm |
| Wire EDM | Cutting precise profiles; sharp corners | ±0.001–0.005 mm |
Advantages:
- Machines hardened steel and carbide
- No mechanical stress—ideal for delicate features
- Creates sharp internal corners
Wire Cutting Processing (Wire EDM)
A specialized form of EDM using a thin wire (0.05–0.3 mm diameter) as the electrode. The wire moves along a programmed path, cutting through the workpiece.
Applications:
- Mold inserts with complex profiles
- Cores and cavities with sharp corners
- Precision components for progressive dies
Precision: Tolerances of ±0.001–0.005 mm—essential for semiconductor and micro-component molds.
Heat Treatment and Surface Finishing
Heat Treatment Processes
| Process | Purpose | Effect |
|---|---|---|
| Annealing | Reduce internal stress; improve machinability | Softens steel; relieves forging stress |
| Quenching | Increase hardness and strength | Rapid cooling in oil or water |
| Tempering | Reduce brittleness after quenching | Reheat to lower temperature; improves toughness |
Sequence: For high-performance molds, the sequence is typically anneal → machine → quench → temper → finish grind.
Surface Finishing
| Technique | Purpose | Best For |
|---|---|---|
| Polishing | Mirror finish; reduce part sticking | High-gloss cosmetic parts |
| Hard chrome plating | Wear and corrosion resistance | High-volume production |
| Nickel plating | Smooth surface; corrosion protection | General-purpose molds |
| Nitriding | Surface hardness (50–55 HRC); wear resistance | Abrasive plastics |
Real example: A mold for glass-filled nylon used nitriding to increase surface hardness. Mold life extended by 40% compared to untreated steel.
Assembly and Testing
Preparations Before Assembly
Before assembly, each component must be:
- Cleaned: Ultrasonic cleaning removes machining residues
- Inspected: Dimensions verified with calipers, micrometers, CMM
- Prepared: Assembly tools (wrenches, presses) and inspection tools ready
Mold Assembly Process
Assembly follows a specific sequence:
- Base components: Assemble mold base plates
- Core and cavity: Position and fasten; use dowel pins for alignment
- Gating system: Install sprue, runner, gates
- Cooling system: Connect channels; leak test
- Ejection system: Install ejector pins and plate
- Moving components: Install slides, lifters; verify movement
Critical step: Alignment must be precise. Dowel pins and alignment keys ensure fixed and moving halves mate correctly.
Mold Debugging and Inspection
The assembled mold undergoes rigorous testing:
- Install on injection machine
- Test run with small amount of plastic
- Monitor parameters: Injection pressure, temperature, speed
- Inspect parts for:
- Flash (excess plastic)
- Short shots (incomplete filling)
- Warpage or dimensional issues
- Adjust parameters or mold as needed
- CMM inspection verifies part dimensions against design
This cycle repeats until the mold consistently produces acceptable parts.
Mold Acceptance and Delivery
After successful testing:
- Final inspection: Customer or QC reviews test results
- Documentation: Design drawings, test reports, operating instructions
- Packaging: Protective coatings; padding for transport
- Delivery: Mold shipped with full documentation
Yigu Technology’s Perspective
At Yigu Technology, we understand that every step in the injection plastic mold journey matters. Our years of experience have taught us that close communication with clients from the design phase is essential.
We offer:
- Expert material selection: Matching steel grade to your production volume and plastic type
- Advanced manufacturing: CNC machining, EDM, wire EDM with tight tolerances
- Quality control: CMM inspection; documentation for every mold
- After-sales support: Maintenance guidance; repair services
We believe in providing not just molds, but comprehensive solutions—ensuring your production runs smoothly, efficiently, and profitably.
Conclusion
The journey of an injection plastic mold maker transforms an idea into a precision tool capable of producing millions of parts. It begins with understanding product requirements and selecting the right material. Design defines the mold structure—parting surfaces, gating, cooling, and ejection systems. Calculations ensure dimensional accuracy and structural integrity.
Manufacturing brings the design to life through CNC machining, EDM, and wire EDM. Heat treatment and surface finishing enhance properties and extend life. Assembly and testing validate performance before delivery.
Each step demands precision, experience, and attention to detail. The result: a mold that delivers consistent, high-quality parts—cycle after cycle.
FAQ
What is the most important factor in mold design?
Understanding product requirements—function, volume, and precision—drives every subsequent decision. Without this foundation, material selection, parting surface choice, and cooling design cannot be optimized.
How do I choose the right mold material?
Consider production volume (higher volume needs more durable steel), part complexity (complex shapes require machinable materials), plastic type (abrasive or high-temperature plastics demand tougher steels), and budget. P20 is a reliable starting point for most medium-volume applications.
What’s the difference between CNC machining and EDM?
CNC machining removes material with cutting tools—ideal for creating general shapes and standard features. EDM uses electrical sparks to erode material—essential for intricate details, sharp internal corners, and machining hardened steel.
How long does mold fabrication take?
Lead times vary by complexity: simple molds 15–20 days; medium complexity 20–30 days; complex molds 30–45 days; large, high-precision molds 45–60 days. Factors include part size, cavity count, material selection, and shop workload.
Why is cooling system design so important?
Cooling consumes 50–80% of the injection cycle. Efficient cooling reduces cycle time by 20–30% and prevents warpage by ensuring uniform temperature distribution. Proper cooling directly impacts production output and part quality.
Contact Yigu Technology for Custom Manufacturing
At Yigu Technology, we specialize in custom injection plastic molds for demanding applications. Our team guides you through every step—from design and material selection to manufacturing, testing, and delivery.
We offer:
- Custom mold design and engineering
- Precision CNC machining, EDM, and wire EDM
- Heat treatment and surface finishing
- Comprehensive testing with CMM documentation
[Contact Yigu Technology today] to discuss your mold project. Let’s turn your product idea into a manufacturing reality.