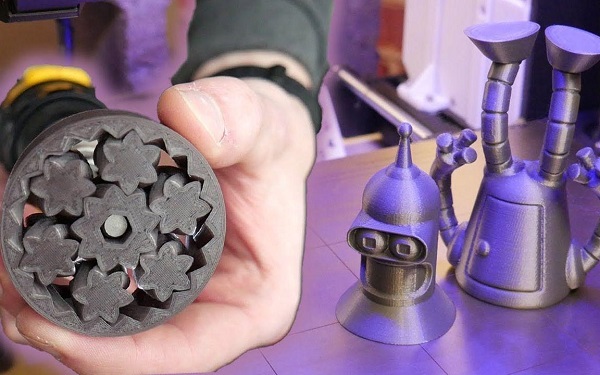
What is FDM 3D Printing?
Definition and Basic Principle
FDM, or Fused Deposition Modeling, is a widely - used 3D printing technology. It operates on a relatively straightforward yet ingenious principle. In FDM 3D printing, a spool of thermoplastic filament serves as the raw material. This filament is fed into a heated extruder nozzle. Once inside the nozzle, the filament is heated to its melting point, typically ranging from 180°C to 260°C depending on the material, such as PLA (PolyLactic Acid) which usually melts around 180 - 220°C, and ABS (Acrylonitrile Butadiene Styrene) melting at about 220 - 260°C.
As the filament melts, the nozzle moves in a precise, computer - controlled pattern, extruding the molten plastic layer by layer. Each layer adheres to the one beneath it as the plastic cools and solidifies rapidly. This process continues until the entire three - dimensional object is formed, based on the digital 3D model created in CAD (Computer - Aided Design) software. For instance, if you are printing a small mechanical part, the printer will start from the bottom layer, gradually building up the walls, internal structures, and finally the top surface of the part.
Key Components of an FDM 3D Printer
- Extruder Nozzle: This is the crucial part where the magic happens. The nozzle is responsible for melting the filament and precisely extruding the molten plastic. Nozzles come in different diameters, commonly 0.4mm, 0.6mm, and 0.8mm. A smaller diameter nozzle, like 0.4mm, can produce finer details but may have a slower extrusion rate, while a larger 0.8mm nozzle can extrude more material quickly, suitable for larger, less detailed prints.
- Heating Element: It is installed within the extruder to heat the filament to its melting point. The heating element needs to reach and maintain the correct temperature accurately. For example, a malfunctioning heating element that doesn't heat evenly can lead to inconsistent extrusion, resulting in a poorly formed print.
- Filament Feeding Mechanism: This mechanism feeds the filament from the spool into the extruder. It usually consists of gears that grip the filament and move it forward. The tension and alignment of the feeding mechanism are vital. If the gears are too loose, the filament may slip, causing pauses in extrusion, and if they are too tight, they can damage the filament.
- Printing Platform: The printing platform provides a stable base for the printed object to be built upon. It is often heated as well, especially for materials like ABS, to help the first layer adhere better and prevent warping. The flatness and temperature uniformity of the platform are critical. A warped platform can cause the first layer to be uneven, leading to adhesion issues and ultimately a failed print.
The Step - by - Step FDM 3D Printing Process
Step 1: Design Creation
The journey of FDM 3D printing begins with the creation of a digital model. This is typically done using CAD (Computer - Aided Design) software, which offers a wide range of tools for designers to bring their ideas to life. For example, in the design of a custom - made phone case, designers can use CAD software to precisely define the shape, dimensions, and any unique features such as cut - outs for buttons or a personalized pattern.
Alternatively, 3D scanning can be used to create a digital model of an existing object. This is especially useful when reproducing or modifying physical objects. High - quality 3D scanners can capture the object's geometry with great accuracy, down to a resolution of a few millimeters. The quality and complexity of the design directly impact the final print. A well - designed model with proper wall thickness (usually recommended to be at least 1 - 2mm for structural integrity in FDM prints) and no self - intersecting surfaces will result in a successful and high - quality print.
Step 2: Slicing the Model
Once the digital model is ready, it needs to be sliced into thin layers. This is where slicing software comes into play. The slicing software takes the 3D model and divides it into a series of horizontal cross - sections. Each layer represents a thin slice of the final object, with layer thicknesses typically ranging from 0.1mm to 0.3mm. Thinner layers result in a smoother surface finish but increase the printing time.
During slicing, several parameters can be adjusted to optimize the print quality. For instance, the infill density, which determines how much of the interior of the object is filled with material. A low infill density (e.g., 10 - 20%) can save material and printing time but may reduce the strength of the object, while a high infill density (80 - 100%) is suitable for objects that require high strength. Other important parameters include the printing speed, extrusion width (usually related to the nozzle diameter), and the type of support structure (if needed). Support structures are essential for overhanging parts of the model, ensuring that they are properly formed during printing.
Step 3: Printing Execution
With the sliced model ready, the actual printing process begins. The FDM 3D printer is loaded with the appropriate thermoplastic filament, such as PLA or ABS. The printer's extruder heats the filament to its melting point, as mentioned earlier.
As the printer starts, the heated nozzle moves in a precise pattern determined by the sliced model data. The molten filament is extruded from the nozzle and deposited onto the printing platform or the previously printed layer. For example, when printing a multi - level object like a small tower, the printer starts with the bottom layer, slowly building up the walls by extruding the molten plastic in a circular or rectangular pattern depending on the tower's base shape. The nozzle's movement is controlled by stepper motors, which can achieve positioning accuracy as high as 0.01mm in some high - end printers. This precise control allows for the creation of complex shapes, such as intricate lattice structures or objects with curved surfaces.
Step 4: Post - Processing
After the printing is complete, post - processing is often required to enhance the quality and appearance of the printed object. One of the first steps is usually the removal of support structures. These supports, which were necessary during printing to hold up overhanging parts, can be carefully removed by hand or with the help of tools.
Next, 打磨(Sanding) may be carried out to smooth the surface of the print. This is especially important for achieving a high - quality finish, as FDM prints often have visible layer lines. For more demanding applications, 抛光(Polishing) can be done to give the object a shiny, smooth surface. Additionally, 上色(Painting) can be applied to add color and enhance the visual appeal of the printed object. Post - processing not only improves the aesthetics but also can enhance the functionality of the printed part, making it suitable for various applications.
Yigu Technology's View
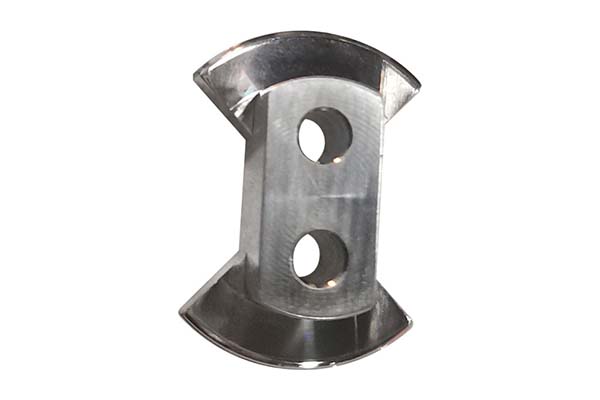
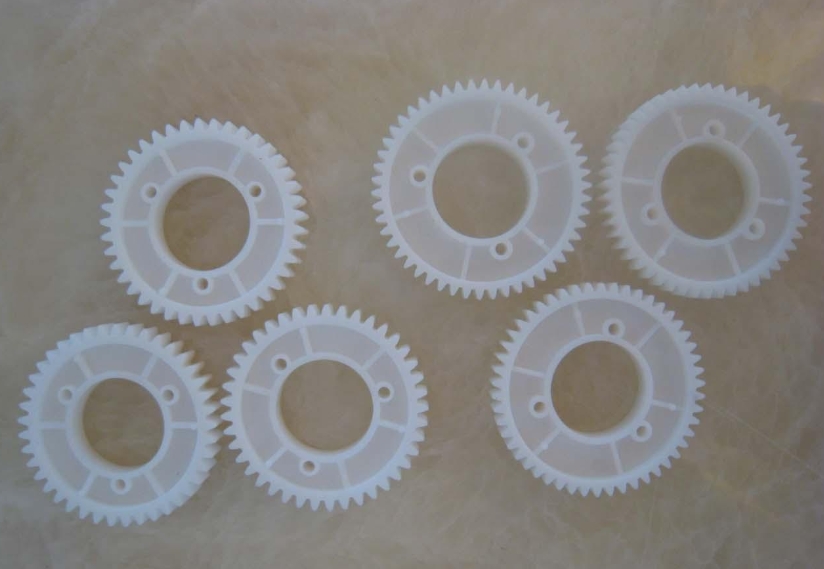
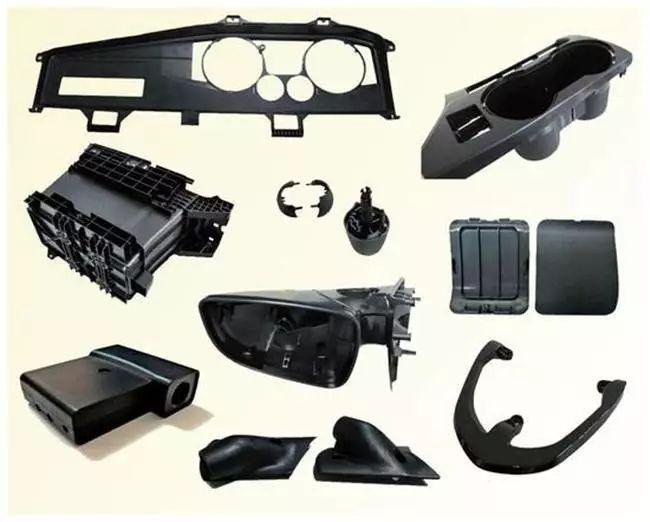
As a non - standard plastic metal products custom Supplier, Yigu Technology highly values the FDM 3D printing process. In custom production, FDM 3D printing offers several distinct advantages. It allows for the quick production of customized plastic parts, reducing the lead time significantly compared to traditional manufacturing methods. This is crucial for clients who need unique components in a short period.
Moreover, the design flexibility of FDM 3D printing enables us to create complex geometries that are difficult to achieve through conventional means. This is especially beneficial when producing non - standard products that require intricate shapes or internal structures. We believe that the future application prospects of FDM 3D printing in the custom - product field are vast. As the technology continues to develop and the cost of materials and equipment decreases, it will be able to serve more industries and meet a wider range of customization needs, driving innovation and efficiency in custom manufacturing.
FAQ
Q1: What materials are commonly used in FDM 3D printing?
Common materials in FDM 3D printing include PLA (PolyLactic Acid) and ABS (Acrylonitrile Butadiene Styrene). PLA is a biodegradable material, easy to print with a relatively low melting point around 180 - 220°C. It has a smooth surface finish and is suitable for creating decorative items, prototypes, and educational models due to its non - toxicity. ABS, on the other hand, has a higher melting point of about 220 - 260°C. It is more durable and heat - resistant, making it ideal for functional parts in applications like automotive and mechanical engineering. Other materials such as PETG (Polyethylene Terephthalate Glycol - modified) offer a good balance of strength, flexibility, and chemical resistance, often used in applications where a combination of these properties is required, like in making parts for water - related devices.
Q2: How can I improve the surface quality of FDM 3D printed objects?
To improve the surface quality, first, optimize the print parameters. Reduce the layer height; for example, setting it to 0.1mm instead of 0.2mm can make the layer lines less visible. Adjust the printing speed, as a slower speed allows the filament to bond better and reduces the chance of ripples. Second, post - processing is crucial. Sanding the printed object can smooth out the layer lines. Start with a coarse - grit sandpaper to remove the major imperfections and then move to a finer - grit for a smoother finish. Polishing can also be done using polishing compounds and soft cloths to give the object a shiny surface. Additionally, using a heated print bed can improve adhesion and reduce warping, resulting in a more even surface.
Q3: Is FDM 3D printing suitable for large - scale production?
FDM 3D printing has both advantages and disadvantages for large - scale production. On the plus side, it offers design flexibility and the ability to produce customized parts without the need for expensive molds, which can be beneficial for producing small batches of unique products. However, it has limitations. The printing speed is relatively slow compared to traditional mass - production methods, and the surface quality may not meet the high standards required for some mass - market products without extensive post - processing. Also, the cost of materials per unit can be high for large - scale production. In general, FDM 3D printing may not be the best choice for high - volume, identical - part production, but it can be a great option for small - to - medium - scale production of customized or complex - shaped products, especially when combined with other manufacturing techniques.