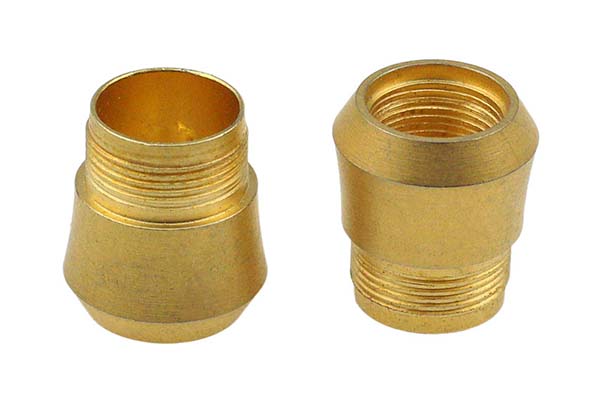
In product development, creating a reliable prototype is a critical step. Yet many teams face headaches: prototypes that don’t match designs, materials that fail tests, or costs that spiral out of control. Whether you’re designing automotive parts or medical devices, getting the CNC prototype right can save months of delays and thousands in rework. So, what does it take to create high-quality CNC prototypes that meet your goals? Let’s explore every aspect, from design to testing.
1. CNC Prototype Design
1.1 The Foundation: CAD Modeling and Technical Drawings
Every CNC prototype starts with a digital blueprint. CAD modeling software (like SolidWorks or AutoCAD) lets engineers create 3D models with precise measurements. These models are then turned into technical drawings that include dimensions, geometric tolerancing, and material specifications. For example, a medical device prototype might require tolerances as tight as ±0.005 mm to ensure it fits with other components—a detail that must be clearly marked in the drawings.
1.2 Design for Manufacturing (DFM) and Optimization
Design for Manufacturing (DFM) is key to avoiding costly mistakes. A design that looks great on screen might be hard to machine. For instance, sharp internal corners can damage tools, so rounding them slightly reduces tool wear and improves precision. Simulation tools help test how the design will behave during machining, allowing for design optimization before production. A aerospace component with complex curves, for example, can be simulated to ensure the toolpath won’t cause vibrations that affect accuracy.
1.3 3D Rendering for Visualization
3D rendering turns CAD models into photorealistic images, helping teams visualize the final prototype. This is especially useful for consumer products where aesthetics matter. A smartphone case prototype, for example, can be rendered with different finishes to test market appeal before machining even starts.
2. CNC Prototype Materials
2.1 Metals: Strength and Durability
2.1.1 Aluminum and Steel
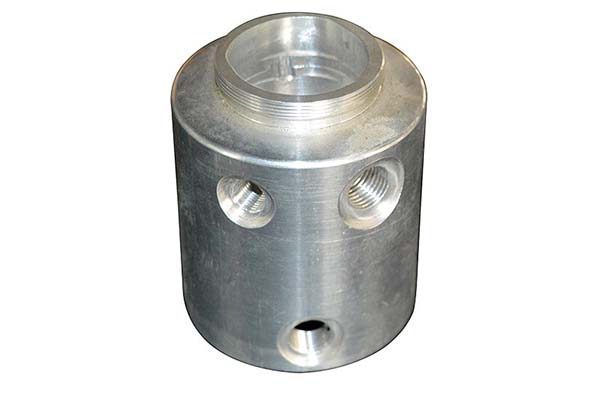
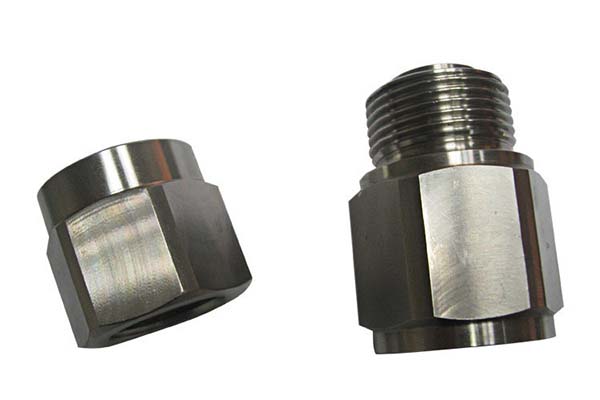
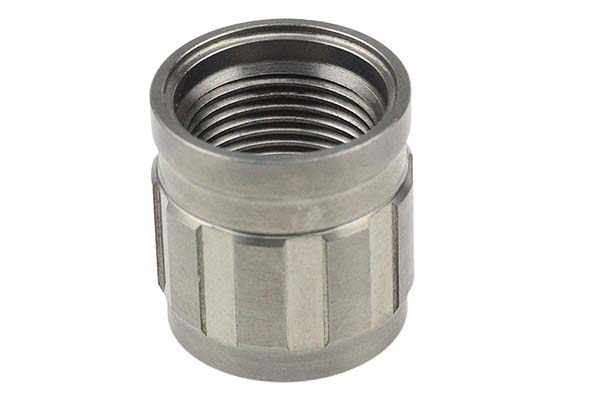
Aluminum is a top choice for its low weight and easy machinability. It’s ideal for automotive parts and electronics enclosures, with a cost-effective balance of strength and weight. Steel, on the other hand, offers superior durability—perfect for industrial machinery components. Stainless steel, a type of steel, adds corrosion resistance, making it great for medical devices that need sterilization.
2.1.2 Titanium
Titanium combines strength with lightness, making it a favorite in aerospace. However, its hardness requires specialized tools, increasing machining time and cost. For example, a titanium aircraft bracket prototype might take 30% longer to machine than an aluminum one but offers better performance at high altitudes.
2.2 Plastics: Versatility and Cost Savings
2.2.1 ABS and Polycarbonate
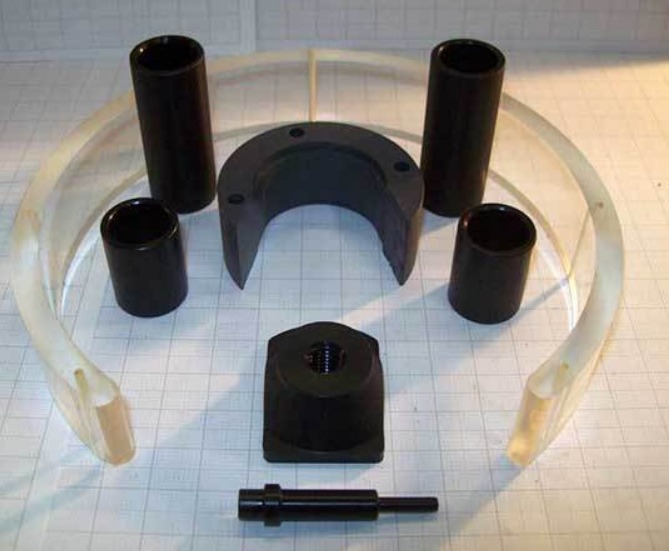
ABS is widely used for consumer products due to its impact resistance and ease of finishing (painting or bonding). A toy prototype made from ABS can be tested for durability without breaking the bank. Polycarbonate (PC) is transparent and heat-resistant, making it ideal for electronics enclosures that need to withstand high temperatures.
2.2.2 PEEK
PEEK is a high-performance plastic used in medical implants and aerospace parts. It can handle extreme temperatures and chemicals, but machining it requires slow speeds to avoid melting—adding to production time.
2.3 Other Materials
Composites (like carbon fiber reinforced plastics) offer high strength-to-weight ratios, perfect for racing car parts. Wood and acrylic are used for architectural models, while foam prototypes are great for testing form and fit in early design stages.
3. CNC Prototype Manufacturing Process
3.1 Core Machining Operations
3.1.1 Milling and Turning
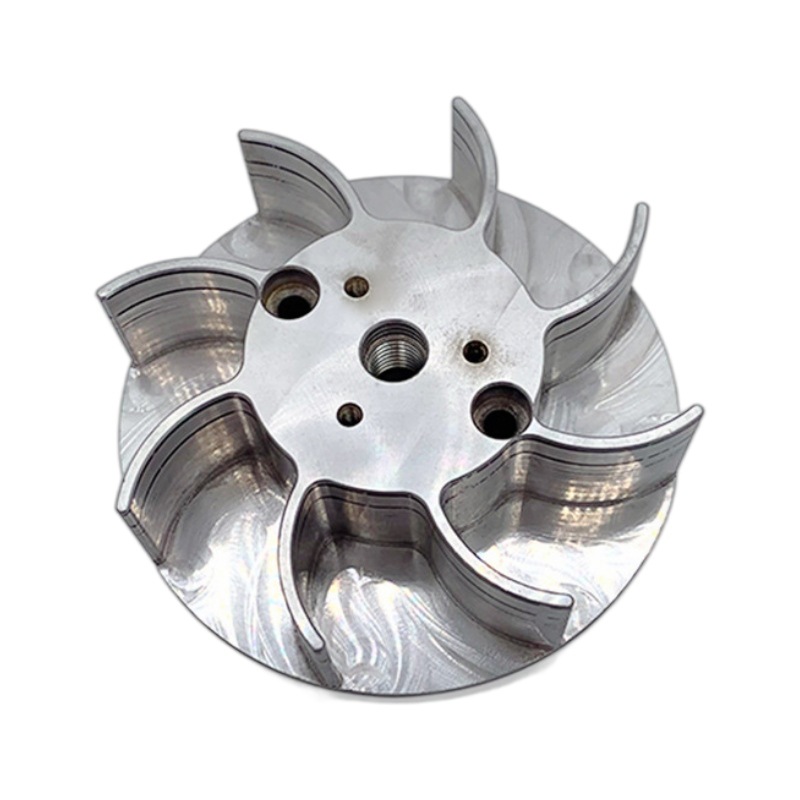
Milling uses rotating cutters to shape flat or curved surfaces. A 5-axis mill can create complex aerospace components with angles that standard mills can’t reach. Turning, on the other hand, spins the material while a tool cuts, ideal for cylindrical parts like shafts or bolts.
3.1.2 Drilling, Cutting, and Grinding
Drilling creates precise holes—critical for electronics enclosures with screw mounts. Cutting (using lasers or plasma) shapes sheet metal into parts like automotive panels. Grinding smooths surfaces to achieve tight tolerances, often the final step for medical device prototypes.
3.2 Tool Selection and Post-Processing
Choosing the right tool selection is vital. Carbide tools work best for metals, while high-speed steel is better for plastics. After machining, post-processing steps like sanding, painting, or anodizing improve surface finish. For example, an aluminum prototype for a high-end speaker might be anodized to enhance its appearance and protect against scratches.
4. Applications of CNC Prototypes
4.1 Industrial and Commercial Uses
In the automotive industry, CNC prototypes test new engine parts before mass production. A prototype camshaft, for instance, is machined to check for fit and performance in a test engine. Aerospace components like turbine blades rely on CNC prototypes to ensure they can withstand extreme forces.
4.2 Medical and Consumer Products
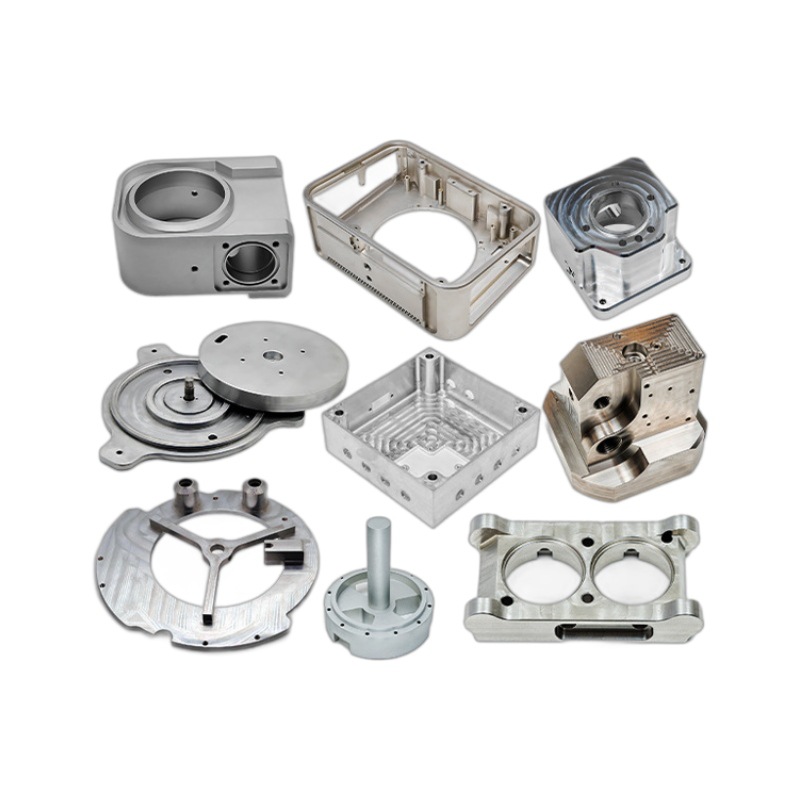
Medical devices such as custom prosthetics are CNC-machined to fit individual patients perfectly. Electronics enclosures for smartphones or laptops are prototyped to test button placement and port alignment. Even architectural models use CNC-cut wood or acrylic to showcase building designs.
5. Quality and Precision of CNC Prototypes
5.1 Tolerance Levels and Dimensional Accuracy
CNC prototypes can achieve tolerance levels as low as ±0.001 mm, crucial for parts that must fit together seamlessly. For example, a gear prototype with tight tolerances ensures smooth operation in a machine. Dimensional accuracy is verified using metrology tools like coordinate measuring machines (CMMs), which scan the part and compare it to the CAD model.
5.2 Quality Control and Inspection Methods
Quality control starts with in-process checks. Operators measure critical dimensions during machining to catch errors early. Inspection methods like laser scanning or optical comparators ensure the final prototype meets specs. A medical device prototype, for example, might undergo 100% inspection to comply with regulatory standards.
6. CNC Prototype Testing and Validation
6.1 Functional and Structural Testing
Functional testing checks if the prototype works as intended. A prototype valve, for instance, is tested for leakages under pressure. Structural testing uses tools like stress gauges to see how the part holds up under load—essential for aerospace components.
6.2 Environmental and Iterative Testing
Environmental testing exposes prototypes to extreme temperatures, humidity, or chemicals. A prototype sensor for industrial use might be tested in a high-heat chamber to ensure reliability. If tests fail, iterative improvements are made. For example, a plastic prototype that cracks in cold tests might switch to a more flexible material like polypropylene.
7. Cost and Budgeting for CNC Prototypes
7.1 Breaking Down Costs
- Material costs: Titanium is 5–10x pricier than aluminum.
- Machine time: A complex part might take 10 hours on a 5-axis mill at \(100/hour, adding \)1,000.
- Labor costs: Skilled programmers and operators add to the budget.
- Setup fees: Programming and tool setup can cost \(200–\)500 per prototype.
7.2 Saving Money
Volume pricing helps: 10 prototypes might cost 30% less per unit than 1. Longer lead times (e.g., 2 weeks instead of 3 days) can reduce rush fees. Choosing the right material—like using ABS instead of PEEK for non-critical parts—cuts costs without sacrificing functionality.
8. CNC Prototype vs. Other Prototypes
| Method | Speed | Precision | Cost for 10 Units | Best For |
| CNC Prototype | Moderate (3–7 days) | High (±0.001 mm) | \(1,000–\)5,000 | Complex, high-strength parts |
| 3D Printing | Fast (1–3 days) | Lower (±0.1 mm) | \(500–\)2,000 | Simple, low-volume parts |
| Injection Molding | Slow (2–4 weeks) | High | \(5,000–\)20,000 (tooling + parts) | Mass production |
| Hand Crafting | Slow (1–2 weeks) | Low (±0.5 mm) | \(300–\)1,000 | One-off, simple parts |
CNC prototypes excel in precision and material strength, while 3D printing is faster for simple designs. Injection molding is cheaper for large volumes but requires expensive tooling. Hand crafting works for basic shapes but lacks consistency.
At Yigu Technology, we specialize in CNC prototypes for plastic and metal parts. Our team uses DFM principles to optimize designs, reducing costs without compromising quality. We source high-grade materials—from aluminum to PEEK—and leverage advanced inspection tools to ensure precision. Whether you need a medical device prototype or an automotive part, we deliver on time, helping you move from design to production smoothly.
FAQs
1. How long does it take to make a CNC prototype?
Lead times range from 3–7 days for simple parts (like a plastic bracket) to 2–3 weeks for complex metal components (e.g., titanium aerospace parts). Factors include design complexity, material, and post-processing needs.
2. What’s the most cost-effective material for CNC prototypes?
ABS plastic or aluminum are often the cheapest, offering good machinability and performance for most applications. For high-strength needs, steel is a balance of cost and durability.
3. How do I ensure my CNC prototype meets quality standards?
Work with a supplier that uses DFM, in-process inspections, and metrology tools. Provide clear CAD models with tolerances, and request a first-article inspection report to verify dimensions before full production.
