For engineers, procurement specialists, and product developers across industries, selecting a CNC machined components manufacturer is a critical decision that directly impacts product quality, supply chain reliability, and project success. Beyond comparing quotes, identifying a truly reliable partner requires a deep understanding of their technical capabilities, quality systems, and operational integrity. This guide will walk you through the essential criteria—from certifications and achievable tolerances to material traceability and scalability—enabling you to make an informed choice that ensures your precision parts are manufactured to the highest standards of excellence.
What Defines a Reliable CNC Machined Components Manufacturer?
A reliable CNC machined components manufacturer is defined not just by the machines on their floor, but by a holistic system that guarantees precision, consistency, and accountability. Key differentiators include:
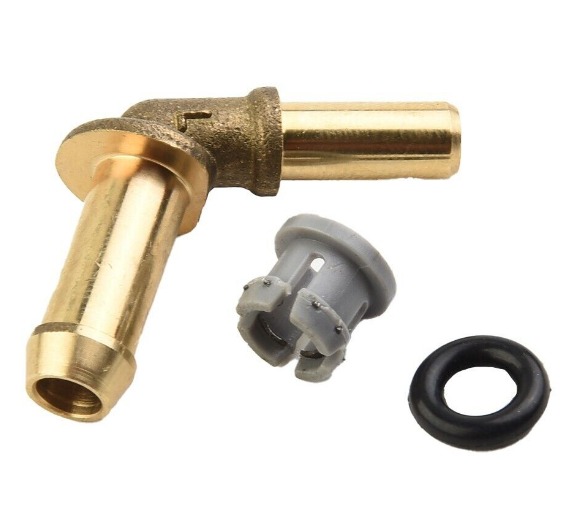
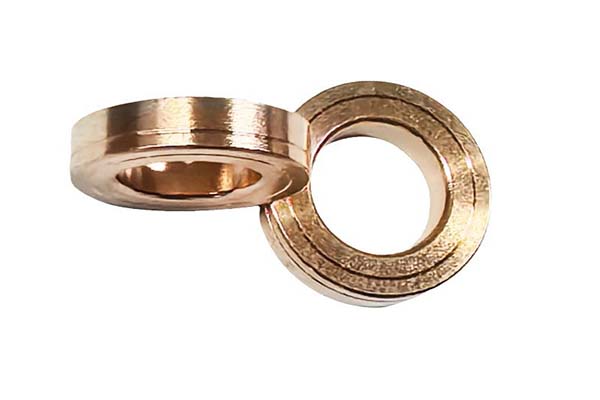
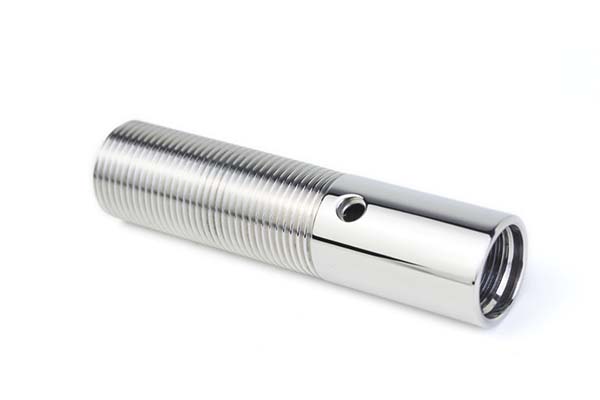
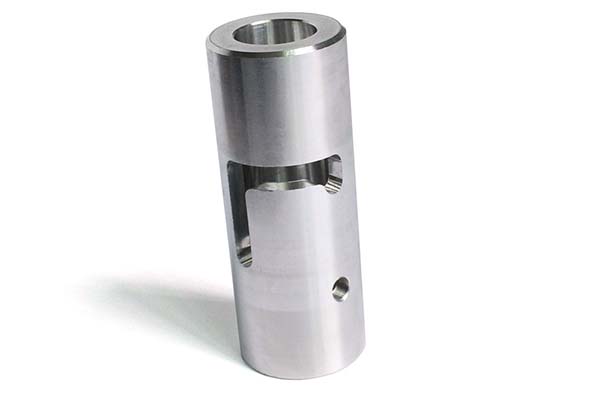
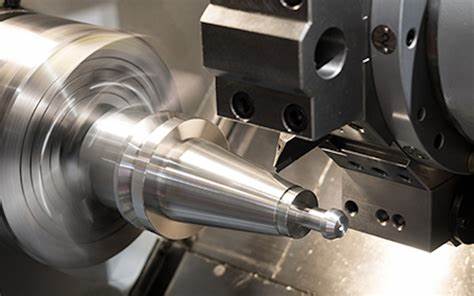
- Advanced Technical Capability: Possession of modern, well-maintained multi-axis CNC equipment (like 4/5-axis machining centers, Swiss-type lathes) and complementary processes (grinding, EDM) to handle complex geometries.
- Engineered Process Control: Moving beyond basic operation to implement scientific and data-driven manufacturing principles. This includes rigorous tool setting, in-process verification, and a deep understanding of cutting dynamics to ensure repeatability.
- Proactive Engineering Partnership: A willingness to provide Design for Manufacturability (DFM) feedback. A true partner will analyze your drawings to suggest optimizations for cost, manufacturability, and performance, preventing costly issues before production begins.
- Established Operational Excellence: Demonstrated by a track record of serving demanding sectors (e.g., aerospace, medical), investments in automation for efficiency, and a culture of continuous improvement.
How Do You Verify Certifications and Quality Systems?
Certifications are a baseline indicator of a manufacturer's commitment to a structured quality management system. Their real value, however, lies in how they are actively implemented.
- Core Certifications to Require:
- ISO 9001:2015: The fundamental international standard for Quality Management Systems. It demonstrates a commitment to consistent processes and continuous improvement.
- Industry-Specific Standards: For automotive (IATF 16949), aerospace (AS9100), or medical (ISO 13485). These incorporate stricter requirements for risk management, traceability, and validation.
- Auditing Their Quality in Practice: Certificates on the wall are not enough. Ask for evidence of how the system works:
- Inspection Reports: Request sample First Article Inspection (FAI) or dimensional reports to see their measurement rigor.
- Equipment Calibration: Verify that their Coordinate Measuring Machines (CMM), calipers, and gauges are regularly calibrated to national or international standards.
- Process Documentation: Inquire about their procedures for non-conforming material control and corrective/preventive action (CAPA).
What Tolerances and Surface Finishes Can They Hold?
Understanding a manufacturer's true capability range is crucial for design feasibility and cost. Capabilities vary significantly between a general job shop and a precision engineering specialist.
| Capability Level | Typical Tolerance (Linear Dimensions) | Typical Surface Finish (Ra) | Required Equipment & Environment | Suitable Applications |
|---|---|---|---|---|
| Standard Machining | ±0.1 mm to ±0.05 mm | 3.2 μm to 1.6 μm | 3-axis CNC mills & lathes, standard tooling. | Commercial enclosures, brackets, prototypes, low-precision fixtures. |
| Precision Machining | ±0.025 mm to ±0.005 mm | 1.6 μm to 0.4 μm | 4/5-axis CNC, high-end tooling, temperature-controlled environment, in-process probing. | Aerospace fittings, automotive powertrain parts, advanced robotics. |
| High-Precision / Micro-Machining | ±0.005 mm and tighter (sub-micron possible) | 0.4 μm and below | Ultra-precision CNC, specialized metrology (e.g., laser interferometers), climate-controlled cleanrooms. | Medical implants, optical components, semiconductor tooling, fuel system parts. |
Critical Consideration: Always clearly define critical vs. non-critical tolerances on your drawings. Applying a ±0.01 mm tolerance where ±0.1 mm is sufficient can exponentially increase cost. For non-critical features, referencing a general standard like ISO 2768-m or GB/T 1804-m is common practice.
How Are Material Traceability and Lot Control Managed?
In regulated industries or for safety-critical parts, full material traceability is non-negotiable. It ensures that every component can be traced back to its source, providing accountability and facilitating recalls if necessary.
- The Traceability Process: A reliable manufacturer will:
- Source from Certified Mills: Use raw materials (bar stock, plate, etc.) purchased with mill certificates that detail the alloy composition, heat treatment, and physical properties.
- Maintain Lot Integrity: Keep material lots segregated throughout production, often using unique heat or lot numbers.
- Document the Chain: The material certificate number is recorded on the traveler (job routing sheet) and finally on the Certificate of Conformance (CoC) shipped with the parts.
- Why It Matters: For example, a manufacturer producing an aircraft engine mount from titanium must be able to prove, through documentation, that the material meets the specific aerospace grade (e.g., Ti-6Al-4V, AMS 4928) and was processed correctly. This level of control is a hallmark of a manufacturer serving top-tier industries.
How Do Prototype and Production Quantities Scale?
A versatile manufacturer can efficiently support your entire product lifecycle, from initial concept to high-volume production, adapting their processes accordingly.
- Prototype & Low-Volume (1 - 50 pcs): Focus is on speed and flexibility. Manufacturers often use standard workholding and optimized CNC programming for quick turnaround, accepting that the per-part cost is higher.
- Bridge Production (50 - 1,000 pcs): This phase validates the production process. Manufacturers may begin to implement dedicated fixtures or preliminary automation to refine efficiency and consistency before full-scale investment.
- High-Volume Production (1,000+ pcs): Focus shifts to maximized efficiency and minimal cost per part. This is achieved through dedicated production lines, custom-designed fixtures, advanced automation (robotic part loading/unloading), and often multi-spindle or multi-pallet machining cells that run with minimal operator intervention.
What Are Typical Lead Times and Cost Drivers?
Understanding what influences timelines and pricing helps set realistic expectations and identify opportunities for optimization.
- Lead Time Components:
- Programming & Setup: Can take from a few hours for simple parts to several days for complex 5-axis programming and custom fixture design.
- Material Procurement: Lead times vary widely; common aluminum is often in stock, while specific titanium grades or plastics may require ordering.
- Machining & Finishing: The largest variable, dependent on part complexity, quantity, and required secondary operations (e.g., anodizing, heat treatment).
- Primary Cost Drivers:
- Part Design & Complexity: More complex geometries with tight tolerances and deep pockets require longer machining time, specialized tooling, and potentially multi-axis setups.
- Material Choice: Exotic alloys (Inconel, titanium) are more expensive per kilogram and often require slower machining parameters, increasing cost.
- Quantity: High volumes reduce the amortized impact of fixed costs (programming, setup) and allow for more efficient production methods.
- Quality & Compliance Requirements: The rigorous documentation, additional inspections, and material traceability required for medical or aerospace projects add significant administrative and operational cost.
Case Studies: Aerospace, Medical, and Automotive Successes
Aerospace – Turbine Engine Bracket: A manufacturer was tasked with a complex, thin-walled titanium bracket requiring 5-axis simultaneous machining to achieve all contours. The part had several true-position tolerances within 0.025 mm. The manufacturer's expertise in dynamic toolpath strategies and use of a temperature-stabilized machining cell were critical. They delivered the first batch with a First Article Acceptance Rate of 100%, meeting all dimensional and surface integrity requirements for flight.
Medical – Orthopedic Implant Trial: For a new knee implant system, a developer needed prototypes and low-volume production of cobalt-chrome trial components. The manufacturer needed to achieve mirror finishes (Ra < 0.1 μm) on bearing surfaces and maintain biologically relevant geometries within 0.01 mm. Utilizing precision grinding and polishing after CNC machining, and operating within an ISO Class 7 cleanroom for final packaging, the manufacturer provided parts that enabled successful surgical validation and regulatory testing.
Automotive – Electric Vehicle Battery Housing: An automotive Tier 1 supplier required a high-volume production solution for large aluminum battery enclosures. The challenge was achieving a sealing surface flatness of 0.1 mm over a 1.5-meter length at a cycle time of under 20 minutes. The manufacturer implemented a dedicated machining cell with a palletized system and in-process scanning. This solution not only met the stringent flatness and leak-test requirements but also achieved the target production rate, supporting the launch of a new EV platform.
Conclusion
Selecting the right CNC machined components manufacturer is a strategic investment in your product's quality and reliability. By moving beyond simple price comparison to a thorough evaluation of their technical capabilities, quality systems maturity, material control processes, and scalability, you can identify a true engineering partner. The most reliable manufacturers distinguish themselves through transparency, a commitment to continuous improvement, and a proven ability to turn complex designs into flawless, high-performance components. This partnership becomes a cornerstone for innovation and success in today's demanding manufacturing landscape.
FAQ
What information should I provide to get an accurate quote?
To receive a comprehensive and timely quote, always provide: 1) Complete 2D Drawings (PDF/DWG) with all dimensions, critical tolerances, and surface finish callouts; 2) 3D Model (STEP or IGES format); 3) Material Specification (alloy, grade, standard); 4) Target Quantity; and 5) any applicable Industry Standards (e.g., AS9100, ISO 13485).
How can I assess a manufacturer's capability without an on-site visit?
Request a virtual facility tour and key evidence: 1) Machine List with models and years; 2) Sample Inspection Reports for parts similar to yours; 3) Case Studies or testimonials from clients in your industry; and 4) Photos/Videos of their quality lab and production floor. A reputable manufacturer will be transparent with this information.
What is the difference between 3-axis, 4-axis, and 5-axis CNC machining?
3-axis machining allows movement along X, Y, and Z, suitable for prismatic parts. 4-axis adds a rotational axis (typically A or B), allowing machining on multiple sides of a part in one setup. 5-axis machining involves two rotational axes, enabling the tool to approach the workpiece from any direction, which is essential for complex contours, undercuts, and aerospace components, and it improves accuracy by reducing setups.
How do manufacturers ensure consistency across large production runs?
Consistency is ensured through: Statistical Process Control (SPC) to monitor key dimensions; Automated In-Process Probing to check and adjust tool offsets automatically; Proven, Documented Processes (standardized speeds/feeds for each material); and Preventive Maintenance schedules to keep equipment in peak condition.
Is it better to use a local manufacturer or one overseas for CNC machining?
The choice involves trade-offs: Local manufacturers offer easier communication, faster iteration, lower shipping costs, and often better IP protection, but typically at a higher piece cost. Overseas manufacturers can offer lower costs, especially for high volumes, but require careful vetting for quality, may have longer lead times due to shipping, and involve more complex logistics and potential language barriers. The decision hinges on your priorities for cost, timeline, communication, and risk.
Contact Yigu Technology for Custom Manufacturing.
At Yigu Technology, we embody the principles of a reliable CNC machined components manufacturer. Our state-of-the-art facility, equipped with multi-axis machining centers and a comprehensive quality lab, is built to deliver precision, traceability, and scalability for the most demanding projects. From prototype to high-volume production, our engineering team partners with you to ensure design optimization and manufacturability. We are certified and experienced in serving aerospace, medical, and automotive sectors, where quality is uncompromising. Contact Yigu Technology today to discuss your project requirements and experience a partnership dedicated to turning your precision designs into reality.