Introduction
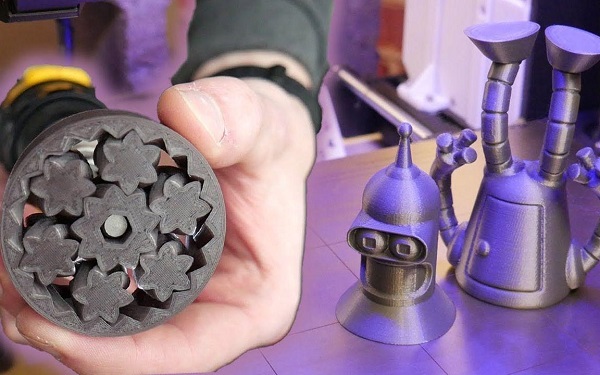
In recent years, the combination of 3D printing and Blender software has brought about a revolution in the field of three - dimensional design and manufacturing. 3D printing, also known as additive manufacturing, has the ability to create three - dimensional objects from a digital model by adding material layer by layer. This technology has been widely used in various industries, such as aerospace, automotive, healthcare, and art, due to its flexibility in design and the ability to produce complex geometries with ease.
On the other hand, Blender is a powerful open - source 3D creation suite. It provides a comprehensive set of tools for tasks like 3D modeling, texturing, animation, and rendering. The integration of Blender and 3D printing allows users to create high - quality 3D models and then bring them into the real world.
Are you interested in learning how to create amazing 3D printed objects using Blender? Do you want to know the tips and tricks to ensure your Blender models are suitable for 3D printing? If so, you've come to the right place. In this article, we will explore the ins and outs of 3D printing Blender models, covering everything from basic concepts to advanced techniques. Whether you're a beginner just starting out in the world of 3D design or an experienced professional looking to expand your skills, this guide will provide valuable insights and solutions to common problems you may encounter.
Setting up Blender for 3D Printing
Use Real - World Units
When preparing a Blender model for 3D printing, it's crucial to use real - world units. By default, Blender uses a unitless system, where the scale is arbitrary. However, for 3D printing, we need to define a clear scale so that the printed object has the correct dimensions. For example, if you are creating a small figurine that should be 5 centimeters tall in the real world, using the default unitless system in Blender might result in a printed object that is either too large or too small.
In contrast, using real - world units ensures accuracy. To set the units in Blender, go to the Scene Properties panel. Under the Units section, change the System from None to Metric. Then, set the Length unit to Millimeters. This is a common choice as most 3D printers work well with millimeter - based dimensions.
If you have an existing model created with the default units, you can easily convert it. For instance, if you know that your model was made with a "default Blender unit" representing 1 meter, and you want to convert it to millimeters, you can use the Scale option in the Object Properties panel. Multiply the scale values (X, Y, Z) by 1000, as there are 1000 millimeters in a meter. This simple conversion step can make a huge difference in the final printed product.
Create Boundary Reference Lines
Boundary reference lines are essential when preparing a model for 3D printing as they help you visualize the printing area and ensure that your model fits within the printer's build volume. For example, if you are using an Ultimaker 2+ with a build volume of 223 x 223 x 205 mm, you need to make sure your model doesn't exceed these dimensions.
To create reference lines in Blender, you can use a cube as a guide. First, create a cube in the scene. Then, scale the cube to match the dimensions of your printer's build volume. For the Ultimaker 2+, scale the cube's X and Y dimensions to 223 mm and the Z dimension to 205 mm. Place this cube at the origin (0, 0, 0) of your scene.
You can also adjust the display of this cube to make it a better reference. For example, you can change its color to a bright, easily distinguishable color like red. Additionally, you can set it to wireframe mode in the Object Display settings. This way, it won't interfere with the rendering of your actual model but will still be visible as a boundary guide. By doing this, you can quickly see if any part of your 3D printed Blender model extends beyond the printable area and make the necessary adjustments.
Using 3D Printing - Related Tools in Blender
3D Print Toolbox Plugin
Blender offers a dedicated plugin for 3D printing called "3D Print Toolbox". This plugin is a valuable asset for anyone looking to prepare their Blender models for 3D printing. To enable this plugin, you can use the following code in the Python console of Blender:
Once enabled, it provides a wide range of functions. For example, it can detect non - manifold geometries in your model. Non - manifold geometries are areas where the mesh has issues such as edges that don't connect to the correct number of faces, which can cause problems during the slicing process for 3D printing.
It also has the ability to calculate the volume and area of your model. This is useful for estimating the amount of material needed for printing. For instance, if you are using a resin - based 3D printer, knowing the volume can help you determine how much resin you'll require for a particular print.
Another important function is to verify the thickness of your model. Different 3D printers have different requirements for the minimum and maximum thickness of the printed object. The 3D Print Toolbox can check if your model's thickness is within the acceptable range for a successful print.
Importance of Normal Direction
The normal direction of a mesh in Blender is crucial when it comes to 3D printing. Normals are vectors that define the orientation of a face in a 3D model. In the context of 3D printing, most slicing software assumes that the normals of the model's faces point outwards.
If the normals are flipped or inconsistent, it can lead to various problems. For example, in some slicing software, flipped normals may cause the model to be sliced incorrectly, resulting in a printed object that has missing parts or an incorrect shape. In Blender's viewport, all faces are often displayed as double - sided by default, which can mask the issue of incorrect normal directions. However, when exporting the model for 3D printing, this can become a significant problem.
Yigu Technology's Viewpoint
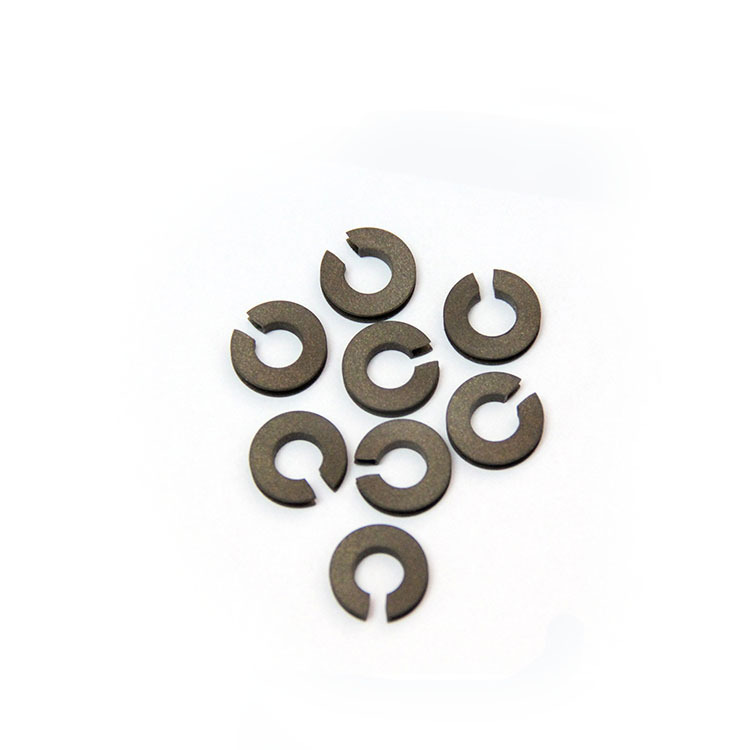
As a non - standard plastic metal products custom Supplier, Yigu Technology highly values the role of 3D printing Blender models in product customization. The combination of 3D printing and Blender allows for the creation of highly customized products. For example, in the production of plastic components with complex geometries, Blender can be used to design intricate shapes that are difficult to achieve through traditional manufacturing methods.
The flexibility of 3D printing based on Blender models enables us to quickly iterate on designs. If a client requests a modification to a product, we can easily make changes in Blender and then 3D print a new prototype. This significantly reduces the time and cost compared to traditional manufacturing processes, which often require expensive molds to be re - made for even minor design changes.
Moreover, the ability to use real - world units and ensure proper model preparation in Blender, as discussed earlier, ensures that the final 3D - printed products meet the exact specifications of our clients. This precision is crucial in industries where tight tolerances are required, such as in the production of metal parts for aerospace or automotive applications. Overall, 3D printing Blender models have become an indispensable tool for us to provide more personalized, efficient, and high - quality custom products.
FAQ
What should I do if the model size is incorrect after importing into the 3D printer?
If the model size is incorrect after importing it into the 3D printer, the first thing to check is the unit settings. There may be a mismatch between the units in Blender and the units expected by the 3D printer. In Blender, go to the Scene Properties panel and ensure that the units are set correctly, usually in millimeters. When exporting the model, make sure the export settings also use the correct units. If there is a discrepancy, re - set the units in Blender, adjust the model size if necessary, and then re - export the model. This will ensure that the model has the correct dimensions when imported into the 3D printer.
How can I tell if my Blender model is suitable for 3D printing?
You can use the "3D Print Toolbox" plugin in Blender to check the suitability of your model. This plugin can detect non - manifold geometries, which are areas in the mesh that may cause problems during 3D printing. It can also calculate the volume and area of the model, and verify if the thickness of the model meets the requirements of the 3D printer. Additionally, check the normal direction of the model's faces. All faces should have their normals pointing outwards. If the normals are incorrect, it can lead to incorrect slicing and printing issues.
Why does the 3D printed object have gaps or rough surfaces?
There are several possible reasons for gaps or rough surfaces in a 3D printed object. One possibility is that the model itself has issues, such as holes or broken faces. These imperfections in the Blender model can translate into gaps in the printed object. Another reason could be improper printing parameter settings. For example, if the layer thickness is set too large, it can result in a rough surface. Incorrect temperature settings for the printer's extruder can also cause problems. If the temperature is too low, the filament may not bond properly, leading to gaps. Carefully check the model for any defects and review the printing parameters to address these issues.