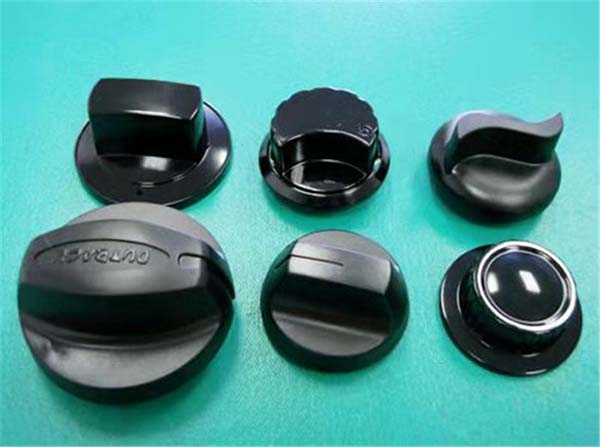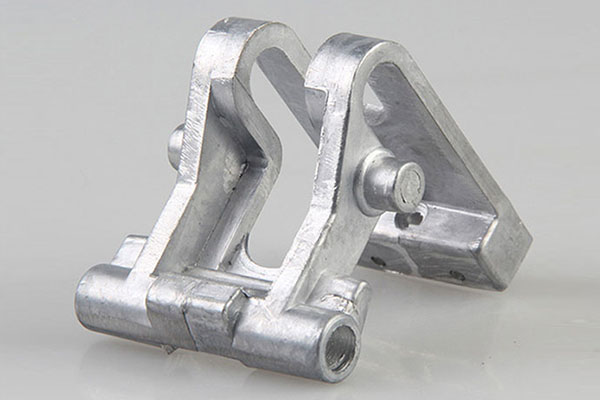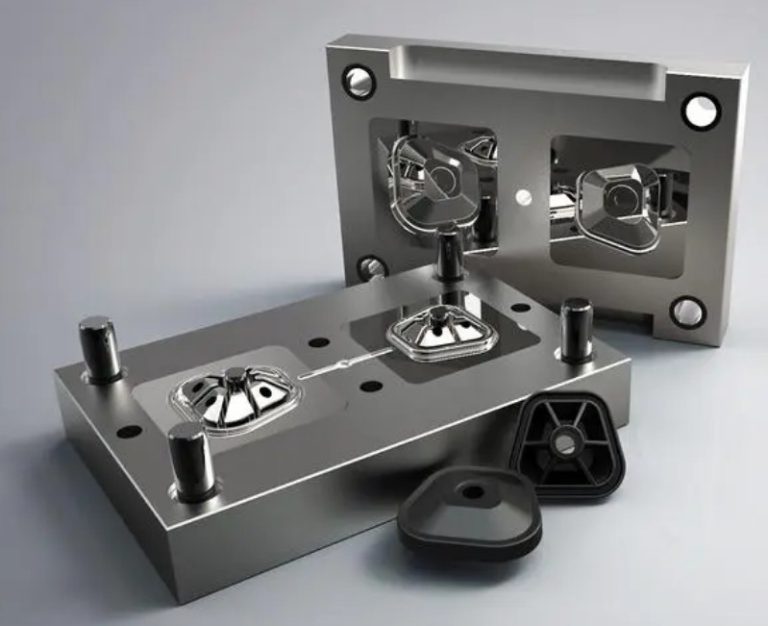
Rapid tooling is a set of manufacturing techniques used to produce molds or tooling inserts quickly and at lower cost than conventional methods, enabling faster production of functional prototypes and low to medium-volume plastic parts.
In the race to bring new products to market, the traditional timeline for manufacturing injection molds—often spanning 8 to 20 weeks—can be a critical bottleneck. Rapid tooling provides a strategic solution, dramatically reducing this lead time to as little as 1 to 4 weeks. This guide explores the technologies, materials, and trade-offs that define rapid tooling. We'll explain how it differs from conventional tooling, which prototyping technologies enable it, and how to intelligently balance speed, cost, and tool life for your specific project. For product managers, engineers, and designers, mastering rapid tooling is key to achieving faster iteration, lower-risk market validation, and a more agile development process.
Introduction
The journey from a validated 3D design to a market-ready product traditionally hits a major hurdle: the long lead time and high cost of hard production tooling. Rapid tooling bridges this gap by utilizing advanced manufacturing and material technologies to create molds capable of producing tens to thousands of functional parts in the final production material. Unlike a 3D-printed prototype, parts from a rapid tool are true injection-molded components, providing accurate data on material properties, cosmetic finish, and assembly fit. This article provides a comprehensive engineering perspective on rapid tooling. We will dissect the two primary approaches (direct and indirect), evaluate the enabling technologies like metal 3D printing, and provide a practical framework for estimating cost, lead time, and achievable tolerances. Whether you're launching a startup or managing an NPD pipeline, understanding rapid tooling unlocks a powerful strategy for compressing development cycles and de-risking scaling.
What Is Rapid Tooling?
Rapid tooling refers to processes used to fabricate mold tools for injection molding, die casting, or forming operations in a significantly shorter timeframe than conventional CNC machining of hardened steel blocks. The core objective is speed-to-first-part, accepting certain trade-offs in tool longevity or per-part cost to accelerate development.
It is broadly categorized into two approaches:
- Indirect (Pattern-Based) Rapid Tooling: A master pattern (often 3D printed or CNC machined) is used to create a mold from a secondary material.
- Process: Master Pattern → Silicone or Urethane Mold → Cast Parts.
- Best For: Very low volumes (10-50 parts), complex geometries, and materials like polyurethane resins.
- Direct Rapid Tooling: The mold inserts (cores and cavities) are fabricated directly using an additive or subtractive process.
- Process: Directly machine or 3D print the mold inserts from metal or composite.
- Best For: Low to medium volumes (50-10,000+ parts), true thermoplastic injection molding.
How Does It Differ from Conventional Tooling?
The choice between rapid and conventional tooling is a fundamental strategic decision based on project stage, volume, and budget.
| Feature | Conventional Production Tooling | Rapid Tooling (Direct, e.g., Aluminum or 3D Printed Metal) |
|---|---|---|
| Primary Goal | Maximize part output over 100,000+ cycles. | Minimize time and cost to first functional parts for testing or low-volume production. |
| Typical Materials | Hardened Tool Steels (P20, H13, Stainless) | Softer Metals (Aluminum 7075-T6), Tooling Composites, 3D Printed Metals (Maraging Steel, Inconel). |
| Lead Time | 8 - 20+ weeks | 1 - 4 weeks |
| Tool Cost | Very High ($20,000 - $100,000+) | Low to Moderate ($3,000 - $20,000) |
| Tool Life (Shots) | 100,000 - 1,000,000+ | 100 - 10,000 (Highly material dependent) |
| Surface Finish | Excellent, can be polished to SPI A-1. | Good, but may show layer lines (if 3D printed) or machining marks. |
| Modifications | Difficult, slow, and expensive (welding, re-machining). | Easier and cheaper; often the mold can be re-machined or a new insert printed. |
Which Rapid Prototyping Technologies Enable Quick Molds?
The emergence of advanced manufacturing technologies is the engine behind rapid tooling.
- High-Speed CNC Machining: The most common method for direct rapid tooling. Using soft aluminum (like 7075-T6) or mild steel, high-speed CNC machines can produce mold inserts in days. Complex cooling channels can be drilled, but conformal channels are limited to straight lines.
- Additive Manufacturing (Metal 3D Printing): Technologies like Direct Metal Laser Sintering (DMLS) or Binder Jetting enable a paradigm shift.
- Key Advantage: They can fabricate molds with conformal cooling channels. These channels snake perfectly along the contour of the part cavity, improving cooling efficiency by up to 70% and significantly reducing cycle times and part warpage—an impossible feat with drilled channels in complex geometries.
- Materials: Maraging steel, stainless steel, and Inconel are common.
- Additive Manufacturing for Patterns: Stereolithography (SLA) or PolyJet 3D printing creates high-resolution, smooth master patterns for indirect silicone molding.
What Materials Are Used for Tool Inserts?
The insert material dictates tool life, thermal performance, and part quality.
| Material | Typical Process | Approx. Tool Life (Shots) | Key Advantages | Limitations |
|---|---|---|---|---|
| Aluminum (7075-T6) | CNC Machining | 1,000 - 10,000+ | Excellent thermal conductivity for fast cycling, easy to machine, lower cost. | Softer; prone to wear and damage from abrasive or glass-filled plastics. |
| Pre-Hardened Tool Steel (P20) | CNC Machining | 10,000 - 50,000+ | Good balance of hardness and machinability; longer life than aluminum. | Longer machining time than aluminum; higher cost. |
| Maraging Steel (MS1) | Metal 3D Printing (DMLS) | 5,000 - 20,000+ | Enables conformal cooling; can be heat-treated for high hardness. | Higher cost per insert; as-printed surface requires finishing for part cosmetics. |
| Copper Alloys (Ampcoloy, MoldMax) | CNC or Additive | 5,000 - 50,000 | Superior thermal conductivity (2x aluminum), reduces cycle time drastically. | Very high material cost; softer than steel. |
| Epoxy or Composite Tools | Cast from Master Pattern | 100 - 500 | Very fast and cheap to produce for concept validation. | Poor thermal conductivity, very limited life, for low-pressure processes only. |
How to Balance Speed vs. Tool Life?
This is the central trade-off in rapid tooling. The decision tree is guided by project goals:
- For Design Validation & Market Testing (50-500 parts): Prioritize speed and lowest upfront cost. An aluminum mold is the default choice. Its excellent thermal conductivity also provides faster cycle times during the run.
- For Pilot Runs & Bridge Production (500-5,000 parts): Balance becomes key. Aluminum may still suffice, but for abrasive materials (glass-filled nylon) or higher volumes, a pre-hardened steel (P20) insert provides longevity without the full cost of H13 production steel.
- For Complex, High-Heat Applications: If the part design has complex geometry that requires optimal cooling, investing in a DMLS maraging steel mold with conformal cooling may provide the best total cost of ownership, despite a higher initial price, through dramatically reduced cycle times and improved part quality.
What Tolerances Can Be Achieved?
Rapid tools can produce parts with impressive accuracy, though generally not matching the finest capabilities of a seasoned production tool.
- Aluminum CNC Molds: Can consistently hold part tolerances of ±0.001 inches per inch (±0.1 mm per 100 mm), with critical features possibly tighter. This is sufficient for the vast majority of functional testing.
- Metal 3D Printed Molds: Dimensional accuracy is slightly lower due to layer-based fabrication and post-processing shrinkage. A realistic tolerance is ±0.002 inches per inch (±0.2 mm per 100 mm). Critical surfaces often require CNC machining or polishing after printing.
- Surface Finish: As-machined aluminum provides an SPI B-3 (stone) finish. Polishing can improve this. 3D-printed molds have a stippled surface that will transfer to the part unless post-processed.
How to Estimate Cost and Lead Time?
A simplified model helps in early project planning.
Total Cost = Insert Material & Fabrication + Mold Base + Design
- Insert Fabrication: A simple aluminum insert might cost $2,000 - $5,000. A complex DMLS insert with conformal cooling could be $8,000 - $20,000.
- Mold Base: A standard catalog mold base is used, costing $1,000 - $3,000.
- Design: Engineering and CAM programming add $1,000 - $3,000.
Lead Time = Design (3-5 days) + Material Procurement (2-3 days) + Fabrication (1-2 weeks) + Tryout/Sampling (3-5 days).
Thus, a 3 to 4-week total timeline is typical and achievable.
Case Studies: Automotive and Consumer Electronics
Automotive: HVAC Duct Prototype
An automotive tier-one supplier needed 300 functional prototypes of a complex HVAC duct for vehicle integration testing. Using a CNC-machined aluminum mold, they had first parts in 15 days at a tooling cost of $8,000. This allowed them to test for fit, airflow, and noise with production-grade ABS material. The rapid tool provided the data needed to approve the design for the $80,000 production steel mold, de-risking a major capital investment.
Consumer Electronics: Wearable Device Housing
A startup launching a smartwatch needed 2,000 housing units for their initial market launch. Volume uncertainty made a full steel tool risky. They opted for a DMLS maraging steel mold with conformal cooling. Despite a higher initial tool cost ($15,000), the conformal cooling reduced the cycle time by 40%, allowing them to produce the entire batch faster and at a lower effective per-part cost. The tool also survived the run, providing units for initial sales and proving market demand before committing to high-volume tooling.
Quality Control Strategies for Short-Run Tools
Due to shorter lifespans and faster builds, QC focuses on initial validation.
- First Article Inspection (FAI): The first shots from the mold undergo a full-dimensional check via CMM against the CAD model.
- Process Capability Study: Even for short runs, establishing stable injection parameters (temperature, pressure, speed) and documenting them ensures consistency for the duration of the production run.
- Tool Wear Monitoring: For runs in the thousands, critical cavity dimensions are measured at intervals (e.g., every 500 shots) to monitor for wear, especially in aluminum tools running abrasive materials.
Conclusion
Rapid tooling is a transformative strategy that redefines the pathway from prototype to production. By understanding the spectrum of available technologies—from cost-effective aluminum CNC molds to advanced DMLS tools with conformal cooling—teams can make strategic decisions that align tooling investment with project risk and timeline. The ability to produce hundreds or thousands of true injection-molded parts within weeks, not months, provides unparalleled agility for design validation, market testing, and low-volume manufacturing. While it involves trade-offs in tool life and per-part cost, the overarching value of reduced time-to-market and de-risked scaling makes rapid tooling an indispensable component of modern, agile product development.
Frequently Asked Questions (FAQ)
When is it better to use "soft tooling" versus "bridge tooling"?
The terms overlap, but "soft tooling" often refers to very short-life tools (epoxy, aluminum for <500 shots) for pure prototyping. "Bridge tooling" implies a tool that serves the transition (bridge) from prototype to production—it has higher durability (aluminum or mild steel for 1,000-10,000 shots) and is used for pilot runs and early market supply before the final hard tool is ready.
Can rapid tooling be used for materials other than plastics?
Yes, but with greater limitations. Aluminum molds can be used for low-pressure die casting of zinc or magnesium in very limited quantities. For urethane casting, silicone molds made from 3D-printed patterns are the standard rapid tooling method. For high-pressure die casting or forging, the extreme pressures and temperatures typically require hardened steel.
Is it possible to add logos or textures to a rapid tool?
Yes, but the method depends on the tool material. For aluminum molds, textures can be chemically etched (using a process like photochemical machining) or, for simpler textures, directly machined. For 3D-printed metal molds, fine textures can be incorporated directly into the digital model and printed. However, very deep or complex textures may still require secondary processing.
What happens to the rapid tool after the production run?
Its fate depends on the project. It may be: 1) Archived for potential future spare-part production. 2) Re-worked if a design iteration is needed for another batch. 3) Salvaged, with standard components (ejector pins, mold base) reused for a future project. 4) Scrapped if it has reached end-of-life or has no future value.
Contact Yigu Technology for Custom Manufacturing.
At Yigu Technology, we specialize in providing strategic rapid tooling solutions that accelerate our clients' time-to-market. We guide you in selecting the optimal approach—whether it's a fast-turn aluminum mold for functional testing or an advanced conformal-cooled DMLS tool for a pilot production run.
Our integrated capabilities, from design for manufacturability (DFM) analysis to high-speed CNC machining and metal additive manufacturing, allow us to deliver high-quality tooling inserts in weeks, not months. We focus on building tools that not only get you parts fast but also produce parts that meet your quality and performance standards.
Ready to compress your development timeline with rapid tooling? Contact Yigu Technology today to discuss your project and receive a detailed feasibility analysis and quote.