Introduction
When people think about injection moulding, they often picture a machine that simply melts plastic and squirts it into a mold. But the reality is far more complex. Achieving consistent, high-quality plastic parts requires mastering a delicate balance of mold design, material behavior, and process control. This guide breaks down the engineering behind each phase of injection moulding. You will learn what separates unreliable production from repeatable, high-precision manufacturing. Whether you are designing a part or troubleshooting a production line, understanding these fundamentals will help you get better results.
What Is the Injection Moulding Process?
The injection moulding process is a high-pressure manufacturing method that produces plastic parts in repeating cycles. It involves four main stages:
- Clamping – The mold halves close securely under high force.
- Injection – Plastic pellets melt in a heated barrel and are forced into the mold cavity.
- Cooling – The molten plastic solidifies inside the mold.
- Ejection – The mold opens, and pins push the finished part out.
Each cycle takes anywhere from a few seconds to several minutes. Modern machines run fully automated, and consistency depends on how well each stage is controlled.
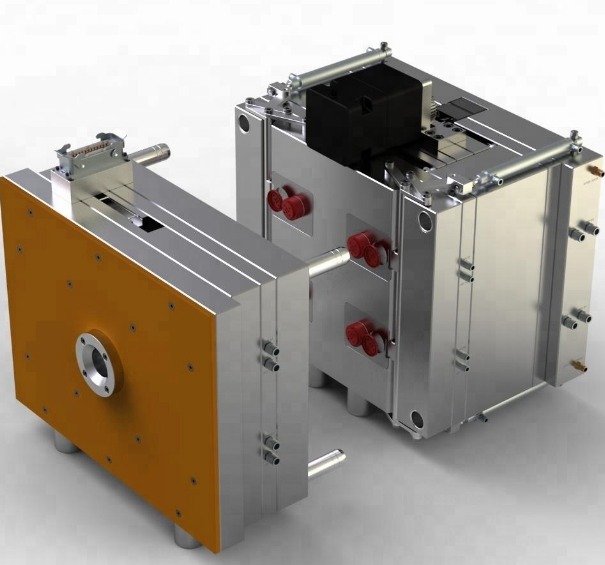
Why Does Mold Design Matter More Than the Machine?
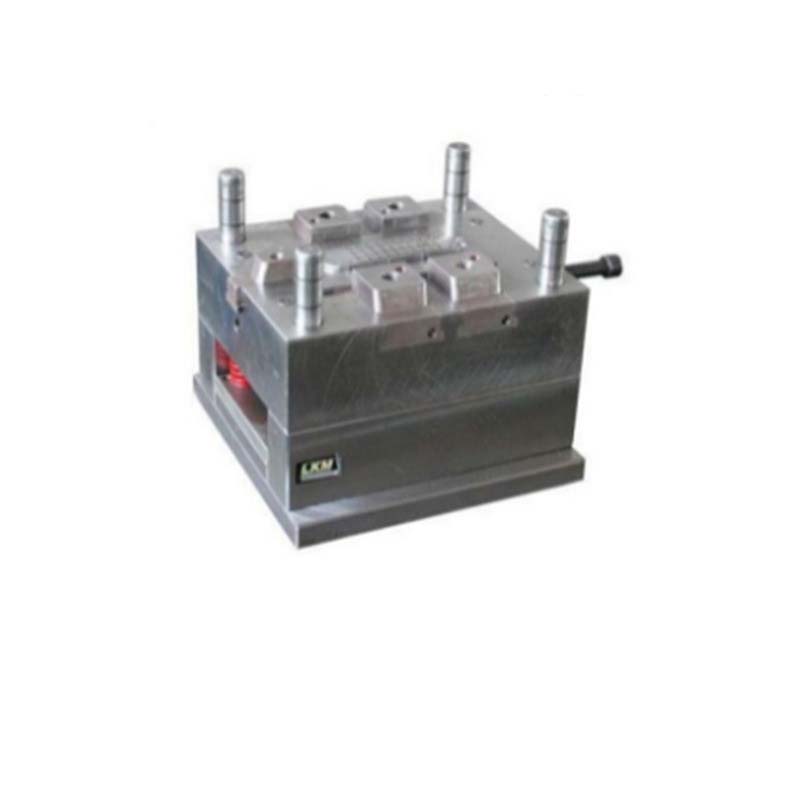
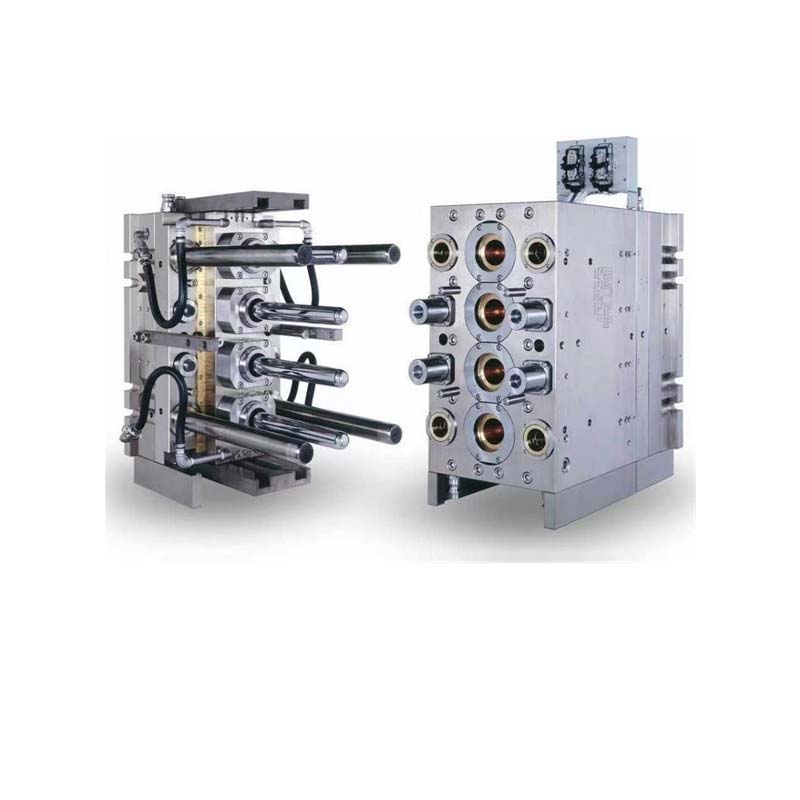
The mold is not just a hollow shape. It is a precision tool that manages heat, pressure, and flow. Poor mold design guarantees defects, regardless of how advanced the machine is.
What Is a Gating System and Why Does It Matter?
The gate is the entry point where molten plastic enters the cavity. Gate location affects how the part fills, where weld lines form, and how much stress remains in the final product.
A real-world example: A medical device manufacturer struggled with visible weld lines on a transparent polycarbonate housing. They moved the gate from the side to a location behind a textured surface. The weld lines became invisible, and part strength improved by 18% in pressure tests.
How Does Cooling Affect Cycle Time?
Cooling accounts for over 50% of the total cycle time. Water circulates through channels drilled into the mold to remove heat. The faster you can cool a part without warping it, the faster you can make parts.
Traditional cooling channels are straight holes. They work but leave hot spots.
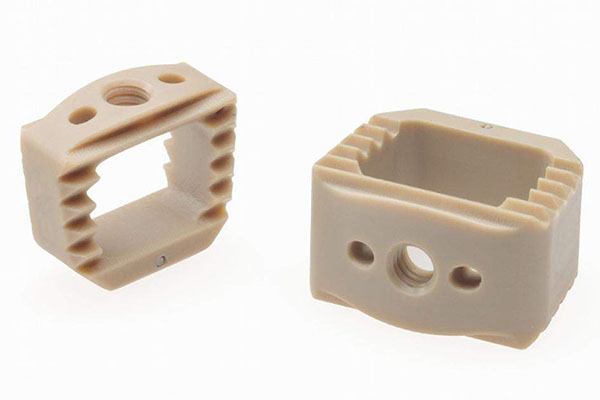
Conformal cooling channels follow the shape of the part. They are made using 3D printing and provide uniform cooling. Parts cool faster and warp less.
One automotive supplier switched to conformal cooling for a dashboard bezel. They cut cycle time from 38 seconds to 27 seconds—a 29% improvement—without sacrificing quality.
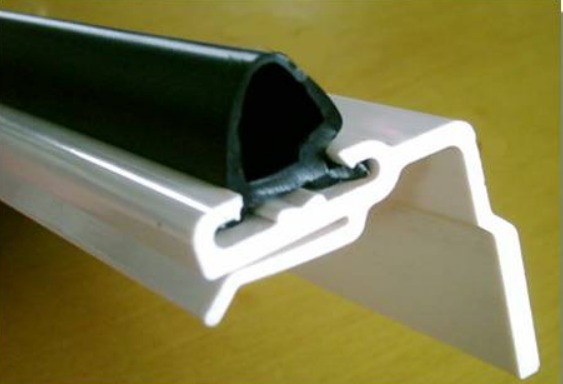
Which Plastic Should You Choose?
Material selection is the foundation of any successful molding project. The plastic you choose affects everything from tooling cost to part performance.
| Material Type | Examples | Key Strengths | Processing Challenges |
|---|---|---|---|
| Commodity | PP, PE, ABS | Low cost, easy to mold | Limited heat resistance |
| Engineering | PC, Nylon, POM | High strength, stable dimensions | Requires drying, higher melt temps |
| High-Performance | PEEK, PEI | Withstands high heat and chemicals | Expensive, needs specialized machines |
A case in point: A company developing outdoor electrical enclosures initially chose standard ABS. After field failures from UV exposure, they switched to ASA (Acrylonitrile Styrene Acrylate) , which has built-in UV resistance. The material cost increased by 12%, but warranty claims dropped by 60%.
How Is Plastic Melted and Prepared?
The machine barrel contains a reciprocating screw that does three jobs:
- Conveys pellets forward from the hopper.
- Melts them through friction (shear) and external heaters.
- Meters an exact volume of melt in front of the screw.
The barrel has multiple heating zones. A typical temperature profile gradually increases from the back to the front. For ABS, you might see:
- Rear zone: 200°C
- Middle: 220°C
- Front: 230°C
- Nozzle: 225°C
If the melt temperature varies by more than ±5°C across zones, material degradation or inconsistent viscosity can occur. This leads to unpredictable part quality.
What Controls Injection Speed and Pressure?
Injection speed determines how fast the melt flows into the cavity. Too slow, and the plastic freezes before the cavity fills. Too fast, and you get jetting (a chaotic flow pattern) or burns from trapped air.
What Is the Velocity-to-Pressure Switchover?
This is the most critical setpoint in the process. The machine fills the cavity at a controlled speed until it is about 95–99% full. At that moment, it switches to packing and holding pressure to finish filling and compensate for shrinkage.
If switchover happens too early, the part short-fills. Too late, and flash occurs. Experienced process engineers use cavity pressure sensors to find the ideal switchover point with precision.
Why Is Cavity Pressure Monitoring Essential?
Cavity pressure sensors measure pressure inside the mold in real time. They provide data that reveals exactly what is happening during each shot.
How Does It Improve Consistency?
A piezoelectric sensor installed in the mold sends a pressure curve to the machine controller. That curve is the signature of a good part. Every subsequent shot must match that curve within a set tolerance.
Benefits include:
- Optimal switchover timing – The sensor shows exactly when the cavity is full.
- Multi-cavity balance – Sensors in each cavity confirm all cavities fill at the same rate.
- Automated quality control – Deviations trigger alarms or automatic part rejection.
A manufacturer of automotive connectors installed cavity pressure sensors on a 16-cavity mold. Scrap dropped from 4.2% to 0.3% within three months.
How Can You Optimize Cooling Time?
Cooling begins the moment the mold closes. The goal is to solidify the part enough for ejection without distortion.
What Determines Cooling Time?
Cooling time depends most heavily on the thickest section of the part. A 2 mm wall cools roughly four times faster than a 4 mm wall. This is why uniform wall thickness is the most important design rule for moldability.
How Do Mold Temperature Controllers Help?
Mold temperature controllers (MTCs) circulate coolant at precise temperatures. For semi-crystalline plastics like nylon or polypropylene, mold temperature directly controls the crystallinity of the final part. Too cool, and the part may be brittle. Too warm, and cycle time stretches.
One packaging company reduced cooling time from 22 seconds to 14 seconds on a thin-wall container by optimizing coolant temperature and adding a second cooling circuit. Annual savings exceeded $85,000.
What Post-Processing Steps Are Required?
Parts rarely go straight from the mold to the customer. Common secondary operations include:
- Degating – Removing the gate remnant. Done manually with cutters or automatically with robotic trimming.
- Deflashing – Removing thin plastic that leaked into the parting line.
- Surface finishing – Painting, printing, or etching for branding or protection.
- Assembly – Ultrasonic welding or adhesive bonding to join multiple parts.
Each secondary step adds cost. Smart design minimizes these needs. For example, a molded-in snap feature can eliminate a separate assembly operation.
How Do You Detect and Prevent Defects?
A good quality system does not just catch defects—it identifies their root causes. Here are common defects and what causes them.
| Defect | What It Looks Like | Likely Causes |
|---|---|---|
| Sink marks | Small depressions on thick sections | Insufficient packing pressure or time |
| Warpage | Twisted or bowed part | Uneven cooling or non-uniform shrinkage |
| Short shot | Incomplete filling | Low melt temperature, low injection pressure, blocked vent |
| Flash | Thin plastic along parting line | Excessive injection pressure, worn mold, insufficient clamp force |
| Jetting | Wavy, snake-like pattern near gate | Injection speed too high, gate too small |
| Weld lines | Visible line where flows meet | Low melt or mold temperature, multiple gates |
A systematic approach—using cavity pressure data, melt temperature logs, and mold temperature monitoring—helps you trace defects back to specific variables. This turns troubleshooting into a repeatable process rather than guesswork.
Conclusion
Precision in injection moulding is not about buying the most expensive machine. It comes from understanding how mold design, material selection, process parameters, and quality systems interact. The mold must be engineered for efficient cooling and controlled filling. The material must be selected for the application and processed at the right temperature. Injection speed, switchover timing, and cavity pressure must be set based on data, not intuition. And defects must be treated as diagnostic clues rather than unavoidable waste.
When all these elements align, manufacturers achieve consistent cycle times, lower scrap rates, and parts that meet specifications shot after shot. Whether you are a product designer or a production engineer, treating injection moulding as an integrated system is the key to reliable, cost-effective manufacturing.
Frequently Asked Questions (FAQ)
What is the most common cause of dimensional variation in molded parts?
Inconsistent packing pressure. After the cavity fills, packing pressure compensates for material shrinkage. If packing pressure varies from shot to shot, part dimensions and weight will vary. Cavity pressure sensors help maintain consistent packing.
How do I know if my material needs to be dried before molding?
Materials like nylon, polycarbonate, ABS, and PET are hygroscopic—they absorb moisture from the air. If moisture remains, it turns to steam in the barrel, causing silver streaks, bubbles, and reduced strength. Check the material supplier’s data sheet for recommended drying conditions. For ABS, typical drying is 80°C for 4 hours.
How much clamp force do I need?
Clamp force is calculated using the projected area of the part (including runners) and injection pressure. A common rule: Tonnage = Projected Area (in²) × Injection Pressure (psi) ÷ 2000. Add a 10–20% safety factor. For example, a part with 40 in² area molded at 1,200 psi needs about 24 tons. A 30–40 ton machine is typical.
Can I switch materials without stopping production for hours?
Yes, but you must purge the machine. A purging compound or the new material itself is used to clean the barrel and screw. Switching from dark to light colors is straightforward. Switching between incompatible materials—like ABS to nylon—requires thorough purging to prevent cross-contamination that could cause part failure.
Contact Yigu Technology for Custom Manufacturing
At Yigu Technology, we treat injection moulding as a precision engineering discipline, not an art. Our team combines part design, mold engineering, and process development under one roof to eliminate guesswork.
We use mold flow analysis to validate designs before tooling starts. We install cavity pressure sensors to monitor and control every shot. We develop documented, repeatable processes that transfer seamlessly to production.
If you are developing a plastic product that demands quality, consistency, and efficiency, partner with Yigu Technology. Contact us today for a design review and manufacturing consultation.