Introduction
Definition and Significance of 3D Model Prototypes
In the dynamic landscape of modern product development, 3D model prototypes have emerged as an indispensable tool. But what exactly is a 3D model prototype? A 3D model prototype is a three - dimensional digital representation of a physical object, created using specialized 3D modeling software. This digital model serves as a preliminary version of a product, allowing designers, engineers, and stakeholders to visualize, test, and refine the design before moving on to the actual production phase.
The significance of 3D model prototypes in product development cannot be overstated. Firstly, they provide a cost - effective solution. Traditional methods of prototyping often involve expensive tooling and manufacturing processes. For example, creating a physical prototype using injection molding can cost thousands of dollars just for the mold, not to mention the materials and labor costs. In contrast, developing a 3D model prototype primarily requires software licenses and the time of the design team, which is significantly more affordable.
Secondly, 3D model prototypes accelerate the product development cycle. With a 3D model, changes can be made instantaneously. A designer can modify the shape, size, or functionality of a product in a matter of minutes within the 3D modeling software. In a traditional physical prototyping process, making even a minor design change could take days or weeks, as it might involve remaking parts, re - testing, and re - evaluating.
Moreover, 3D model prototypes enhance communication within the development team and with external partners. A detailed 3D model can be easily shared across different departments, such as engineering, marketing, and manufacturing. It allows everyone to have a clear understanding of the product's design and features, which helps in better decision - making. For instance, marketing teams can use 3D models to create early marketing materials, while manufacturing teams can identify potential production issues in advance.
The Process of Creating 3D Model Prototypes
Step - by - Step Guide
- Design Conception and Sketching: The first step in creating a 3D model prototype is to have a clear design concept. This could be inspired by market research, user needs, or a new product idea. Designers often start with rough sketches on paper to visualize the basic shape, dimensions, and functionality of the product. For example, if creating a new smartphone case, the initial sketches might show the overall shape, the cut - outs for the camera, ports, and buttons, as well as any unique features like a built - in stand.
- Data Modeling: Once the sketches are finalized, the next step is to transfer the design into a digital format using 3D modeling software. This is where the real magic happens. Designers use tools within the software to create a detailed 3D model. They define the geometry of the object, including vertices, edges, and faces. For a complex product like a car engine part, the data model would accurately represent the internal and external structures, taking into account factors such as material thickness, tolerances, and mechanical properties.
- 3D Printing (Optional for Physical Prototype): If a physical 3D model prototype is required, 3D printing comes into play. After the 3D model is created in the software, it needs to be sliced into layers. Slicing software divides the 3D model into thin cross - sectional layers, each with a specific thickness (usually ranging from 0.1mm - 0.3mm, depending on the desired print quality). The 3D printer then reads these sliced files and builds the physical prototype layer by layer. For instance, in the case of a small plastic figurine prototype, the 3D printer would extrude melted plastic filament, depositing it precisely according to the sliced layer data to gradually form the final object.
- Finishing and Post - processing: Whether it's a digital or physical 3D model prototype, post - processing is crucial. In the case of a 3D - printed prototype, this might involve removing support structures (which are added during printing to hold up overhanging parts), sanding the surface to make it smooth, and applying coatings or finishes for better aesthetics or functionality. For a digital 3D model, post - processing could mean adding textures, lighting effects, and performing final checks for any errors or glitches in the model.
Tools and Software Used
- Blender: This is a free and open - source 3D creation suite. One of its major advantages is its versatility, as it supports the entire 3D pipeline, from modeling and texturing to animation and rendering. For beginners, its relatively easy - to - learn interface makes it an ideal choice. For example, an independent game developer on a tight budget can use Blender to create 3D models of game characters and environments. It also has a large and active community, which means there are plenty of tutorials, add - ons, and forums available for support.
- Maya: Developed by Autodesk, Maya is a professional - grade 3D modeling, animation, and rendering software. It is widely used in the film, television, and game industries. Maya offers a vast array of advanced tools, such as its powerful polygon and nurbs modeling capabilities. It can handle complex character rigging and animation with ease. For instance, in the production of high - budget animated movies like "Frozen," Maya was likely used to create the detailed 3D models of the characters, their movements, and the stunning visual effects. However, its feature - rich nature also means it has a steeper learning curve compared to some other software.
- 3ds Max: Another Autodesk product, 3ds Max is popular in the architecture, interior design, and game development fields. It excels in creating detailed 3D models of buildings, furniture, and large - scale environments. It has excellent rendering capabilities, allowing designers to produce photorealistic images of their designs. For example, an architect can use 3ds Max to create a virtual walk - through of a new building project, complete with accurate lighting, materials, and textures.
Yigu Technology's Perspective
As a non - standard plastic and metal products custom supplier, Yigu Technology highly values the role of 3D model prototypes in our business. In the custom - product development process, 3D model prototypes are like a compass, guiding us in the right direction.
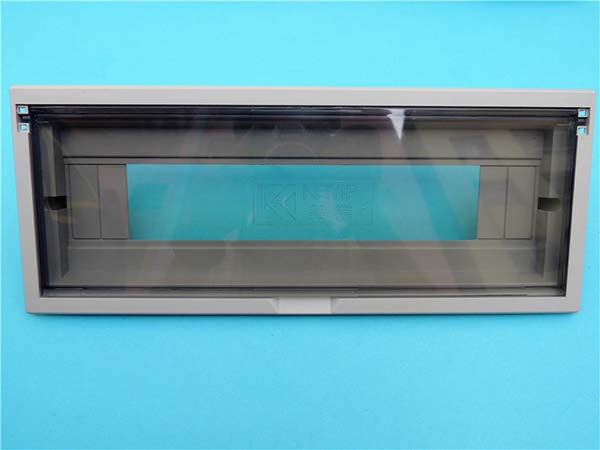
Firstly, they enable us to better understand our clients' needs. When a client comes to us with a non - standard product idea, we can quickly create a 3D model prototype. This allows the client to visualize the final product clearly, making it easier for them to provide feedback and make adjustments. For example, if a client wants a unique - shaped plastic housing for their electronic device, the 3D model prototype can show the exact shape, dimensions, and even the placement of internal components.
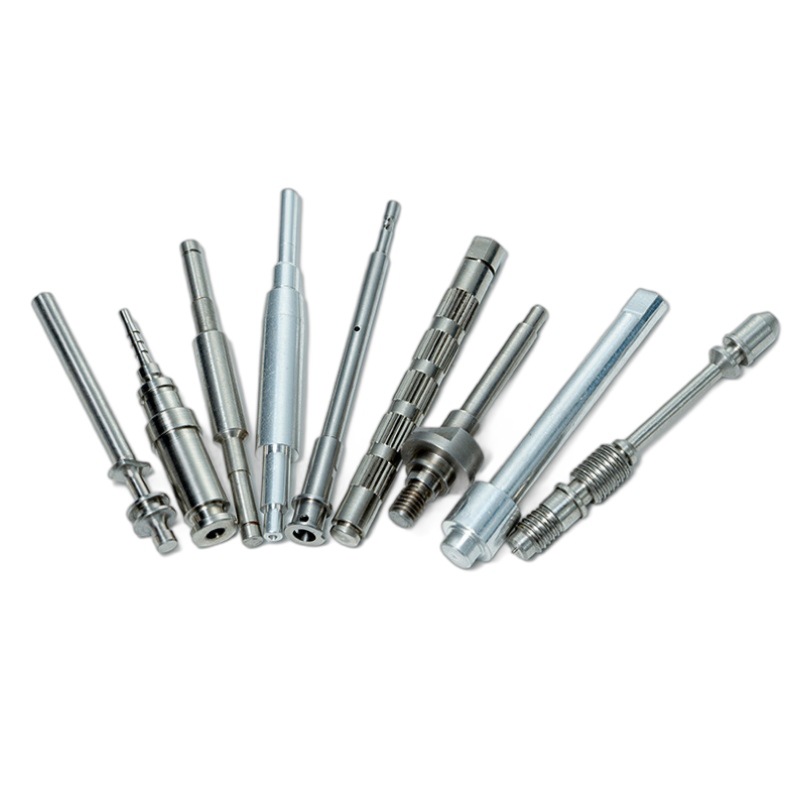
Secondly, 3D model prototypes save us a great deal of time and cost in the production of non - standard products. By testing and validating the design in the virtual 3D model stage, we can avoid costly mistakes during the actual manufacturing process. It helps us optimize the product structure, select the right materials, and plan the manufacturing process more effectively.
In short, 3D model prototypes have become an essential part of our product development cycle, enabling us to provide high - quality custom plastic and metal products more efficiently.
FAQs
Q1: What materials are suitable for 3D model prototyping?
Common materials for 3D model prototyping include PLA (Polylactic Acid), which is biodegradable, easy to print, and has a relatively low melting point. It is great for general - purpose prototypes, such as creating small household item models or educational prototypes. ABS (Acrylonitrile Butadiene Styrene) is another popular choice. It has high strength and heat resistance, making it suitable for prototypes that need to withstand mechanical stress or higher temperatures, like parts for electronic devices. Nylon is known for its toughness and flexibility, so it is often used for prototypes that require bending or stretching, such as flexible joints or gears.
Q2: How to ensure the accuracy of 3D printed prototypes?
Firstly, calibration of the 3D printer is crucial. This includes calibrating the extruder to ensure the correct amount of material is deposited, and calibrating the bed to ensure a flat printing surface. Using high - quality filaments also helps. Lower - quality filaments may have inconsistent diameters, which can affect the accuracy of the print. Additionally, proper slicing settings are essential. Adjusting the layer height, infill density, and print speed can all impact the accuracy. For example, a lower layer height generally results in a more accurate and smoother print, but it also increases the printing time.
Q3: Can 3D model prototypes be used for mass production directly?
In most cases, 3D model prototypes cannot be used for mass production directly. While 3D printing is suitable for small - scale production or custom - made items, mass production often requires more efficient and cost - effective manufacturing methods like injection molding. 3D printing can be relatively slow and expensive for large - volume production. Also, the mechanical properties and surface finish of 3D - printed parts may not meet the high - volume production standards in terms of consistency and durability. However, 3D model prototypes are extremely valuable for testing the design, functionality, and form before moving on to mass production, as they can help identify and fix potential issues early in the development cycle.